Contents
When it comes to maintaining your home, ensuring that drywall holes are patched is essential. These seemingly minor imperfections can have significant repercussions if left unattended. From potential structural issues to visual distractions, the impact of neglecting these repairs can be far-reaching. By taking the time to address and fix these holes promptly, you not only safeguard your home’s integrity but also enhance its overall appearance and value. So, why risk overlooking such a fundamental aspect of home maintenance?
Key Takeaways
- Preserves wall integrity and appearance.
- Prevents further damage and deterioration.
- Enhances insulation and energy efficiency.
- Improves overall property value.
- Saves money by avoiding costly repairs.
Importance of Patching Drywall Holes
Repairing drywall holes is essential for maintaining the structural integrity and aesthetic appeal of your home. When left unrepaired, these holes not only compromise the strength of your walls but also detract from the overall look of your living space.
Fortunately, there are various cost-effective solutions available to homeowners for patching drywall holes, ensuring long-term maintenance and a well-maintained home environment.
For those who enjoy hands-on projects, DIY techniques can be a practical approach to patching drywall holes. With the right tools and materials, such as joint compound, sandpaper, and a putty knife, you can easily fill in small to medium-sized holes yourself. DIY methods save you money by avoiding professional services and give you a sense of accomplishment in taking care of your home.
However, for larger or more complex drywall repairs, professional services may be necessary. Professional contractors have the expertise and tools to effectively patch holes of any size, ensuring a flawless finish that blends in with the rest of your wall.
While this option may involve a higher upfront cost, it provides a high-quality repair that will stand the test of time, ultimately saving you from potential issues down the line.
Whether you choose the DIY route or opt for professional help, patching drywall holes is a critical step in maintaining the beauty and functionality of your home.
Tools Needed for Patching
You’ll need a few essential tools to patch drywall holes effectively. These tools are vital in ensuring a smooth and flawless repair job.
Additionally, certain required materials and helpful equipment can make the patching process easier and more efficient for you.
Essential Tools for Patching
To effectively patch drywall holes, make sure you have the necessary tools on hand for a successful repair job. When it comes to patching techniques, having the right tools is essential. Among the repair essentials, you’ll need a putty knife, sandpaper, joint compound, a drywall patch, a utility knife, and a paintbrush.
Firstly, a putty knife is important for applying joint compound and smoothing out the patch. Sandpaper is necessary for preparing the area by smoothing rough edges and ensuring a smooth finish. A joint compound is crucial for filling and blending the hole with the surrounding wall.
A drywall patch is required to cover larger holes, providing a stable base for the compound. Additionally, a utility knife is necessary for cutting the patch to the desired size and shape. Lastly, a paintbrush is essential for applying paint to match the wall’s color and texture, completing the repair seamlessly.
Make sure to have these tools ready when tackling any drywall hole to achieve professional-looking results.
Required Materials for Patching
For successful drywall patching, make sure you have the essential tools readily available to achieve a professional finish. When it comes to patching tips, having the right repair supplies is important.
To start, you’ll need a putty knife for applying a spackling compound or joint compound smoothly into the hole. Make sure to have sandpaper on hand to smooth out the patched area once it’s dry. Additionally, a utility knife is handy for cutting away any loose or damaged drywall around the hole before patching it up.
Another essential tool is a drywall saw or keyhole saw, which will help you accurately cut out damaged sections of drywall. You may also need a drywall tape to reinforce the patch and guarantee a polished finish.
Lastly, a paintbrush or roller will be necessary to blend the repaired area with the rest of the wall once the patch has dried. By having these repair supplies at your disposal, you can tackle any drywall holes effectively and restore the appearance of your walls seamlessly.
Helpful Equipment for Patching
Having the proper tools is essential for effectively patching drywall holes in your home. When it comes to patching techniques, having the right repair equipment can make the process much smoother. Here are some helpful tools you’ll need:
Putty Knife: A putty knife is vital for applying spackling or joint compound to fill in the holes. It helps you achieve a smooth finish.
Sandpaper: Sandpaper is important for smoothing out the patched areas once the compound has dried. It helps you achieve a flawless blend between the patch and the surrounding wall.
Drywall Patch Kit: Investing in a drywall patch kit can be advantageous, especially for larger holes. These kits usually include self-adhesive patches, spackling, and a putty knife.
Paintbrush and Paint: Once the patched area is smooth and dry, you’ll need a paintbrush and matching paint to blend the patch with the rest of the wall seamlessly.
Steps for Patching Small Holes
To patch small holes in your drywall, you’ll need materials like spackling compound, a putty knife, sandpaper, and paint.
The step-by-step process involves:
- Cleaning the area
- Applying the spackling compound
- Smoothing it out
- Sanding the area
- Finally, painting over the patch
Materials Needed
Consider gathering the following materials before beginning the process of patching small holes in your drywall: To guarantee a successful repair, you’ll need a putty knife for applying the patching compound, sandpaper to smooth out the surface, spackling compound or joint compound to fill the holes, a primer to prep the area, and paint to match the existing wall color. These materials can typically be found at your local hardware store or home improvement center.
For those seeking in-depth patching techniques and repair tips, DIY tutorials, or repair guides, having these basic materials on hand is essential. The putty knife is vital for applying and smoothing the patching compound over the hole, while the sandpaper helps blend the repair seamlessly with the surrounding wall.
Spackling compound or joint compound fills the hole effectively, and the primer and paint give the final touch to conceal the patch. By having these materials ready, you can efficiently tackle small drywall holes and maintain the appearance of your walls.
Step-by-Step Process
Before you start the process of patching small holes in your drywall, make sure you have gathered all the necessary materials, as mentioned in the previous subtopic.
Now, let’s get into the step-by-step process of fixing those small holes.
Prepare the Area: Begin by cleaning the area around the hole to remove any dust or debris. This ensures a smooth application of the patch.
Apply the Patch: Using DIY techniques, apply spackling compound or joint compound to fill the hole. Use a putty knife to spread the compound evenly over the hole.
Smooth the Surface: After the compound has dried, sand the area gently to create a flawless finish. This step is essential for achieving professional-looking results.
Prime and Paint: To complete the repair, prime the patched area and then paint it to match the rest of the wall. This final touch will blend the patch with the surrounding wall seamlessly.
Steps for Patching Large Holes
For homeowners tackling large holes in drywall, the secret to a successful patch job lies in following a methodical approach that ensures a smooth finish.
When it comes to drywall repair, especially for larger holes, it’s crucial to have the right tools and materials on hand before you begin. This DIY project might seem challenging, but with the proper guidance, you can achieve professional results.
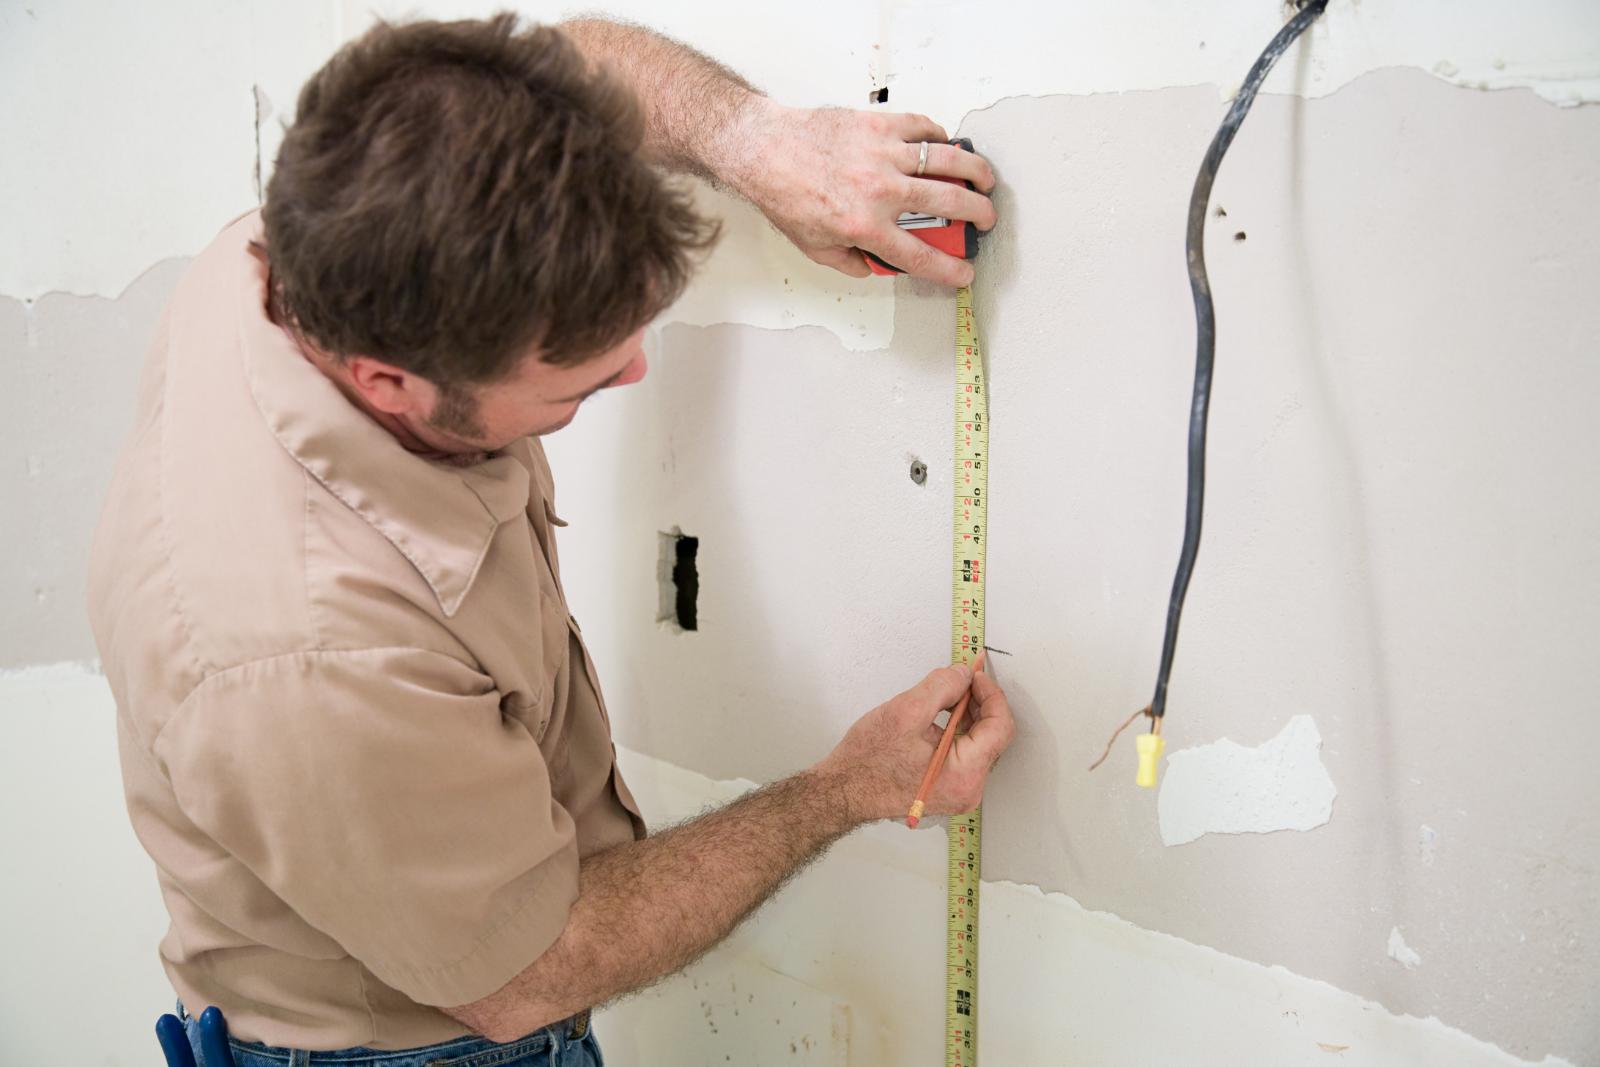
First, start by cleaning up the edges of the hole to remove any loose debris or rough edges. Then, measure the dimensions of the hole accurately. Cut a piece of drywall slightly larger than the hole to guarantee a snug fit.
Next, place the drywall patch over the hole and trace around it. Use a drywall saw to carefully cut along the traced lines.
After cutting the hole to fit the patch, secure the patch to the existing drywall using drywall screws. Be sure to countersink the screws slightly below the surface.
Apply joint compound over the seams using a drywall knife, feathering the edges to blend with the surrounding wall. Allow the compound to dry completely before sanding it smooth.
Repeat the application of joint compound and sanding as needed until the patch is seamless with the rest of the wall.
Finishing Techniques for Seamless Repair
To achieve a smooth repair after patching large holes in drywall, mastering the finishing techniques is key to smoothly blending the patch with the existing wall.
When it comes to blending techniques, one effective method is feathering the edges of the patch with a joint compound. Start by applying a thin layer of joint compound over the patched area, extending it beyond the patch’s edges. Gradually blend out the compound by spreading it thinly as you move away from the patch. This technique helps create a polished finish by smoothly integrating the repaired area into the rest of the wall.
For those looking to match the texture of the surrounding wall, various texturing options can be employed to achieve smooth results.
One common method is using a sponge to replicate a stippled texture. After applying joint compound over the patched area, lightly dab a damp sponge onto the compound to create a textured effect that mimics the surrounding wall.
Additionally, using a drywall texture roller can also help achieve consistent textures across the repaired area, ensuring a harmonious integration with the rest of the wall.
Experimenting with different texturing techniques can help you find the best method to achieve a professional and polished finish.
Common Mistakes to Avoid
When repairing drywall holes, it’s important to be aware of common mistakes that can compromise the patchwork quality. One common mistake to avoid isn’t properly preparing the area before patching. Failing to clean the hole from debris and loose drywall can result in a patch that doesn’t adhere well or sits unevenly.
Another mistake is using the wrong type of spackling or joint compound. Make sure to use the appropriate product for the size of the hole; for small holes, lightweight spackling is suitable, while joint compound is better for larger holes.
Furthermore, rushing the drying process is a frequent error. Allow each layer of patching material to dry completely before sanding or applying the next layer. This patience will guarantee a smoother finish.
Neglecting to feather the edges of the patch is another mistake that can lead to visible seams. Feathering involves blending the patching material outward to create a gradual shift with the surrounding wall.
Lastly, overlooking the sanding step can result in a patch that stands out. Take the time to sand the patched area until it’s smooth and level with the rest of the wall.
Benefits of Professional Patching
Professionally patched drywall holes not only provide a smooth finish but also offer long-lasting durability for your walls. When comparing DIY patching to professional services, the expertise and precision that professionals bring to the task are unparalleled.
While DIY methods may seem cost-effective initially, the superior results achieved by professionals can save you money in the long run by avoiding the need for frequent touch-ups or repairs.
Opting for professional patching ensures that the job is done efficiently and effectively the first time. Professionals have the skills and tools necessary to seamlessly blend the patch with the surrounding wall, creating a flawless appearance that enhances the overall aesthetic of your home.
Additionally, professional patching guarantees that the repaired area is structurally sound, preventing future issues such as cracks or holes from reappearing.
Considering the cost comparison between DIY and professional patching, it’s essential to weigh the benefits of each option. While DIY may seem like a cost-saving solution, the superior quality and durability of professionally patched drywall can ultimately save you time and money by reducing the need for frequent repairs.
Investing in professional patching elevates the appearance of your walls and adds long-term value to your home.
Wrap-Up
By taking the time to patch drywall holes in your home, you can guarantee its structural integrity and maintain its visual appeal. Remember, the tools and steps needed for both small and large holes are essential for a smooth repair.
Avoid common mistakes and consider hiring a professional for expert results. Coincidentally, a well-patched drywall not only improves insulation and energy efficiency but also increases the value of your property.