Contents
When dealing with fire damage to your roof, it’s vital to adopt effective repair methods that guarantee safety and durability. Start by evaluating the extent of the damage and securing the area to prevent further issues. Removing any compromised materials is essential, but it’s just the beginning. There are several key techniques to enhance your roof’s resilience against future fires, and understanding these will guide your repair process effectively.
Key Takeaways
- Assess and document fire damage to determine necessary repairs and replacement of roofing materials.
- Remove damaged roofing materials carefully using appropriate tools to prevent further damage.
- Replace shingles or tiles with durable materials, ensuring proper installation techniques for longevity.
- Install support beams as needed to strengthen compromised structures, adhering to local building codes.
- Implement fire-resistant coatings and proper ventilation to enhance protection and longevity of the repaired roof.
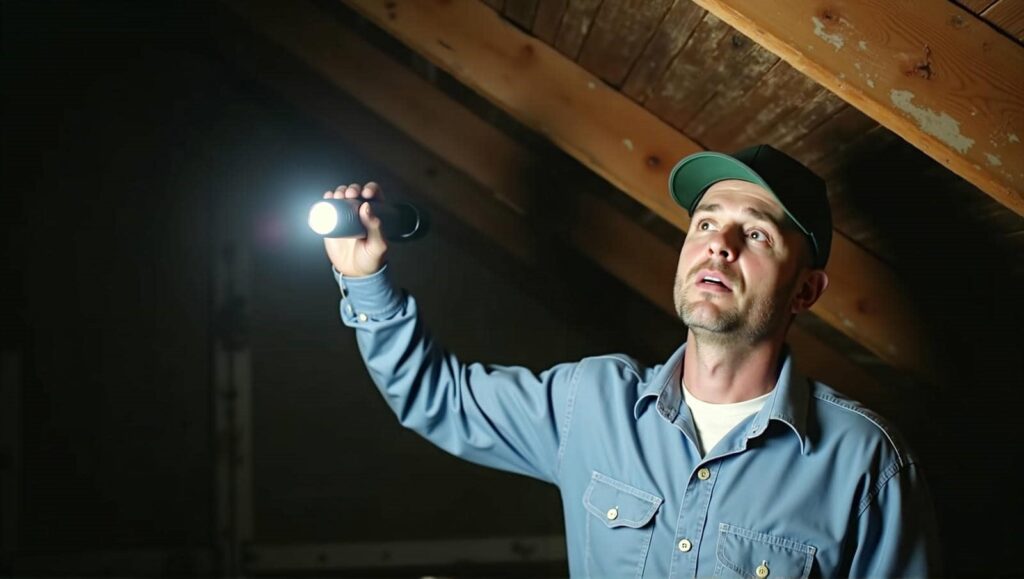
Assessing the Extent of Fire Damage
When you assess the extent of fire damage, it’s crucial to approach the situation methodically.
Start by identifying the fire impact on structural components, including beams, trusses, and roofing materials. Document visible signs such as charring, warping, or discoloration.
Next, perform a damage evaluation to determine the integrity of the materials. Use specialized tools to assess hidden damage, as fires can compromise areas not immediately visible.
Consider the fire’s intensity and duration, as these factors greatly influence the extent of damage. Consulting with fire restoration professionals can provide additional insights and guarantee a thorough assessment.
Gathering all this information will help you make informed decisions about repair methods and materials needed.
Ultimately, a complete evaluation not only aids in restoring your roof but also reassures you and your loved ones about safety and stability moving forward.
Securing the Area for Safety
Before you begin any repair work, it’s essential to secure the area to confirm safety for everyone involved.
By following established safety protocols, you can create a safe environment for yourself and your team.
Here’s how to secure perimeters effectively:
Establish a Safety Zone: Clearly mark off the repair area to prevent unauthorized access. Use cones, caution tape, or signage to indicate the zone.
Wear Protective Gear: Confirm all workers wear appropriate safety gear, including helmets, gloves, and protective eyewear, to mitigate risks from falling debris or hazardous materials.
Check Structural Integrity: Inspect the surrounding structures for stability before starting any work.
If you notice significant damage, consult a professional before proceeding.
Removing Damaged Roofing Materials
Once the area is secured and safety measures are in place, the next step is to remove the damaged roofing materials.
Start by identifying the extent of the damage; this helps you decide which removal techniques to employ. Use a pry bar to carefully detach shingles or tiles, making sure you don’t cause additional harm to the underlying layers. For larger sections, a reciprocating saw may be necessary to cut through damaged materials efficiently.
As you work, keep a close eye on any remaining debris that could pose risks.
It’s essential to follow proper disposal methods, adhering to local regulations for hazardous waste if applicable. Dispose of materials in designated containers to maintain a safe work environment and avoid fines.
Repairing Underlying Structures
After removing the damaged roofing materials, it’s essential to assess and repair the underlying structures to secure your roof’s integrity. This step assures that any hidden damage is addressed, preventing future issues.
Start with thorough structural evaluations to identify compromised areas. Here’s what you should focus on:
Inspect the Rafters: Check for warping or burns in the wooden rafters, as these are critical underlying materials that support the entire roof structure.
Evaluate the Decking: Look for signs of charring or rot in the decking materials, since these can severely weaken your roof.
Assess Insulation and Ventilation: Confirm insulation hasn’t been compromised by fire and that ventilation systems are intact to maintain airflow.
Replacing Shingles or Tiles
When replacing shingles or tiles after fire damage, you need to first assess the extent of the damage to determine what materials are required.
Choosing the right replacement materials is essential for ensuring durability and compatibility with existing roofing.
Finally, understanding proper installation techniques will help you achieve a secure and effective repair.
Assessing Damage Extent
Evaluating the extent of fire damage to your roof is essential for determining whether you need to replace shingles or tiles.
A thorough fire damage assessment will help you understand the necessary repairs. Here are three roof inspection techniques to guide you:
Visual Inspection: Look for discoloration, warping, or missing shingles/tiles. Take note of any smoke residues.
Infrared Scanning: Use infrared technology to detect heat damage and moisture trapped under shingles or tiles, which may not be visible.
Professional Assessment: Consider hiring a roofing expert who can provide a detailed analysis and recommend the best course of action.
Choosing Replacement Materials
Once you’ve assessed the extent of the fire damage, it’s time to focus on choosing the right replacement materials for your roof.
Prioritize material durability to guarantee your roof can withstand future challenges. Asphalt shingles are popular for their balance of cost and longevity, while metal roofing offers exceptional resilience and fire resistance.
If you’re leaning towards tiles, consider clay or concrete for their durability and classic appeal.
Don’t forget aesthetic considerations; your roof plays a vital role in your home’s overall look. Choose colors and styles that complement your architecture and neighborhood.
Installation Techniques Overview
Before you begin replacing shingles or tiles, it’s crucial to understand the specific installation techniques that guarantee a secure and lasting fit. Proper application not only enhances durability but also makes certain your roofing materials perform at their best.
Here are three key installation techniques to follow:
Underlayment Installation: Lay a waterproof underlayment to protect against moisture before installing shingles or tiles.
Nailing Patterns: Use the appropriate nailing pattern to make sure each shingle or tile is securely fastened, reducing the risk of wind damage.
Overlapping: Overlap shingles or tiles correctly to create a watertight seal, preventing leaks and prolonging the roof’s life.
Treating or Replacing Insulation
When evaluating insulation after fire damage, it’s important to determine whether it can be treated or needs replacement. Start by inspecting the insulation types in your roof, such as fiberglass, cellulose, or spray foam.
If the insulation shows only minor damage, you might be able to clean and treat it, especially if it can still provide adequate moisture control. However, if it’s charred, wet, or has absorbed smoke, replacing it’s critical for your home’s safety and efficiency.
Consider the potential for mold growth in damaged insulation, too. Moisture control is essential, as it directly affects indoor air quality.
If you decide on replacement, choose insulation types that align with your local climate and building codes. This guarantees not just compliance but also a cozy, healthy environment for you and your family.
Always consult with a professional to make the best choice for your specific situation.
Reinforcing Structural Integrity
When addressing fire damage, you’ll need to start by evaluating the structural integrity of your roof.
Identifying any compromised areas is essential, as it informs your next steps.
Utilizing support beams can effectively reinforce weakened sections, ensuring the roof can bear loads and resist future damage.
Assessing Structural Damage
Although fire can severely compromise a roof’s structural integrity, evaluating the damage accurately is essential for effective repair.
You need to conduct a thorough damage evaluation to guarantee structural stability. Here are three critical steps to follow:
Visual Inspection: Check for obvious signs of damage, such as charred materials, warped beams, or sagging roofs.
Material Testing: Assess the strength of structural components using non-destructive testing methods, ensuring they meet safety standards.
Professional Assessment: Consult with a structural engineer who can provide an expert analysis and recommend necessary repairs.
Utilizing Support Beams
After evaluating the structural damage, reinforcing the roof’s integrity often involves utilizing support beams.
You’ll want to contemplate various support beam types, such as wooden, steel, or engineered beams, each offering unique benefits in strength and durability. Proper beam installation is essential; verify you’re following local building codes to maintain safety and compliance.
Begin by evaluating load requirements, then strategically place the beams to distribute weight evenly. This not only supports the roof but also prevents future sagging or failure.
If you’re unsure, consult with a structural engineer to design a support system tailored to your needs. By reinforcing with the right beams, you’re taking a significant step in restoring your roof and enhancing the overall safety of your home.
Applying Fire-Resistant Coatings
Applying fire-resistant coatings is essential for enhancing the durability of roof structures exposed to fire damage.
These coatings not only protect against flames but also offer various coating benefits that can prolong the life of your roof.
Here are three key fire-resistant applications you should consider:
Intumescent Coatings: These expand when exposed to heat, creating a protective barrier that shields your roof materials from fire.
Fire-Resistant Sealants: These sealants fill gaps and cracks, preventing flames and smoke from penetrating your roof structure.
Fire-Retardant Paints: These paints provide an additional layer of defense, reflecting heat and reducing the risk of ignition.
Implementing Proper Ventilation
To effectively mitigate fire damage risks, implementing proper ventilation in your roofing system is crucial. Effective air circulation prevents heat and moisture buildup, reducing the likelihood of fire hazards.
Start by evaluating your current ventilation techniques, such as ridge vents, soffit vents, and gable vents, to guarantee they promote ideal airflow.
Consider installing additional vents if you find your system lacking, as this will enhance air circulation throughout the attic space. Confirm that these vents are unobstructed to maximize their efficiency.
Regularly inspect and maintain your ventilation system, as debris can accumulate and hinder airflow.
Remember, a well-ventilated roof not only helps in fire prevention but also improves the overall lifespan of your roofing materials.
Conducting Final Inspections and Clean-Up
After completing repairs, you need to conduct a thorough final inspection to assess structural integrity and guarantee safety.
Remove any debris effectively to prevent future hazards and facilitate a clean environment.
Don’t forget to document the entire repair process for your records and any potential insurance claims.
Assess Structural Integrity
Evaluating the structural integrity of a roof after fire damage is crucial for guaranteeing safety and stability.
You’ll want to conduct a thorough load bearing evaluation to determine if the existing structure can support the weight of any repairs.
Here are three essential steps to follow:
Inspect Beams and Joists: Look for signs of warping, cracking, or charring that could compromise strength.
Check Connections: Verify that all connections between beams, trusses, and walls are intact and secure.
Assess Needed Structural Reinforcements: Identify areas requiring additional support to meet safety standards.
Remove Debris Effectively
Once you’ve assessed the structural integrity of the roof, the next step involves removing debris effectively.
Start by employing proper debris removal techniques, such as using tarps to collect ash, burnt materials, and any other hazardous remnants. Always wear protective gear to guarantee your safety during the process.
As you gather debris, sort it into recyclable and non-recyclable materials to streamline disposal. For safe disposal methods, check local regulations regarding hazardous waste, especially if you encounter items like charred insulation or treated wood.
Consider hiring a professional service if the scope feels overwhelming. Completing this step thoroughly guarantees a clean work environment and prepares the area for the next stages of repair, fostering a sense of community and care in your restoration efforts.
Document Repair Process
Conducting final inspections and clean-up is essential for ensuring the effectiveness of your roof repair after fire damage. This step not only verifies the quality of your work but also prepares you for future assessments.
Here are three key actions to take:
Perform a Damage Assessment: Thoroughly check for any lingering issues or areas needing further attention.
Document Repairs: Keep detailed records of all repairs conducted, including photos and descriptions, to support future claims or inspections.
Clean Up: Remove all debris and leftover materials to create a safe environment and enhance the appearance of your property.
Frequently Asked Questions
How Can I Determine if My Roof Is Salvageable After Fire Damage?
To determine if your roof’s salvageable, conduct a thorough roof inspection and damage assessment. Look for structural integrity, material condition, and signs of warping or charring. Professional evaluation can provide clarity and guarantee safety.
What Should I Do if I Suspect Hidden Fire Damage in My Roof?
If you suspect hidden fire damage in your roof, inspect for hidden signs like discoloration or smoke odor. Prioritize fire safety by contacting a professional to assess the damage and recommend necessary repairs.
Are There Specific Materials Recommended for Fire-Damaged Roof Repairs?
When repairing fire-damaged roofs, you’ll want to use fire resistant materials like fiberglass and metal. Additionally, employing advanced roof repair techniques guarantees durability, enhancing safety and resilience against future incidents while promoting community standards.
How Long Does the Roof Repair Process Typically Take After Fire Damage?
The roof repair process after fire damage typically takes several weeks, depending on restoration factors like severity and materials. You should plan for repair timelines that accommodate inspections, approvals, and actual restoration work.
Will My Insurance Cover the Costs of Fire Damage Roof Repairs?
When disaster strikes, you’ll want to check your insurance policies. Coverage limits vary, so review your plan carefully. Often, fire damage roof repairs are included, but confirm your specific coverage to avoid surprises later.
Review
In the aftermath of fire damage, prioritizing thorough roof repair is essential for safety and resilience. By evaluating damage, removing compromised materials, and reinforcing structures, you create a strong foundation for future protection. Just as a phoenix rises from the ashes, your roof can emerge stronger with fire-resistant coatings and proper ventilation. Conducting meticulous inspections and clean-ups guarantees not only functionality but also enhances aesthetic appeal, paving the way for lasting durability and peace of mind.