Contents
When faced with the aftermath of water damage, you might feel overwhelmed by the potential mold growth lurking in the shadows. However, fear not, as there are ten effective tips that can help you tackle this challenge with confidence. By following these guidelines, you can guarantee a thorough and successful mold removal process, safeguarding your home from further harm. So, are you ready to take the first step towards a mold-free environment after water damage?
Key Takeaways
- Conduct thorough visual inspections for visible damage signs.
- Ensure proper ventilation to prevent mold spores from thriving.
- Remove water-damaged materials safely and consider professional help.
- Use appropriate protective gear like N95 respirators and gloves.
- Scrub and disinfect surfaces with EPA-registered products to prevent mold growth.
Assessing the Extent of Damage
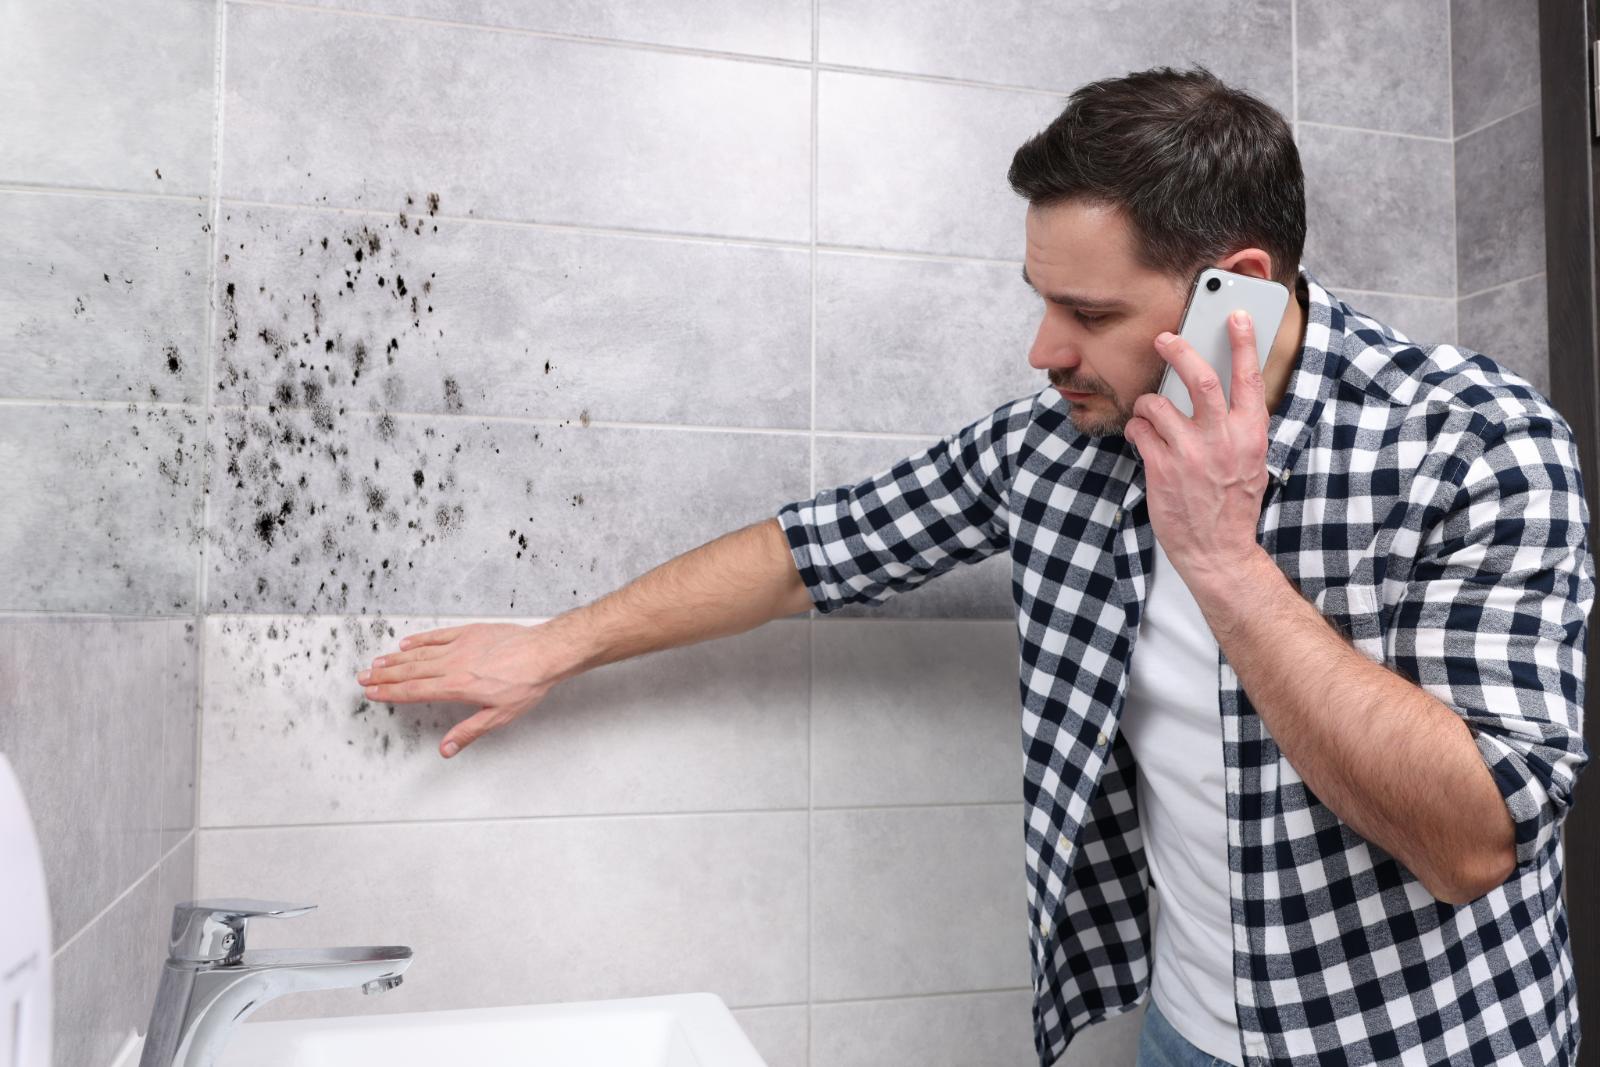
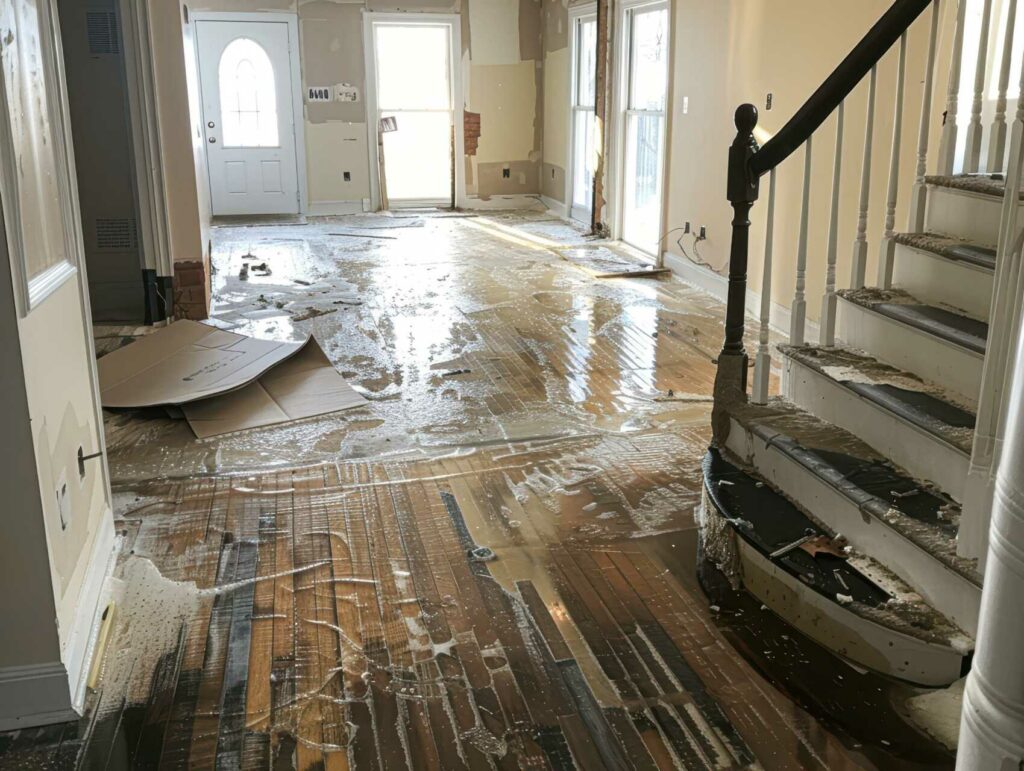
To determine the full scope of the water damage and mold growth, conduct a thorough visual inspection of the affected areas using proper protective gear. Begin by utilizing moisture detection tools to identify areas where water has infiltrated. Look for discoloration, warping, or peeling of surfaces, as these are indicators of water damage. Pay close attention to corners, ceilings, and areas near plumbing fixtures, as they’re common hotspots for moisture accumulation. Document all visible signs of damage using photographs or notes to aid in the damage assessment process.
Once the visual inspection is complete, proceed with a detailed damage assessment. Check for any soft or spongy areas on walls or floors, as these could indicate extensive water damage. Probe areas that appear suspicious to determine the extent of moisture saturation. Take note of any musty odors or visible mold growth as these are clear signs of mold proliferation. By conducting a thorough moisture detection and damage assessment, you can accurately gauge the level of restoration required.
Ensuring Proper Ventilation
To effectively tackle mold growth post-water damage, ensuring proper ventilation is essential. Adequate airflow aids in drying out damp areas, preventing mold spores from thriving.
Implementing ventilation strategies like opening windows, using fans, and utilizing dehumidifiers can help create an environment inhospitable to mold growth.
Ventilation Importance
Proper ventilation is essential for effective mold removal after water damage, as it helps prevent the growth and spread of mold spores in enclosed spaces. Utilizing ventilation techniques such as opening windows, using exhaust fans, and employing air purifiers can greatly improve air quality by reducing the concentration of mold spores indoors.
Adequate ventilation not only aids in drying out damp areas, inhibiting mold growth, but also assists in expelling existing mold particles from the environment. By increasing air circulation and replacing stagnant air with fresh air, ventilation plays a vital role in creating an inhospitable environment for mold to thrive.
Ventilation Strategies
Ensuring adequate ventilation in water-damaged areas is paramount for effectively controlling mold proliferation and maintaining indoor air quality. When dealing with water damage, implementing proper ventilation techniques is essential. Here are some strategies to enhance ventilation and improve air quality:
Natural Ventilation: Open windows and doors to let fresh air circulate.
Mechanical Ventilation: Use fans and dehumidifiers to increase airflow.
Ventilation Ducts Inspection: Make sure ducts are clean and unobstructed to prevent mold spores from spreading.
Air Quality Considerations: Monitor humidity levels and use air purifiers to filter out mold spores and improve indoor air quality.
Removing Water-Damaged Materials
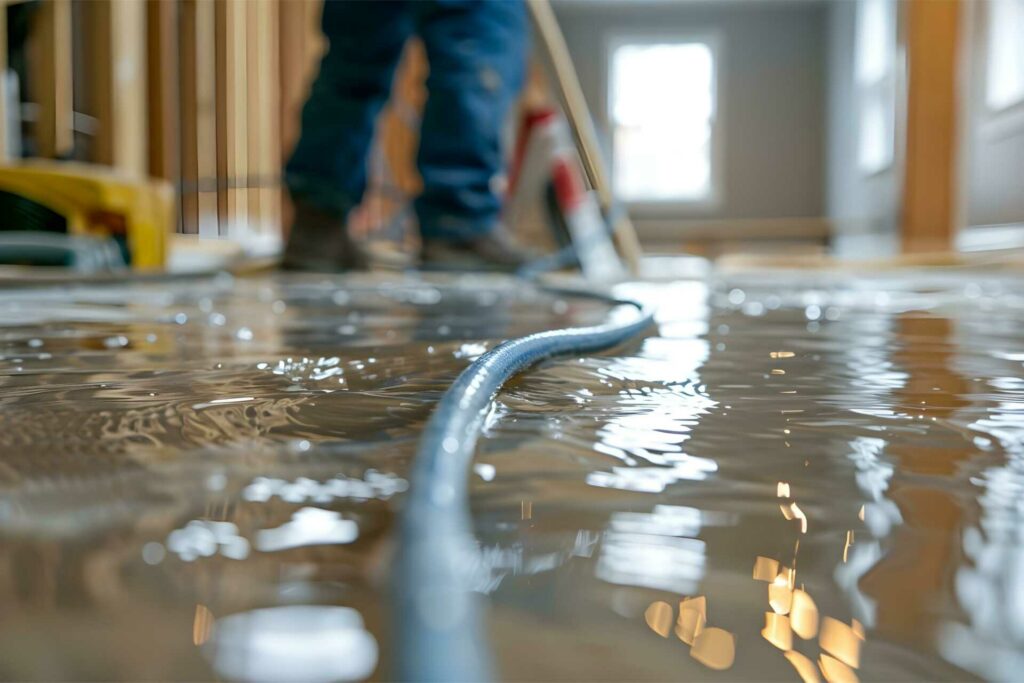
Evaluating water-damaged materials is essential to determine salvageability and extent of contamination. Proper disposal methods must be followed to prevent further spread of mold spores.
Consider professional restoration services for complex or extensive water damage situations.
Material Assessment Process
Conducting a thorough evaluation of water-damaged materials is essential in determining the extent of contamination and the appropriate removal steps. To effectively assess the damage, follow these key steps:
Moisture Detection: Utilize moisture meters to identify areas with high moisture content, indicating potential water damage.
Visual Inspection: Carefully examine materials for signs of mold growth, discoloration, or warping caused by water exposure.
Material Salvageability Assessment: Determine if materials can be salvaged through drying and cleaning or if they need complete removal.
Testing: Consider conducting air and surface tests to assess mold levels and identify the type of mold present, guiding the removal process effectively.
Safe Disposal Methods
To safely dispose of water-damaged materials, it’s vital to follow strict guidelines for containment and removal procedures. Adhering to disposal regulations is essential to prevent environmental contamination and health risks.
When handling water-damaged materials, guarantee safe practices to minimize exposure to hazardous waste. Consider eco-friendly options for disposal, such as recycling or reusing materials when possible. Separate hazardous waste from non-hazardous materials to facilitate proper disposal processes.
Following safe handling protocols not only protects you and your surroundings but also ensures compliance with regulations. Remember, proper disposal methods are essential in preventing further damage and maintaining a healthy environment during the mold removal process.
Professional Restoration Services
When handling water-damaged materials, seeking professional restoration services for removing these items is a prudent step towards efficient remediation. Professional restoration services not only guarantee thorough removal of water-damaged materials but also help in preventing mold growth and further structural damage.
Here are key aspects of professional restoration services in the context of removing water-damaged materials:
Evaluation: Professionals assess the extent of water damage and identify the materials that need removal.
Specialized Equipment: Utilization of advanced tools and equipment for safe and efficient removal.
Proper Disposal: Ensuring environmentally friendly disposal methods for water-damaged materials.
Documentation: Detailed documentation of the restoration process for insurance claims and future reference.
Using Appropriate Protective Gear
Consider equipping yourself with the appropriate protective gear to safeguard against potential health risks when undertaking mold removal after water damage.
Proper equipment such as N95 respirators, goggles, gloves, and disposable coveralls are essential to minimize exposure to mold spores and other contaminants. N95 respirators are vital as they filter out small particles present in the air, preventing inhalation of mold spores that can cause respiratory issues.
Goggles protect your eyes from coming into contact with mold spores and cleaning solutions, reducing the risk of irritation or injury. Gloves help prevent direct skin contact with mold and contaminated surfaces, lowering the chances of skin irritation or allergic reactions. Disposable coveralls offer full-body protection, preventing mold spores from settling on your clothing and skin.
Scrubbing and Disinfecting Surfaces
Equip yourself with proper cleaning materials and disinfectants to effectively eliminate mold growth on surfaces, ensuring a thorough and sanitary restoration process. Mold prevention is essential to avoid recurring issues.
When scrubbing and disinfecting surfaces after water damage, follow these steps for the best results:
Use an EPA-registered disinfectant: Choose a disinfectant specifically designed to combat mold and mildew. Ensure it’s effective against a broad spectrum of pathogens to ensure thorough surface disinfection.
Scrub vigorously: Use a scrub brush or sponge to remove mold from surfaces physically. Pay close attention to grout lines, corners, and any porous materials where mold can thrive.
Rinse with clean water: After scrubbing, rinse the surfaces with clean water to remove residual mold spores and disinfectant residue.
Dry thoroughly: Allow the surfaces to air dry completely. Proper drying is essential to prevent mold re-growth and ensure a successful restoration process.
Proper surface disinfection is key to eliminating mold effectively and creating a safe environment.
Drying Out the Affected Area Thoroughly
To effectively dry out the affected area, guarantee proper air circulation by opening windows and using fans.
Additionally, a dehumidifier can be used to reduce moisture levels in the space.
These steps will help prevent mold growth and aid in the restoration process.
Proper Air Circulation
To thoroughly dry out the affected area after water damage and ensure proper air circulation, focus on maintaining consistent airflow and reducing humidity levels within the space. Proper air circulation is essential for preventing mold growth and ensuring a healthy environment.
Here are some key steps to achieve ideal air circulation:
Use fans: Place fans strategically to promote air movement throughout the affected area.
Open windows and doors: Allow fresh air to enter the space and facilitate the drying process.
Utilize dehumidifiers: These devices help reduce moisture levels in the air, aiding in the drying-out process.
Consider air purifiers: Enhance air quality by removing mold spores and other contaminants present in the environment.
Dehumidify the Space
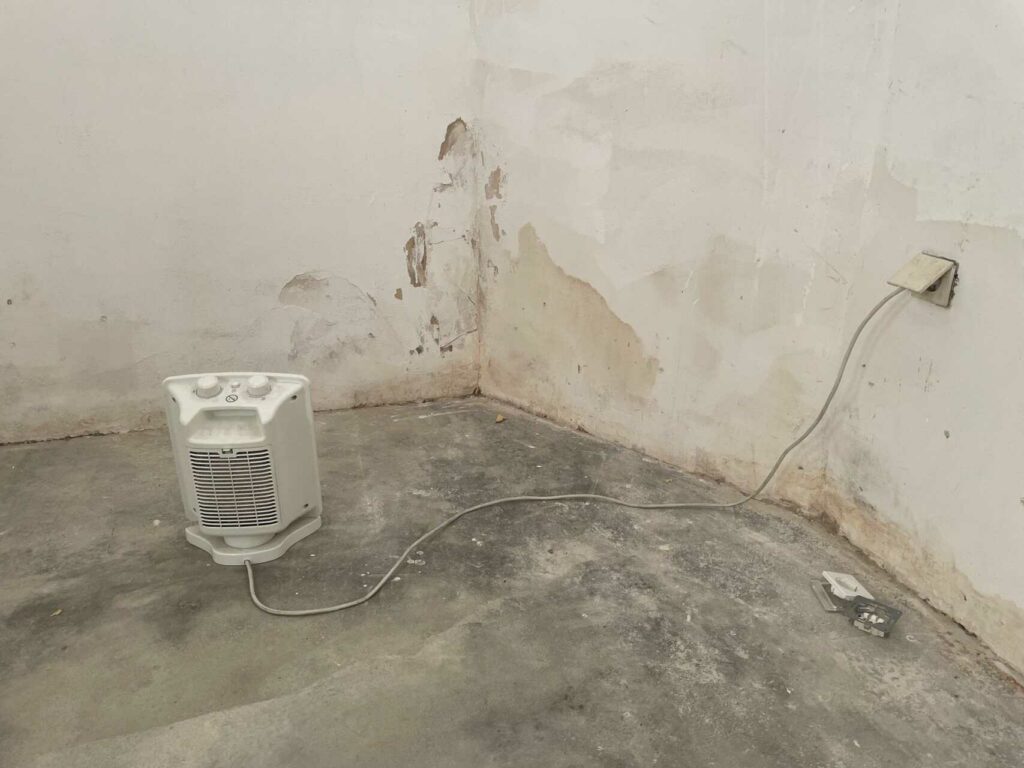
Dehumidifying the space is vital for thoroughly drying out the affected area after water damage and preventing mold growth. Proper humidity control and moisture prevention are key steps in this process. By reducing the moisture content in the air, you create an environment where mold finds it challenging to grow and spread.
To effectively dehumidify the space, consider using dehumidifiers or air movers. These devices work by extracting excess moisture from the air, aiding in the drying process. Additionally, maintain good ventilation to help remove damp air and bring in fresh, dry air. Monitoring the humidity levels using a hygrometer can help you track progress and adjust the dehumidification efforts accordingly.
| Benefits of Dehumidifying |
|---|
| Prevents Mold Growth |
| Faster Drying Process |
| Improved Air Quality |
Applying Mold Inhibitors
Consider applying mold inhibitors as a proactive measure to prevent mold growth after water damage. Mold inhibitors are chemicals that can be applied to surfaces to prevent mold spores from germinating and spreading. Here are some reasons why using mold inhibitors can be beneficial:
Long-lasting Protection: Mold inhibitors provide a protective barrier that can last for an extended period, inhibiting the growth of mold even in damp conditions.
Easy Application: Many mold inhibitors come in spray form, making them easy to apply to a variety of surfaces such as walls, floors, and ceilings.
Cost-effective: Investing in a mold inhibitor can save you money in the long run by preventing the need for costly mold remediation services.
Added Peace of Mind: By applying mold inhibitors, you can have the peace of mind that you’re taking proactive steps to prevent mold growth, creating a healthier indoor environment for you and your family.
Monitoring for Mold Recurrence
After applying mold inhibitors to prevent mold growth, the next step involves monitoring for any signs of mold recurrence to secure a mold-free environment. Mold prevention is vital in maintaining a healthy indoor space. Recurrence detection is essential to make certain that any remaining spores don’t develop into a full-blown mold problem.
It is key to regularly inspect previously affected areas. Look out for musty odors, discoloration on walls or ceilings, or any visible mold growth. Pay attention to any new water stains or leaks, as these could indicate the presence of excess moisture conducive to mold growth. Use moisture meters to check humidity levels in different rooms, focusing on areas prone to dampness.
Keep track of any spikes in humidity, as they can create ideal conditions for mold to thrive. By staying vigilant and proactive in monitoring for mold recurrence, you can address any potential issues promptly and maintain a mold-free environment.
Seeking Professional Help if Needed
If you’re facing persistent or extensive mold growth despite your efforts, consulting professional mold remediation services is imperative to address the issue effectively. Mold remediation experts have the knowledge, experience, and tools to tackle severe mold infestations efficiently. Here are some reasons why seeking professional help may be necessary:
Specialized Equipment: Professionals possess advanced equipment like HEPA vacuums, air scrubbers, and moisture meters, essential for thorough mold removal.
Expertise in Mold Identification: Professionals can identify specific types of mold present in your property and implement targeted removal strategies.
Safe Handling of Contaminated Materials: They’re trained in handling hazardous materials and can safely dispose of contaminated items.
Long-Term Solutions: Professionals can provide recommendations to prevent mold recurrence, saving you from future headaches and expenses.
Before opting for professional services, consider DIY options and cost considerations. However, when mold growth persists or appears severe, investing in professional mold remediation is often the most effective and safest choice.
Preventing Future Water Damage
To prevent future water damage effectively, focus on implementing proactive measures that address potential sources of moisture intrusion within your property. Start by considering waterproofing solutions such as sealants for basements and foundations to create barriers against water seepage.
Regularly inspect and maintain your home’s exterior to ensure there are no cracks or openings where water could enter. Implement prevention methods like installing proper drainage systems to redirect water away from your property’s foundation. Gutters and downspouts should be kept clean and free of debris to prevent water from backing up and causing leaks.
Additionally, maintaining your home’s plumbing system is important in preventing water damage. Check for leaks, drips, or any signs of water damage regularly and address them promptly. By being proactive in waterproofing, maintaining drainage systems, and staying on top of home maintenance, you can greatly reduce the risk of future water damage to your property.
Summary
Mold removal after water damage is a critical process that requires careful attention to detail and thoroughness.
Mold can start growing in as little as 24-48 hours after water damage occurs. This statistic highlights the importance of acting quickly and following the ten tips outlined to effectively prevent mold growth and create a safe, mold-free environment in your home.
Remember, prevention is key to maintaining a healthy living space.


