Contents
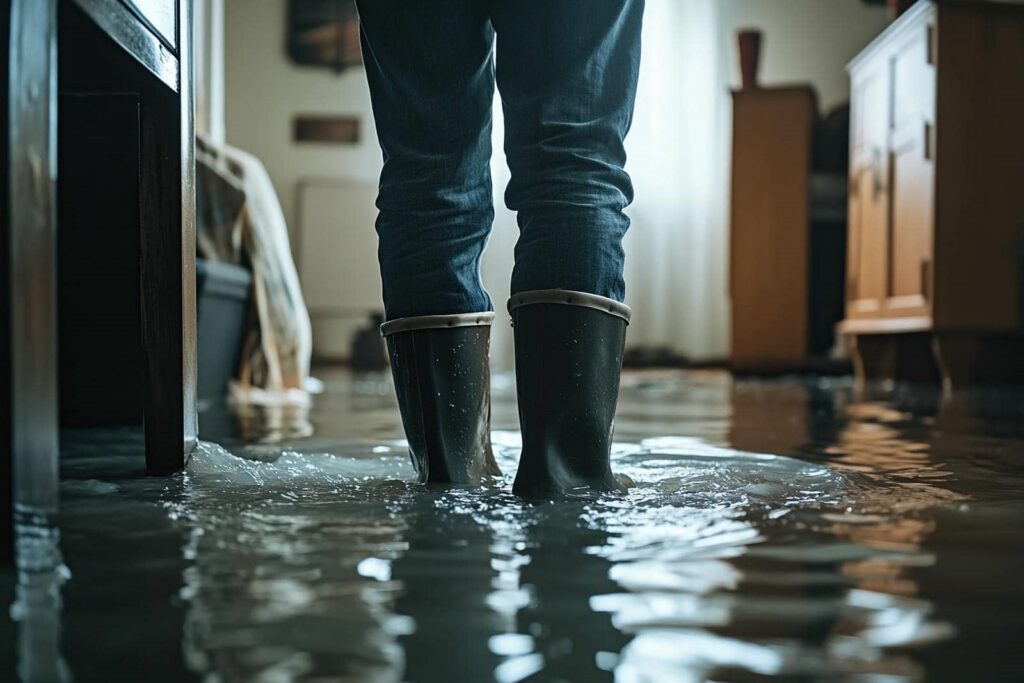
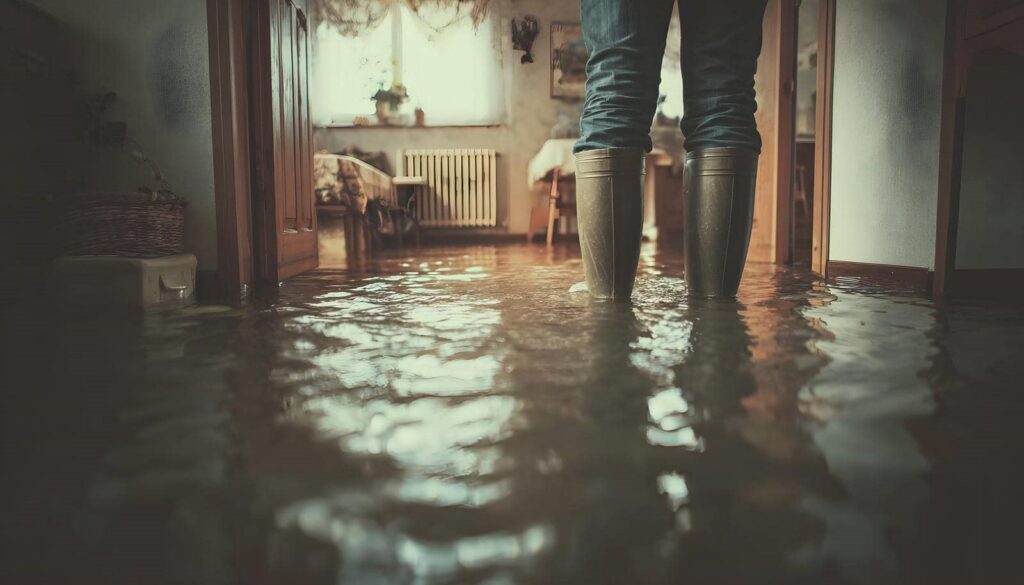
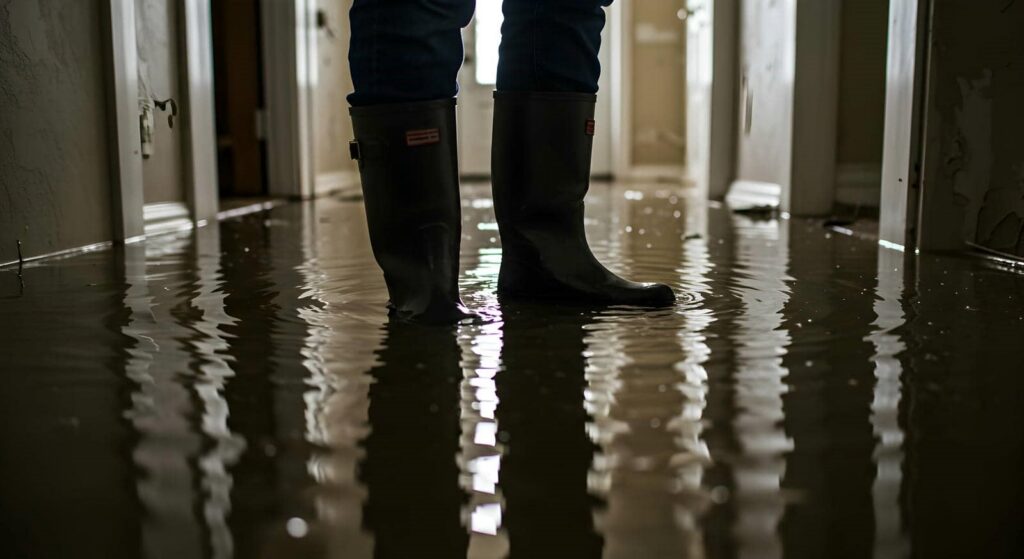
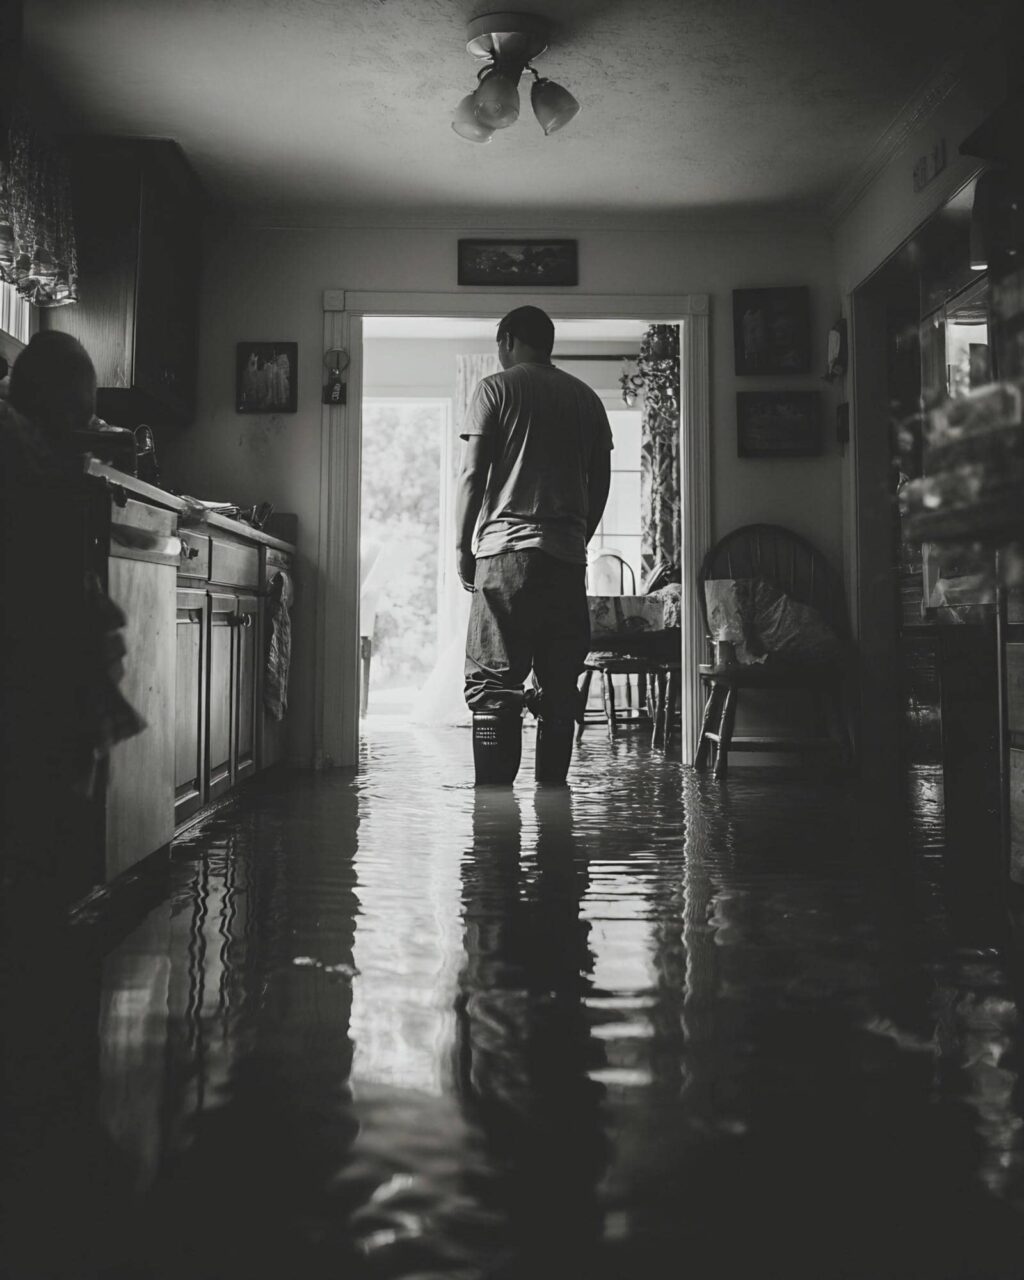
When faced with water damage, quick action is essential to minimize further issues. You can implement three effective emergency roof repair techniques: using temporary tarps for immediate protection, sealing leaks with roofing cement, and installing plywood as a barrier. Each method plays a vital role in safeguarding your home. Understanding how to apply these strategies will greatly impact your repair efforts and overall property health. Let’s explore these techniques in detail.
Key Takeaways
- Use temporary tarps to cover leaks, directing water away from the roof to prevent further damage.
- Seal visible leaks with roofing cement, applying generously and extending beyond the damaged area for a solid seal.
- Install plywood over larger damaged sections, securing it tightly and sealing edges with roofing tar or cement to enhance the barrier.
- Choose mild weather days for repairs, avoiding high winds or rain to ensure proper installation and effectiveness.
- Regularly inspect and maintain your roof to prevent future leaks and damage from occurring.
Temporary Tarps for Immediate Protection
When roof damage occurs, using temporary tarps can provide immediate protection against further leaks and structural issues. You should assess the area first, determining the extent of the damage and selecting a tarp that’s large enough to cover it completely.
For effective tarp installation, secure the tarp tightly over the affected area using nails, screws, or weights, ensuring it’s anchored firmly to withstand wind and rain.
Weather considerations are essential; choose a day with mild conditions for installation, avoiding high winds or rain that could complicate the process. Be mindful of how the tarp is positioned to direct water away from the roof and prevent pooling.
Sealing Leaks With Roofing Cement
Sometimes, you might discover leaks in your roof that require immediate attention. One effective method for sealing these leaks is using roofing cement.
Start by performing leak detection to identify the exact location of the problem. Once you’ve pinpointed the leak, make certain the area is clean and dry; this helps the roofing materials bond better.
Apply a generous amount of roofing cement directly over the leak, using a putty knife to create an even layer. Make sure to extend the cement a few inches beyond the damaged area to guarantee a solid seal.
For larger cracks, consider using a patch made of roofing fabric, applying the cement over it for extra support.
Allow the cement to cure according to the manufacturer’s instructions, assuring a durable, weather-resistant seal. With these steps, you can effectively mitigate water damage and protect your home from further issues.
Installing Plywood as a Barrier
After sealing leaks with roofing cement, you might need to install plywood as a temporary barrier to provide additional protection from water intrusion.
Start by measuring the affected area to determine the size of plywood needed. Choose exterior-grade plywood for its durability and resistance to moisture.
Cut the plywood to fit snugly over the damaged section of the roof. Use a pry bar if necessary to lift any shingles or roofing materials obstructing the area.
Secure the plywood in place with roofing screws or nails, ensuring it’s tightly fastened to prevent movement during storms.
To enhance its effectiveness as a water barrier, overlap the edges of the plywood with roofing tar or additional roofing cement. This seals any gaps, further preventing water from seeping through.
Frequently Asked Questions
How Can I Identify the Source of the Leak?
To identify the leak, you’ll need to conduct leak detection and moisture assessment. Inspect the roof for water stains, check attic insulation, and examine walls for damp spots. This’ll help pinpoint the source effectively.
When Should I Call a Professional for Roof Repairs?
When you notice common signs like persistent leaks or sagging ceilings, it’s time to call a professional. Ignoring these issues can lead to higher repair costs down the road, so don’t hesitate to reach out.
What Materials Are Best for Temporary Roof Repairs?
For temporary roof repairs, you’ll want to use tarpaulin covers to shield against leaks and roofing sealants to seal gaps. These materials provide effective, quick solutions, ensuring your roof stays protected until permanent repairs can be made.
How Long Can Temporary Repairs Last?
Temporary repairs can last up to six months, depending on the leakage severity assessment. Regularly inspect your repairs and be proactive; addressing issues early helps maintain your roof’s integrity and provides peace of mind during repairs.
Can I Use Duct Tape for Emergency Roof Repairs?
You can use duct tape for emergency roof repairs, but its effectiveness as a temporary solution is limited. While it might hold for a short time, consider more durable options for long-lasting protection against leaks.
Summary
By using these emergency roof repair techniques, you can effectively mitigate water damage and protect your home. It might seem intimidating to tackle these repairs yourself, but remember, taking swift action can save you from costly repairs down the line. Don’t worry if you’re not a roofing expert; these straightforward methods are manageable for anyone willing to put in a little effort. With the right tools and techniques, you can restore your roof’s integrity and shield your home from further damage.