Contents
When you handle certified roof repair, you need a clear process to avoid hidden failures. You’ll start by checking water intrusion damage, then document every defect for insurance. From there, you’ll match materials to the roof system, repair shingles, flashing, and underlayment, and control moisture before mold sets in. A final inspection can reveal what the first pass misses, and that’s where the real difference begins.
Key Takeaways
- Inspect attic and roof surfaces first, and limit traffic if you notice sagging, saturation, or soft spots.
- Document all damage with wide shots, close-ups, and date-stamped photos before making temporary repairs.
- Match repair materials to your roof type, age, slope, and manufacturer specifications for proper compatibility.
- Replace damaged shingles, flashing, and underlayment carefully, sealing exposed fasteners and checking all laps.
- Dry the area completely, prevent mold, and schedule a final inspection with a certified roofer.
Inspect Roof Damage After Water Intrusion
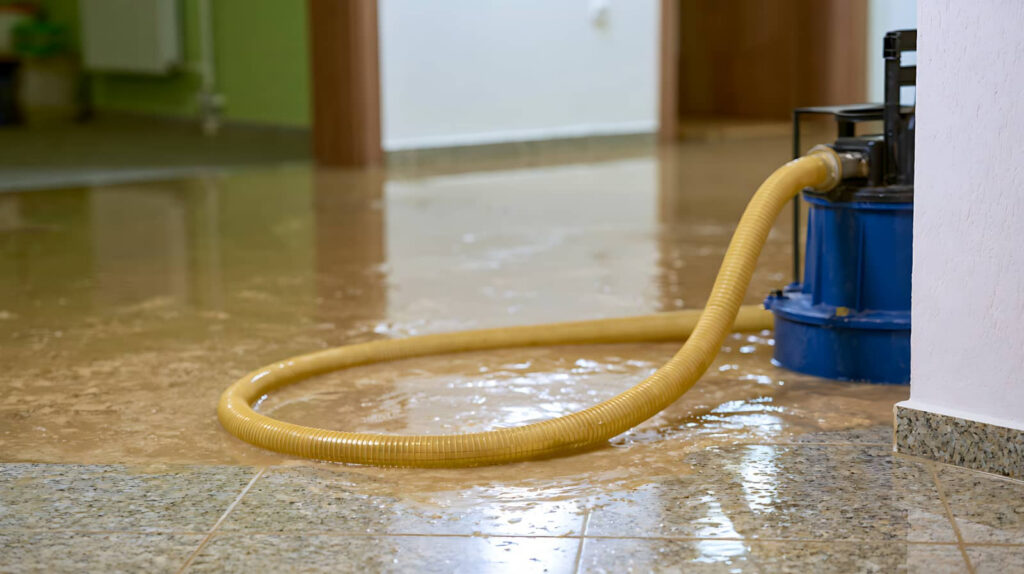
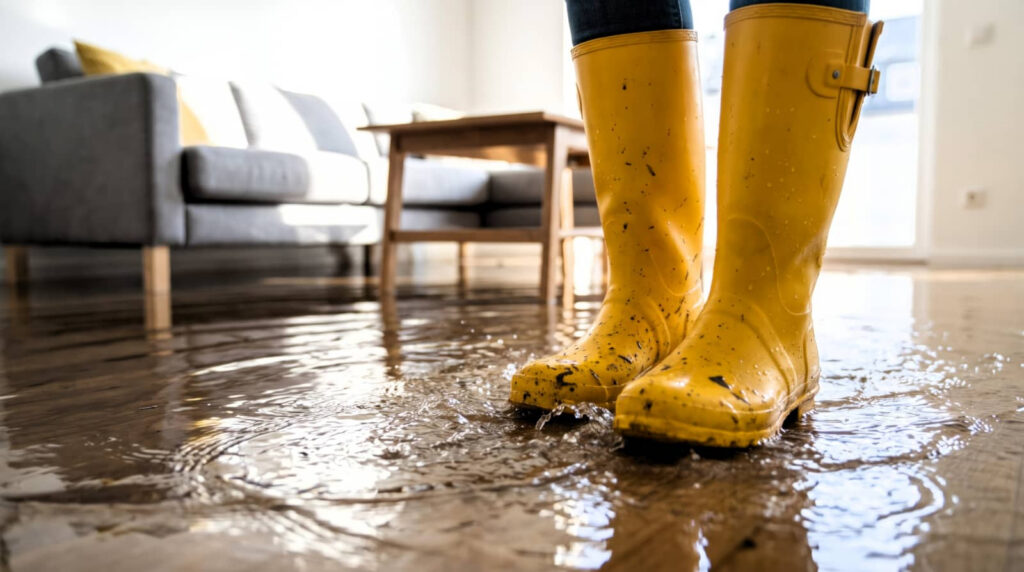
After water intrusion, you should inspect the roof right away to pinpoint the source and extent of the damage.
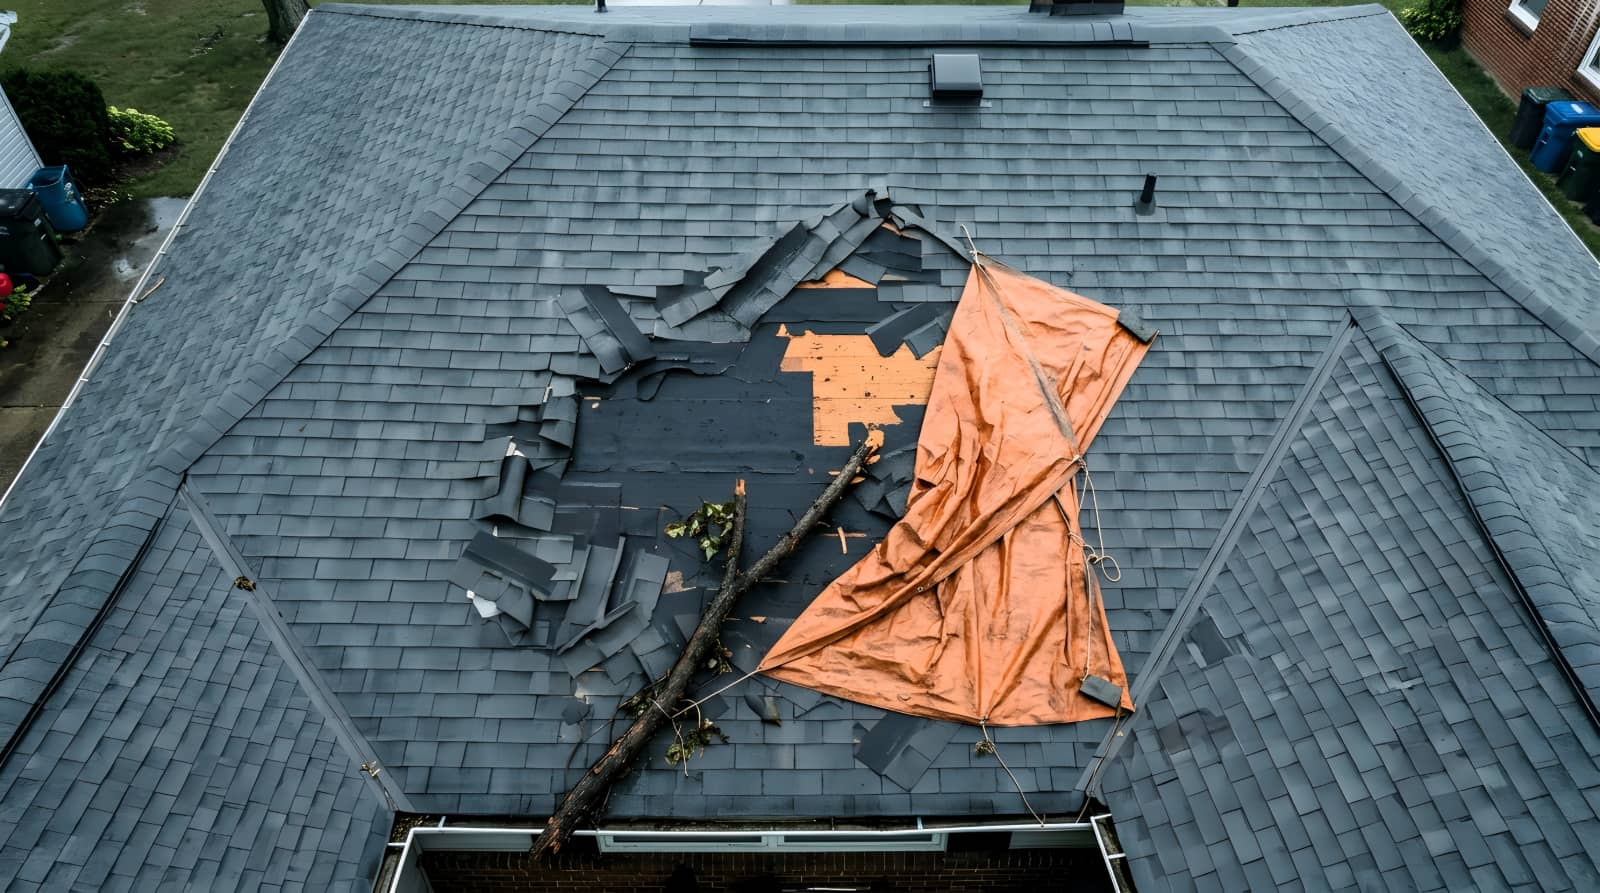
Start inside the attic, then move outside with safe access gear. Look for wet decking, stained insulation, rusted fasteners, lifted shingles, cracked flashing, and soft spots.
Use moisture detection tools to confirm hidden seepage around vents, chimneys, and valleys. Mark each damaged area so you can track repairs without missing adjacent trouble.
These roof maintenance tips help you act fast and stay part of a crew that protects the whole structure.
If you spot sagging or widespread saturation, limit traffic on the roof and arrange a professional assessment. Quick, careful inspection reduces secondary damage and keeps your repair plan efficient.
Document Roof Leak Damage for Insurance Claims
Once you’ve found the leak, document every sign of roof damage before you make temporary repairs. Use your phone to capture wide shots, close-ups, and date-stamped images from inside and outside. Include stained decking, wet insulation, ceiling spots, and damaged flashing.
Keep notes on where you stood, when you noticed the leak, and how water moved through the structure. This claim documentation helps you present a clear loss history and supports insurance procedures.
- Photograph each damaged area from multiple angles.
- Save receipts, weather reports, and inspection notes.
- Label files so your adjuster can review them fast.
You’ll strengthen your case when you organize evidence in one folder and share it promptly. Stay methodical, and you’ll fit right in with homeowners who handle claims the right way.
Choose The Right Roof Repair Materials
With the damage documented, you can match the repair to the roof system and pick materials that restore both waterproofing and durability.
You should verify the roof’s age, slope, and existing roofing materials before you buy anything. Use compatible products so your repair bonds cleanly and performs as a single system.
If your roof uses asphalt, metal, tile, or membrane assemblies, choose matched components and approved sealants. Ask a certified supplier for repair techniques that fit local climate, wind load, and fire ratings.
Keep fasteners, adhesives, and coatings within manufacturer specs, because mismatched parts can void coverage and create leaks.
When you select the right materials, you’re protecting your home and joining a crew of owners who do repairs the right way.
Fix Shingles, Flashing, And Underlayment
Start by lifting the damaged shingles, then inspect the flashing and underlayment beneath them for tears, corrosion, or soft spots.
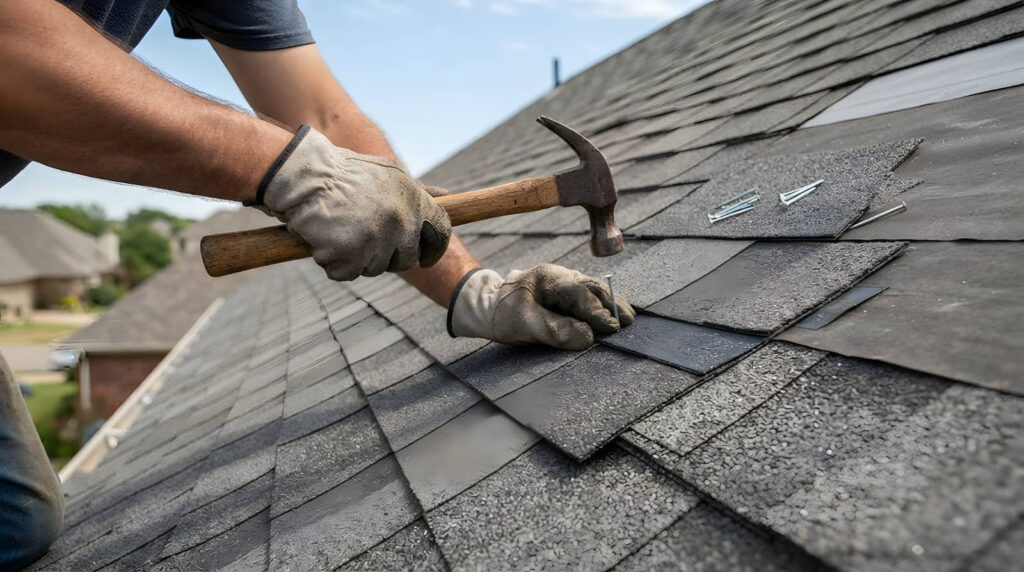
You’ll want to match each shingle replacement to the existing course, then nail it flush so wind can’t catch the edge. Keep your cuts straight and overlap properly.
For flashing installation, clean the metal, bend it to fit the joint, and fasten it with corrosion-resistant nails. Replace any brittle underlayment sections and keep seams staggered for better coverage.
Work methodically so your crew stays aligned and the repair looks intentional.
- Slide new shingles under the exposed row
- Seal exposed fasteners with roofing cement
- Check flashing laps at walls and vents
Prevent Mold And Schedule A Final Inspection
After you finish the repairs, dry the area thoroughly and clear away any trapped debris, since moisture left under shingles or flashing can lead to mold growth.
You should treat mold prevention as part of your standard closeout: ventilate the attic, replace any wet insulation, and apply approved antimicrobial treatment only where needed.
Check the decking, fasteners, and sealant lines for hidden damp spots, then confirm all surfaces are clean and dry before you leave.
Use your inspection checklist to verify shingle alignment, flashing edges, vent integrity, and gutter flow.
Schedule a final inspection with a certified roofer so you can catch missed defects early and protect the whole crew’s work.
When you finish together, you’ll know the roof is safe, sound, and ready for service.
Frequently Asked Questions
How Do I Know if My Roof Repair Needs Permits?
You’ll need permits if your repair changes structure, decking, or fire rating; check roofing regulations and permit requirements with your local building department. If you’re unsure, ask a licensed roofer before starting.
Can I Stay Home During a Certified Roof Repair?
Yes, you can usually stay home, but test the theory that comfort beats disruption: roof noise and safety concerns often prove otherwise. You’ll want clear access, cautious pets, and contractor coordination to stay safe.
How Long Does Certified Roof Repair Usually Take?
You’ll usually see certified roof repair take one day to a week, depending on damage and roof size. Your repair duration can stretch if weather impact slows crews, so stay flexible and connected.
What Certifications Should a Roof Repair Contractor Have?
You should verify contractor qualifications like state roofing license, insurance, manufacturer certifications, and safety training. These certification benefits protect your property, improve workmanship, and help you trust a crew that’s got your back.
How Often Should Roofs Be Professionally Inspected?
You should schedule roof inspections twice yearly, ideally in spring and fall, plus after severe storms. Increase roof inspection frequency if you spot signs damage, leaks, or missing shingles. You’ll protect your home and community.
Summary
Certified roof repair works best when you act fast and follow the right steps. You inspect damage, document every leak for insurance, and choose materials that match your roof’s age and type. Since many homeowners overlook hidden water damage after a leak, you should also check shingles, flashing, and underlayment carefully. Dry the area, replace wet insulation, and schedule a final inspection so you can catch defects before they spread.