Contents
Top-rated roof and flood repair starts with identifying problems that can remain hidden long after surfaces appear dry. Hidden roof leaks and trapped flood moisture can continue damaging framing, insulation, and other materials. Inspect shingles and flashing, address active leaks, and dry affected areas with appropriate equipment. Safe cleanup, disinfection, and certified repairs can help reduce mold risks, structural deterioration, and potential code issues. Following the right sequence is essential to prevent further damage and ensure lasting repairs.
Key Takeaways
- Inspect roof and flood damage quickly, photograph issues, and call a professional for major structural or electrical problems.
- Contain leaks immediately with tarps, roofing cement, buckets, and shutoff valves to limit further water intrusion.
- Dry wet areas fast using fans and dehumidifiers, and keep humidity below 60% to prevent mold growth.
- Remove contaminated standing water and soaked porous materials safely with protective gear, then disinfect exposed surfaces.
- Get written estimates from local certified contractors, compare warranties and permits, and verify insurance documentation before hiring.
Check Roof and Flood Damage First
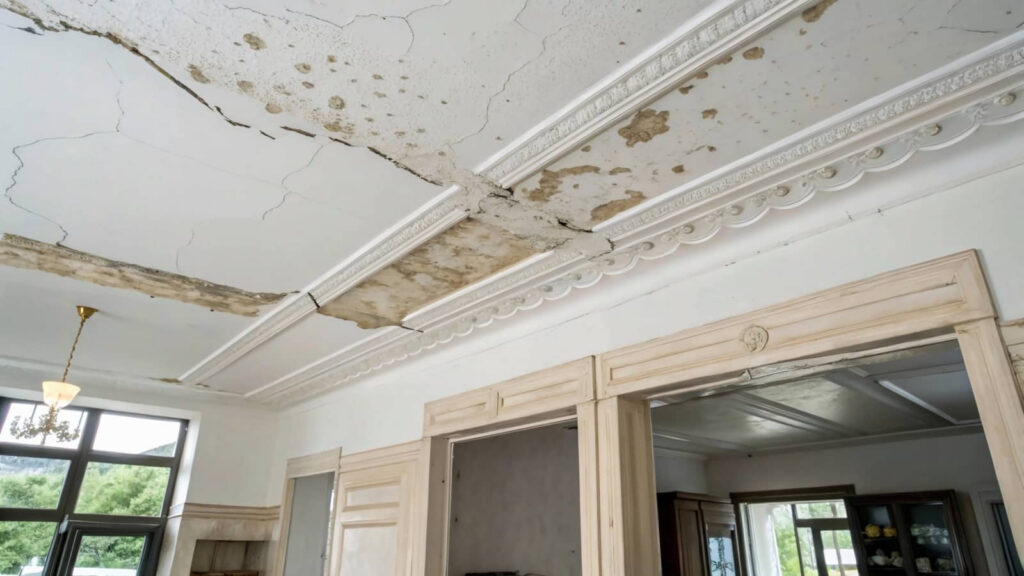
Before you start any cleanup, inspect the roof and flood-affected areas for visible structural damage, leaks, pooling water, and displaced materials.
Then document every issue with photos and brief notes so your damage assessment stays organized and useful.
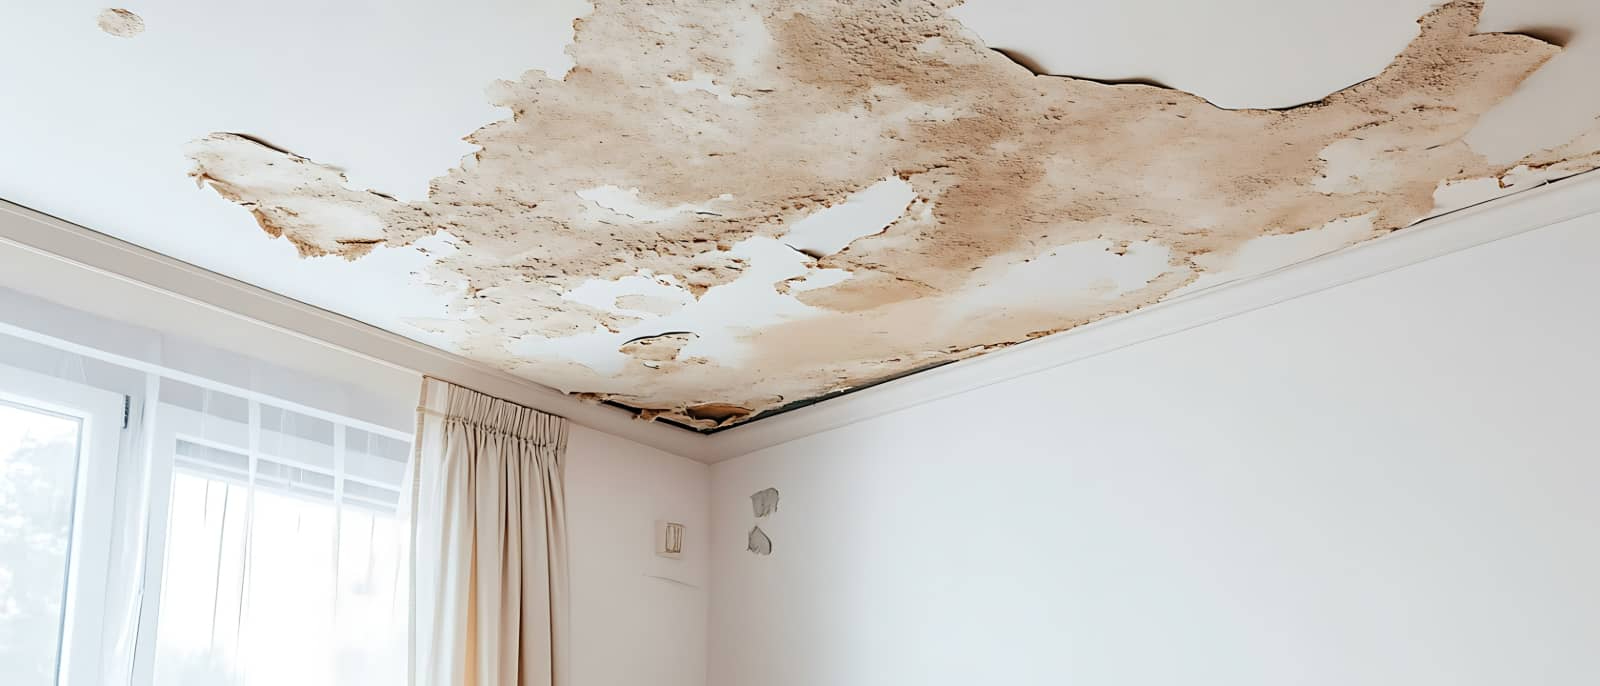
During the roof inspection, check shingles, flashing, vents, gutters, and ceiling stains for movement, gaps, or sagging.
Look at walls, insulation, flooring, and electrical components in flood zones for swelling, corrosion, or contamination.
If you spot major cracks, soft framing, or a shifting roofline, limit access and notify a qualified pro.
Working this way helps you and your crew make smart next steps, avoid missed hazards, and keep the repair process efficient and coordinated.
Stop Active Leaks Immediately
Seal leaks as soon as you find them to limit water intrusion and prevent further structural damage. You should act fast after leak detection, because even a small opening can saturate framing, insulation, and finishes.
Place a tarp over the roof breach, patch punctures with roofing cement, and tighten loose flashing or fasteners. Inside, use buckets, towels, or plastic sheeting to contain drips and protect clean areas.
If water is entering through plumbing or a wall joint, shut off the source and make emergency repairs with approved sealants or replacement fittings.
Keep your work organized, mark each leak location, and document what you fix so your team stays aligned. Quick action helps your home recover faster, and you’ll feel better knowing you’re reducing risk together.
Dry Out Rooms to Prevent Mold
Once the leak is controlled, you need to dry the room quickly to stop mold growth and secondary damage. You can protect your home by acting fast and staying methodical.
Start with dehumidifier use to pull moisture from the air, then increase air circulation with fans and opened interior doors.
- Set the dehumidifier in the wettest room and empty it often.
- Run fans so air moves across damp walls, floors, and trim.
- Remove wet fabrics, rugs, and cardboard to speed drying.
Check humidity daily and aim for below 60%. Keep windows closed if outdoor air is humid.
When you stay consistent, you help your space recover faster and keep your household on the safe, dry side together.
Clean Up Floodwater Safely
After you’ve dried the area as much as possible, remove standing floodwater carefully to reduce contamination and structural damage.
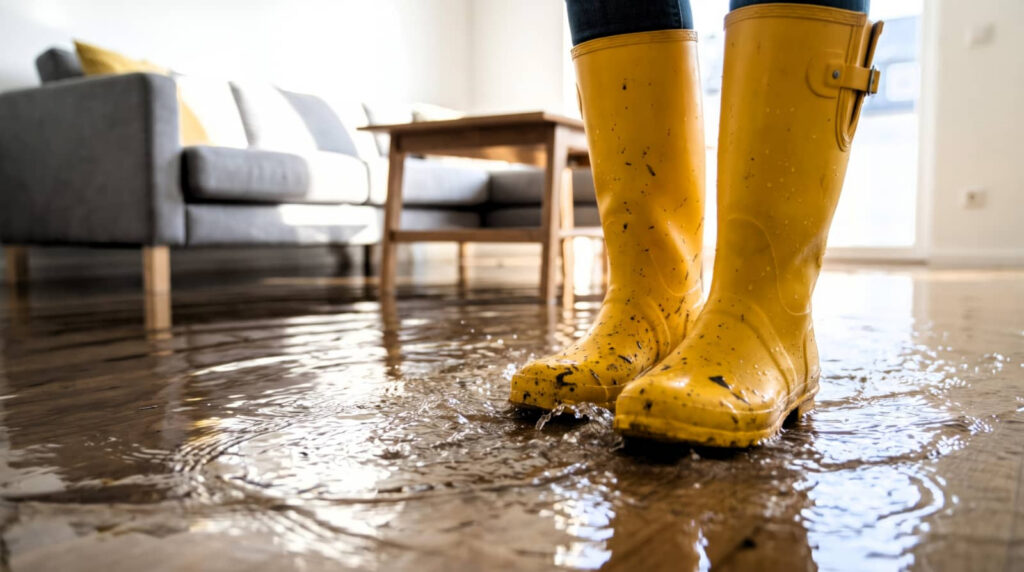
Wear boots, gloves, eye protection, and a respirator if water may contain sewage or chemicals. Turn off power to affected circuits before you enter.
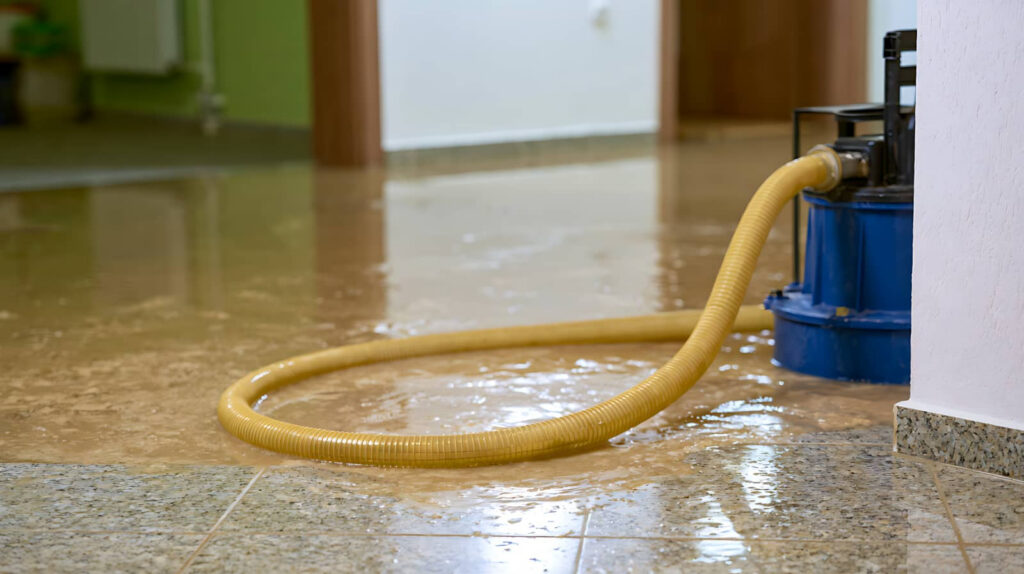
Use cleanup equipment such as a submersible pump, wet/dry vacuum, and buckets to move water out in stages. Work from the lowest point and direct discharge away from your foundation.
Keep children and pets out of the space, and avoid skin contact with murky water. For floodwater safety, treat every puddle as contaminated until tested or cleared by professionals.
Ventilate the area as you pump so moisture doesn’t linger. If water keeps rising, stop and call your insurer or a water damage specialist right away.
Remove Soaked Materials and Debris
Start by removing wet carpets, insulation, drywall, ceiling tiles, and any other porous materials that stayed soaked long enough to trap moisture. You’re protecting your space and your crew’s work area.
Cut materials into manageable sections, then bag or stack them for debris disposal. Keep loads light to avoid tearing bags and spreading contamination.
- Pull out damaged items first, before they start to break down.
- Separate salvageable items from waste so you can move faster.
- Load debris directly into covered containers for quick removal.
Work methodically around framing, baseboards, and subfloors so hidden moisture doesn’t linger. This step supports mold prevention and keeps the site organized for the next phase.
If you move together and stay consistent, you’ll clear the structure efficiently and keep everyone safer.
Disinfect Surfaces After Flooding
With debris and soaked materials removed, you can disinfect the exposed surfaces to limit contamination and help prevent mold growth.
Use approved disinfection methods that match the material and follow label directions exactly. Scrub visible residue first, then apply the solution with enough contact time for effective surface sanitization.
Keep the area ventilated, wear gloves, eye protection, and a respirator if needed, and avoid mixing chemicals. Wipe high-touch areas, framing, subfloors, and hard surfaces in manageable sections so you don’t miss spots.
Change cloths or pads often to prevent spreading contaminants. If a surface stays stained, soft, or odor-laden, treat it again after cleaning.
Repair Shingles, Flashing, and Underlayment
Inspect your shingles for cracks, missing tabs, curling, and soft spots, and replace any damaged pieces right away.
Check the flashing at valleys, vents, chimneys, and roof edges for gaps or corrosion, since water often enters there after flooding.
If the underlayment is torn, saturated, or displaced, you’ll need to repair or replace it before you close the roof back up.
Shingle Damage Assessment
When you assess shingle damage after a roof or flood event, check for cracked, curled, missing, or lifted shingles. Then trace each affected area for damaged flashing and wet or torn underlayment. You’ll spot patterns faster when you compare shingle types and weather impact across slopes, valleys, and edges.
Work with your crew and stay methodical:
- Note shingle alignment, granule loss, and exposed nails.
- Photograph every defect before you touch it.
- Mark each section that needs follow-up repair.
If you see soft spots, discoloration, or debris under lifted tabs, treat the area as compromised. Your team can protect the roof by documenting conditions now and planning precise repairs later.
Flashing And Underlayment Repairs
Once you’ve mapped the damaged sections, remove any loose shingles and expose the flashing and underlayment beneath them so you can check for rust, tears, punctures, and separated seams.
You’ll fit the crew faster when you match each repair to the roof detail: step, valley, chimney, and wall connections each need different flashing types.
Replace bent or corroded metal with new pieces sealed tight to the deck and adjacent courses.
If the underlayment shows water staining, brittleness, or holes, cut back to solid material and patch with compatible underlayment materials that overlap by the manufacturer’s spec.
Reinstall shingles with proper fasteners and seal exposed nails.
Work methodically, keep edges aligned, and you’ll protect your home with the same disciplined standard your neighbors trust.
Hire Certified Roof Repair Help
You should check that the roof repair contractor has a valid license and adequate insurance before any work starts.
Next, verify local experience with flood and roof damage so you know they understand regional codes and repair methods.
Finally, request written estimates to compare scope, materials, labor, and timeline before you hire.
Check License And Insurance
A certified roof repair contractor should always show current license and insurance before any work starts. You belong with licensed contractors who document compliance and protect your project from costly gaps.
Ask for the license number, confirm it with the issuing agency, and review insurance coverage for liability and workers’ compensation. Keep copies in your records.
- Verify the license matches the company name.
- Check policy limits and effective dates.
- Ascertain the insurer covers roof repair tasks.
If the contractor hesitates, walk away. Proper paperwork reduces your risk, supports claims after storm damage, and helps you avoid unpaid repairs.
With clear credentials, you can move forward confidently, knowing your roof work meets basic professional standards and your household stays better protected.
Verify Local Experience
When storm damage hits, choose a certified roof repair contractor with proven local experience, because regional crews understand common wind, hail, and flood patterns, as well as local code requirements.
You’ll get better diagnostics from a local contractor who knows how your neighborhood’s roofs age under heat, runoff, and seasonal storms.
Ask how long they’ve worked in your area, which neighborhoods they’ve served, and whether they’ve handled similar damage on your roof type.
Check community reviews for notes on response time, workmanship, and follow-through.
A contractor rooted in your community will also understand permit expectations, material compatibility, and drainage concerns.
That local knowledge helps you avoid repeat failures, protect your home, and work with a team that feels like part of your recovery.
Request Written Estimates
Request written estimates from each certified roof repair contractor so you can compare scope, materials, labor, and timeline before work begins. This keeps you in control and helps you feel like part of a smart, informed homeowner group.
Ask for an estimate comparison that includes a detailed breakdown of every line item. Confirm warranty terms, permit fees, debris removal, and moisture remediation if flood damage is involved.
- Verify unit prices for shingles, underlayment, flashing, and sealants.
- Check labor hours, crew size, and expected completion date.
- Compare payment schedule, change-order policy, and inspection milestones.
Review each quote side by side, then question any vague wording or missing details. Clear estimates reduce disputes, support accurate budgeting, and help you choose the contractor who’ll protect your roof correctly.
Frequently Asked Questions
How Do I Know if My Roof Damage Is Covered by Insurance?
Check your policy and document storm-related damage with a roof inspection. You’ll know coverage if the peril is listed and exclusions don’t apply. Then file insurance claims promptly, keeping photos, receipts, and contractor estimates handy.
What Emergency Supplies Should I Keep Before Flooding Starts?
You should keep water, nonperishable food, flashlight, batteries, first aid, medications, phone charger, sanitation items, documents, and cash in your emergency supply kit. Follow your flood preparedness checklist, and you’ll feel ready and supported.
Can I Stay in My Home During Roof and Flood Repairs?
Usually, you can’t stay if repair safety is compromised; your home may feel like a ship in a storm. You’ll need temporary living arrangements, especially with structural damage, mold, or electrical hazards.
How Long Should I Wait Before Repainting Flood-Damaged Walls?
Wait until your walls are completely dry, typically 2–4 weeks, before repainting. You should confirm moisture levels first, then focus on mold prevention and wall preparation so you protect your home and fit back in confidently.
What Permits Are Needed for Major Roof Repairs?
You’ll usually need roofing permits and maybe inspection approvals for major roof repairs. Like a bridge crew checking every bolt, you’ll follow local repair regulations, protect your home, and keep your neighbors’ standards aligned.
Review
Before you call the job done, check roof and flood damage carefully, stop any active leaks, and dry rooms fast to keep mold from taking hold. Clean floodwater safely, remove soaked materials, and disinfect every affected surface. Then repair shingles, flashing, and underlayment with certified help. If you act quickly, you’ll protect your home from a hurricane-sized headache and keep small problems from turning into expensive damage later.