Contents
To achieve flawless drywall taping results, mastering the fundamental techniques is essential. From prepping the surface to feathering the edges smoothly, each step plays a significant role in creating a polished finish. However, there is one often overlooked technique that can make or break the final outcome. Keep in mind that the devil is in the details when it comes to drywall taping – paying attention to this specific step will guarantee your DIY project ends with professional-looking results.
Key Takeaways
- Properly embed tape for crack prevention and seamless finish.
- Use thin layers of joint compound for smooth application.
- Feather edges to blend with surrounding drywall for professional look.
- Sand with fine-grit paper for a polished, seamless surface.
- Apply even pressure when spreading joint compound for uniform coverage.
Prepping the Drywall Surface
Before starting the drywall taping process, make sure that the surface is clean and free of any dust or debris. Sanding plays an important role in achieving a smooth finish. Begin by using a drywall sanding sponge or sandpaper to remove any rough patches, bumps, or imperfections on the surface. It’s important to wear a dust mask and goggles to protect yourself from inhaling dust particles during this process. Remember to sand lightly to avoid damaging the drywall paper.
Selecting the right tools for sanding is key to achieving professional results. Opt for a sanding sponge for smaller areas or touch-ups, as it provides flexibility and is easy to maneuver. For larger surface areas, consider using a sanding pole or sanding block to ensure even and consistent sanding. Investing in a good quality sanding tool will make the process smoother and more efficient.
When choosing sandpaper, opt for a fine-grit sandpaper between 120 to 150 for initial sanding to avoid damaging the drywall. For finishing touches, switch to a higher grit sandpaper between 180 to 220 for a polished look. Remember to clean the surface thoroughly after sanding to remove any dust residue before moving on to the next step in the drywall taping process.
Applying the Joint Compound
To achieve a smooth drywall finish, the next step involves applying the joint compound to the taped seams and screw indentations.
When it comes to applying the joint compound, there are key factors to keep in mind to guarantee a professional result:
Joint Compound Consistency: The consistency of the joint compound plays a vital role in the application process. It should be smooth and creamy, similar to peanut butter, to make spreading it easier and more effective. Adjust the thickness by adding water or more joint compounds as needed.
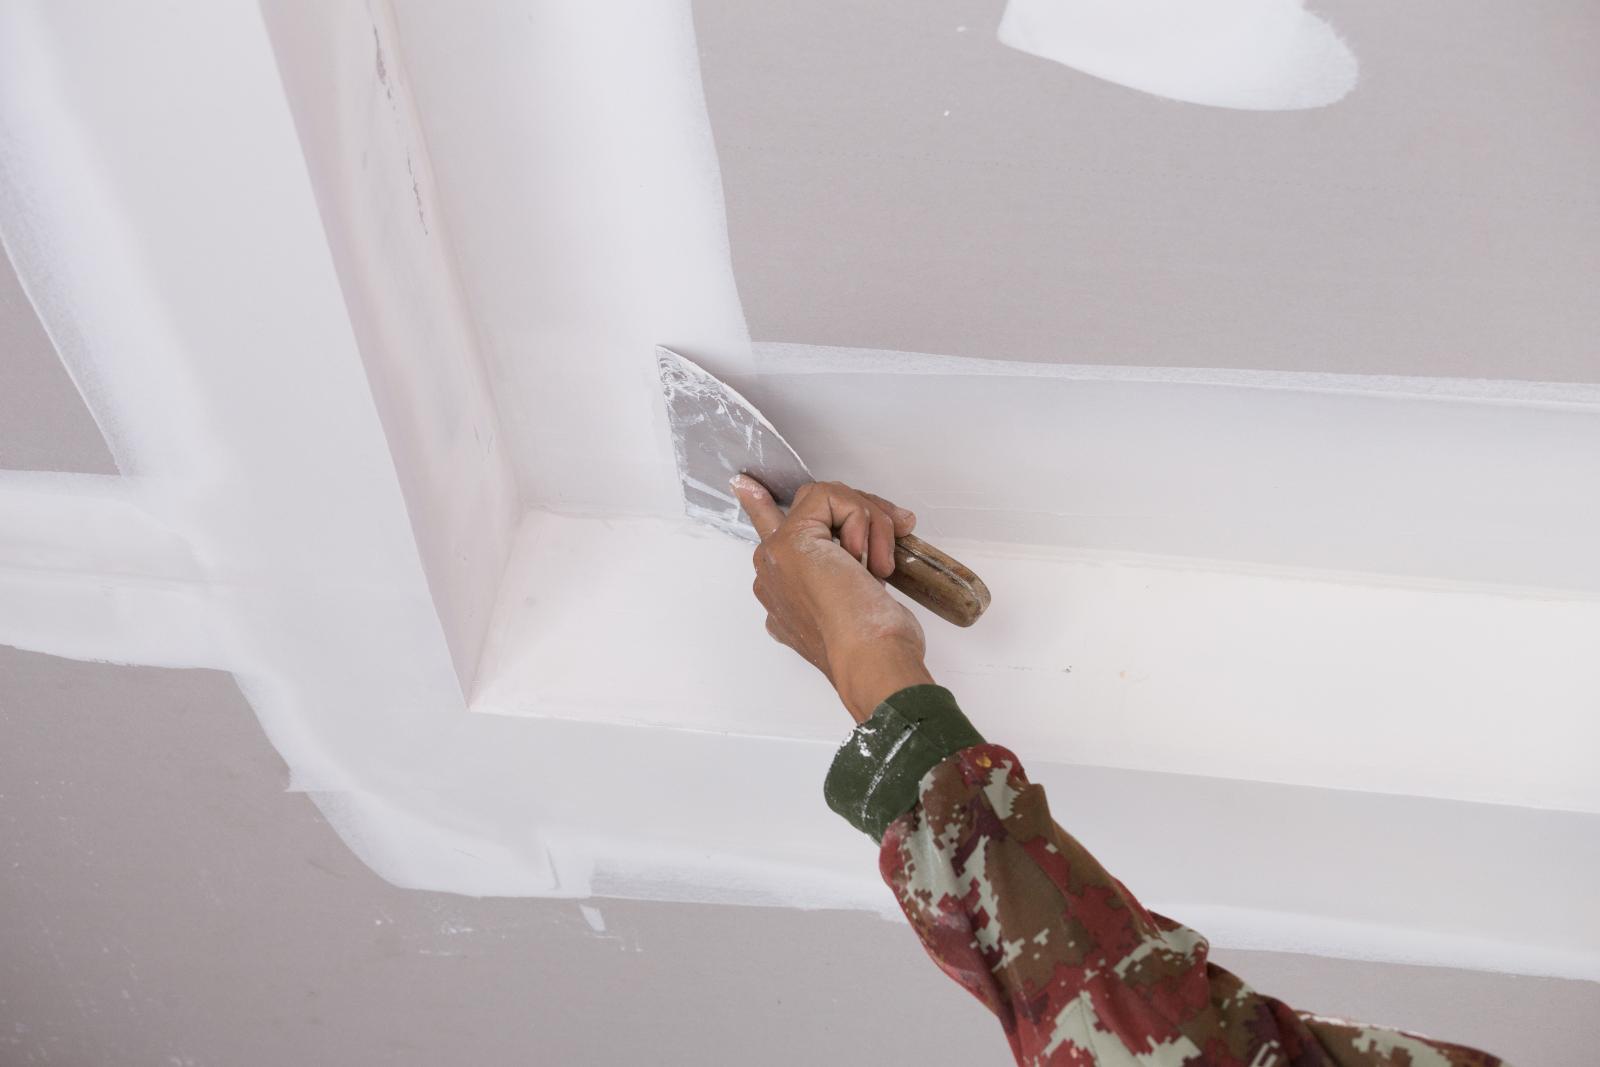
Applying Pressure: When applying the joint compound, remember that the pressure you exert matters. Use a steady hand and apply even pressure to the drywall knife or trowel to spread the compound evenly over the taped seams and indentations. Avoid pressing too hard, as it can cause the compound to squeeze out from the sides.
Multiple Thin Layers: Instead of trying to cover everything in one go, it’s best to apply the joint compound in multiple thin layers. This approach helps prevent cracking and ensures a smoother finish. Allow each layer to dry completely before applying the next one.
Applying the joint compound correctly is a fundamental step in the drywall taping process and can greatly impact the final look of your walls.
Embedding the Tape
When embedding the tape in your drywall taping project, make sure proper tape placement along the seams to create a strong foundation.
As you press the tape into the joint compound, be attentive to smoothing out any bubbles or wrinkles for a smooth finish.
Taking the time to embed the tape correctly will contribute to a professional-looking outcome in your DIY drywall project.
Proper Tape Placement
Begin by applying a thin layer of joint compound over the seam where the drywall panels meet, ensuring the tape will be embedded smoothly and securely. Proper tape placement is essential for a flawless finish.
Here are key steps to follow:
Align the Tape: Carefully position the drywall tape along the seam, ensuring it’s centered and straight.
Press Firmly: Use a drywall knife or taping knife to press the tape into the joint compound. Make sure it adheres well to the surface.
Smooth Out Air Bubbles: After embedding the tape, run the knife over it gently to eliminate any trapped air bubbles and guarantee a seamless finish.
Smoothing Out Bubbles
Smooth out any air bubbles in the tape by gently running a drywall knife over it after embedding it into the joint compound. Bubble prevention is essential to achieving a polished finish in your drywall taping project. Proper technique during tape application is vital to avoid trapping air underneath.
To guarantee a smooth finish, carefully embed the tape into the joint compound using a drywall knife, applying even pressure to prevent bubbles from forming.
If you encounter bubbles during the taping process, don’t panic. Troubleshooting bubbles is a common issue that can be easily remedied. Simply use your drywall knife to gently press out any trapped air by running it smoothly over the affected area. Be cautious not to press too hard, as this can displace the tape.
Feathering the Edges Smoothly
To achieve a smooth finish, focus on gradually tapering the joint compound away from the center of the joint when feathering the edges smoothly.
When feathering the edges, remember these essential tips:
Edge Blending: When feathering the edges of the joint compound, make sure you blend it seamlessly with the surrounding drywall. This technique helps create a smooth shift from the repair area to the original wall surface.
Corner Finishing: Pay special attention to the corners when feathering the edges. Use a corner finishing tool or a putty knife to achieve clean and crisp corners. Feather the joint compound in a way that merges smoothly with both sides of the corner.
Taping Tricks and Feathering Secrets: Mastering taping tricks and feathering secrets is pivotal for achieving professional-looking results. Practice feathering the edges with different amounts of pressure on the taping knife to find the perfect balance between smoothness and blending.
When feathering the edges smoothly, take your time and work in thin layers, gradually building up the joint compound to achieve a flawless finish.
Sanding for a Seamless Finish
To achieve a flawless finish on your drywall, mastering proper sanding techniques is essential. By carefully sanding the joints and patches, you can guarantee a smooth surface that blends harmoniously with the rest of the wall.
Remember to use fine-grit sandpaper and work in a methodical manner to achieve professional-looking results.
Proper Sanding Techniques
For achieving a flawless, smooth finish on your drywall, mastering proper sanding techniques is essential. When it comes to sanding for a polished finish, attention to detail is key.
Here are some essential tips to help you achieve a professional-looking result:
Use the Right Grit Sandpaper: Start with a coarser grit to smooth out imperfections and gradually move to finer grits for a refined finish.
Employ Proper Dust Control: To minimize dust, consider using a vacuum sander or attaching a dust bag to your sanding equipment. It’s also advisable to wear a mask to protect yourself from inhaling dust particles.
Follow Safety Precautions: Always wear safety goggles to shield your eyes from debris, and ensure adequate ventilation in the workspace to prevent the buildup of dust.
Achieving Smooth Surfaces
Achieving a smooth finish on your drywall surfaces demands meticulous sanding techniques to secure a professional result.
To achieve a flawless finish, start by using a pole sander with 120-grit sandpaper to smooth out any ridges or bumps left behind from the taping process. Work in a circular motion, applying even pressure to avoid creating uneven spots.
After the initial sanding, switch to a finer 220-grit sandpaper to further refine the surface and ensure a perfect appearance.
When sanding, be mindful of common mistakes such as oversanding or using too much pressure, which can lead to uneven surfaces or even damage the drywall. Remember, the goal is to achieve a smooth finish, not to remove excessive amounts of joint compound.
For outstanding results, invest in high-quality sanding tools and follow drywall taping tips to minimize the need for extensive sanding.
Priming the Taped Area
When priming the taped area, make sure that the surface is clean and free of any dust or debris before applying the primer. Primer serves as an important preparatory step before painting, guaranteeing a smooth and uniform paint application.
Here are three essential tips for priming your taped drywall:
Choosing the Right Primer: Select a high-quality primer specifically designed for drywall. Look for primers that offer good adhesion, hide imperfections, and provide a suitable base for the paint to adhere to.
Proper Application: Apply the primer evenly using a roller or brush. Make sure to cover the entire taped area and feather out the edges for a flawless finish. Follow the manufacturer’s instructions regarding drying times and the number of coats needed for best results.
Importance of Priming, Finishing Touches: Priming not only seals the drywall but also helps the paint adhere better, prevents flashing, and ensures a consistent finish. Once the primer is dry, inspect the surface for any imperfections or areas that may need additional touch-ups before proceeding with painting.
Painting the Finished Surface
To ensure a professional finish, the next step after priming the taped area is painting the finished surface of your drywall. Choosing the right paint color is essential in achieving the desired look for your space. Consider factors like lighting, room size, and the overall aesthetic you want to create.
Neutral tones like whites, beiges, and grays are versatile options that can make a room feel larger and more inviting. Bold colors can add personality and make a statement but may require more maintenance to keep looking fresh.
When painting your drywall, using quality paintbrushes is vital for a smooth and even application. Invest in brushes that are appropriate for the type of paint you’re using, whether it’s latex or oil-based. Synthetic brushes are ideal for water-based paints, while natural bristle brushes work best with oil-based paints.
Take your time and apply the paint in thin, even coats to avoid drips and streaks. Start from the top and work your way down, using long, smooth strokes for a professional finish.
Summary
Now that you’ve mastered the essential drywall taping techniques, you’re ready to tackle any home improvement project with confidence.
Following these steps, you can achieve professional-looking walls that impress guests and potential buyers alike.
Keep practicing and honing your skills, and soon, you’ll be a drywall taping pro!