Contents
When it comes to perfecting the art of spackling for patching drywall, there are key tips you should be aware of. From selecting the right spackling compound for the job to utilizing the proper tools with precision, each step plays an essential role in achieving a flawless finish. However, there’s a pivotal aspect often overlooked that can make or break your repair project. Stay tuned to uncover this often underestimated yet indispensable element that will elevate your spackling skills to the next level.
Key Takeaways
- Use lightweight spackle for small repairs and vinyl spackle for larger holes.
- Master techniques like layering and feathering for smooth application.
- Prepare the drywall by cleaning thoroughly and dividing into sections.
- Employ high-quality tools like putty knives and spackle trays for precise work.
- Finish with sanding techniques, color matching, and attention to detail for a polished look.
Types of Spackling Compounds
When choosing spackling compounds for patching drywall, you’ll encounter various types that cater to different needs and applications. Understanding the different types of spackling compounds available can greatly impact the outcome of your drywall repair project.
One common type of spackling compound is lightweight spackle. This type is ideal for smaller repairs and dries quickly, making it convenient for quick fixes.
On the other hand, vinyl spackle is a more durable option that’s suitable for larger holes and cracks. It dries hard, making it a sturdy choice for areas that require extra reinforcement.
For a more versatile option, consider using an all-purpose spackling compound. This type is suitable for a wide range of repair tasks, from filling in small holes to covering larger imperfections. It’s easy to work with and sands smoothly once dried, providing a smooth finish.
When applying spackling compound, it’s essential to master various spackling techniques to achieve a professional-looking result. Whether you’re using a putty knife or a spackling knife, ensuring the compound is applied evenly and smoothly is key to a successful repair.
Additionally, understanding different patching methods such as layering and feathering can help blend the repaired area seamlessly with the rest of the wall.
Essential Tools for Spackling
To achieve precise and professional results when spackling drywall, having the right tools at your disposal is essential. When it comes to spackling application, the following tools are indispensable for a successful job:
Putty Knife: A high-quality putty knife is vital for applying and smoothing spackling compound onto the damaged area. Look for a flexible yet sturdy blade to guarantee a flawless finish.
Sanding Block: After the spackling compound dries, a sanding block is essential for achieving a smooth and even surface. Make sure to use fine-grit sandpaper to prevent damaging the drywall.
Utility Knife: A sharp utility knife is handy for cutting away any loose drywall around the damaged area before applying the spackling compound. This ensures a clean and precise repair.
Spackle Tray: Using a spackle tray will help you keep your work area clean and organized. It also provides a convenient place to hold your spackling compound while working.
Preparing the Drywall Surface
Before you begin spackling, it’s essential to prepare the drywall surface properly. Start by cleaning and dusting the area to guarantee a smooth application.
Next, fill any holes and cracks with an appropriate filler before proceeding to sand the surface for a flawless finish.
Surface Cleaning and Dusting
Begin by thoroughly wiping down the drywall surface with a damp cloth to remove any dust, dirt, or debris that may affect the adhesion of the spackling compound.
Follow these steps to guarantee a clean surface for your spackling project:
Use a soft cloth: Opt for a microfiber or lint-free cloth to avoid leaving behind any fibers that could mix with the spackling compound.
Work in sections: Divide the wall into manageable sections to ensure thorough cleaning without missing spots.
Check for residue: Pay close attention to corners and edges where dust tends to accumulate, ensuring all areas are free from debris.
Allow drying time: After cleaning, give the surface a few minutes to dry completely before moving on to the next step.
Filling Holes and Cracks
Inspect the drywall surface carefully for any holes or cracks that require filling before proceeding with the spackling process. Begin by selecting a high-quality spackling compound that matches the texture of your drywall. For small holes and cracks, use a putty knife to apply the spackling compound smoothly, making sure it fills the imperfections completely. Press gently to remove the excess compound, leaving a flush finish. When dealing with larger holes, consider using a patching kit for added strength.
After filling the holes and cracks, allow the spackling compound to dry thoroughly according to the manufacturer’s instructions. It’s important to ensure appropriate drying time to prevent any issues with the final finish. If you’re in a hurry, some quick fixes can accelerate the drying process, but be cautious not to compromise the quality of the repair.
Once the spackling compound is completely dry, you can proceed with painting techniques. Blend colors harmoniously to match the surrounding wall, achieving a flawless result. Pay attention to detail during this step to create a cohesive and professional-looking finish.
Sanding for Smoothness
Achieve a smooth and flawless finish by meticulously sanding the filled areas on the drywall surface before proceeding with the next steps in the spackling process. To guarantee optimal results, follow these essential sanding techniques and finishing touches:
Use the Right Grit Sandpaper: Begin with coarser grit sandpaper, such as 80 or 100, to level out the spackled areas. Then, switch to a finer grit, like 120 or 150, for a smoother finish.
Sand in Circular Motions: Move the sandpaper in circular motions over the patched areas to blend the spackling compound seamlessly with the surrounding drywall.
Check for Smoothness: Run your hand gently over the sanded surface to detect any remaining imperfections. Repeat the sanding process if needed until the area feels uniformly smooth.
Clean Thoroughly: After sanding, wipe down the surface with a damp cloth to remove any dust or debris. This step is vital before priming and painting the patched area for a professional-looking result.
Applying Spackling to Small Holes
When patching small holes in drywall, selecting the right tools is important for a smooth finish. Opt for a small putty knife or a spackling knife to apply the compound precisely.
Remember to use a steady hand and gentle pressure while spreading the spackling to guarantee a smooth blending with the surrounding surface.
Tool Selection
Selecting the right tool is essential when applying spackling paste to small holes. Here are some tool selection tips:
Spackling Knife:
Opt for a spackling knife when dealing with very small holes, typically less than 1/2 inch in diameter. The thin blade of a spackling knife allows for precise application of spackling paste into tight spaces.Putty Knife:
When patching small holes around 1/2 inch to 1 inch in diameter, a putty knife is ideal. The wider blade helps spread spackling paste more efficiently over slightly larger areas.Sandpaper Grit:
Keep fine-grit sandpaper on hand to smooth out the patched area after the spackling paste has dried. A grit of around 120 to 150 is recommended for achieving a perfect finish.Comfortable Grip:
Make sure the tool you choose has a comfortable grip to prevent hand fatigue during the patching process, allowing for more precise and controlled application.
Application Technique
For effective patching of small holes in drywall, mastering the application technique of spackling paste is essential. When dealing with small holes, getting the right spackling consistency is crucial. You want it to be smooth and easy to work with but not too runny. Additionally, utilizing the correct brush technique can make a significant difference in the final result. Ensure you evenly spread the spackling paste over the hole, feathering the edges for a seamless finish.
When it comes to spackling drying time, remember that smaller holes typically dry faster. However, it’s advisable to give it ample time to ensure a solid repair. Don’t rush the process; patience pays off. Moreover, for corners, use a narrower putty knife or a specialized corner tool for precise application. This will help you achieve a professional-looking outcome. Mastering these techniques will elevate your spackling skills to the next level.
| Spackling Technique | Description | Tips |
|---|---|---|
| Consistency | Smooth and easy to work with | Avoid making it too runny or too thick |
| Brush Technique | Evenly spread and feather edges | Use a brush to achieve a seamless finish |
| Drying Time | Smaller holes dry faster | Allow ample time for a solid repair |
| Corner Application | Use a narrower putty knife | Consider a specialized tool for precise corners |
Techniques for Filling Large Holes
To effectively fill large holes in drywall, begin by preparing the area with the appropriate tools and materials. Here are some expert techniques for filling those larger gaps:
Patch Corners: When dealing with large holes, pay special attention to the corners. Use a putty knife to apply the spackling compound evenly along the edges, ensuring a smooth shift between the patch and the existing wall.
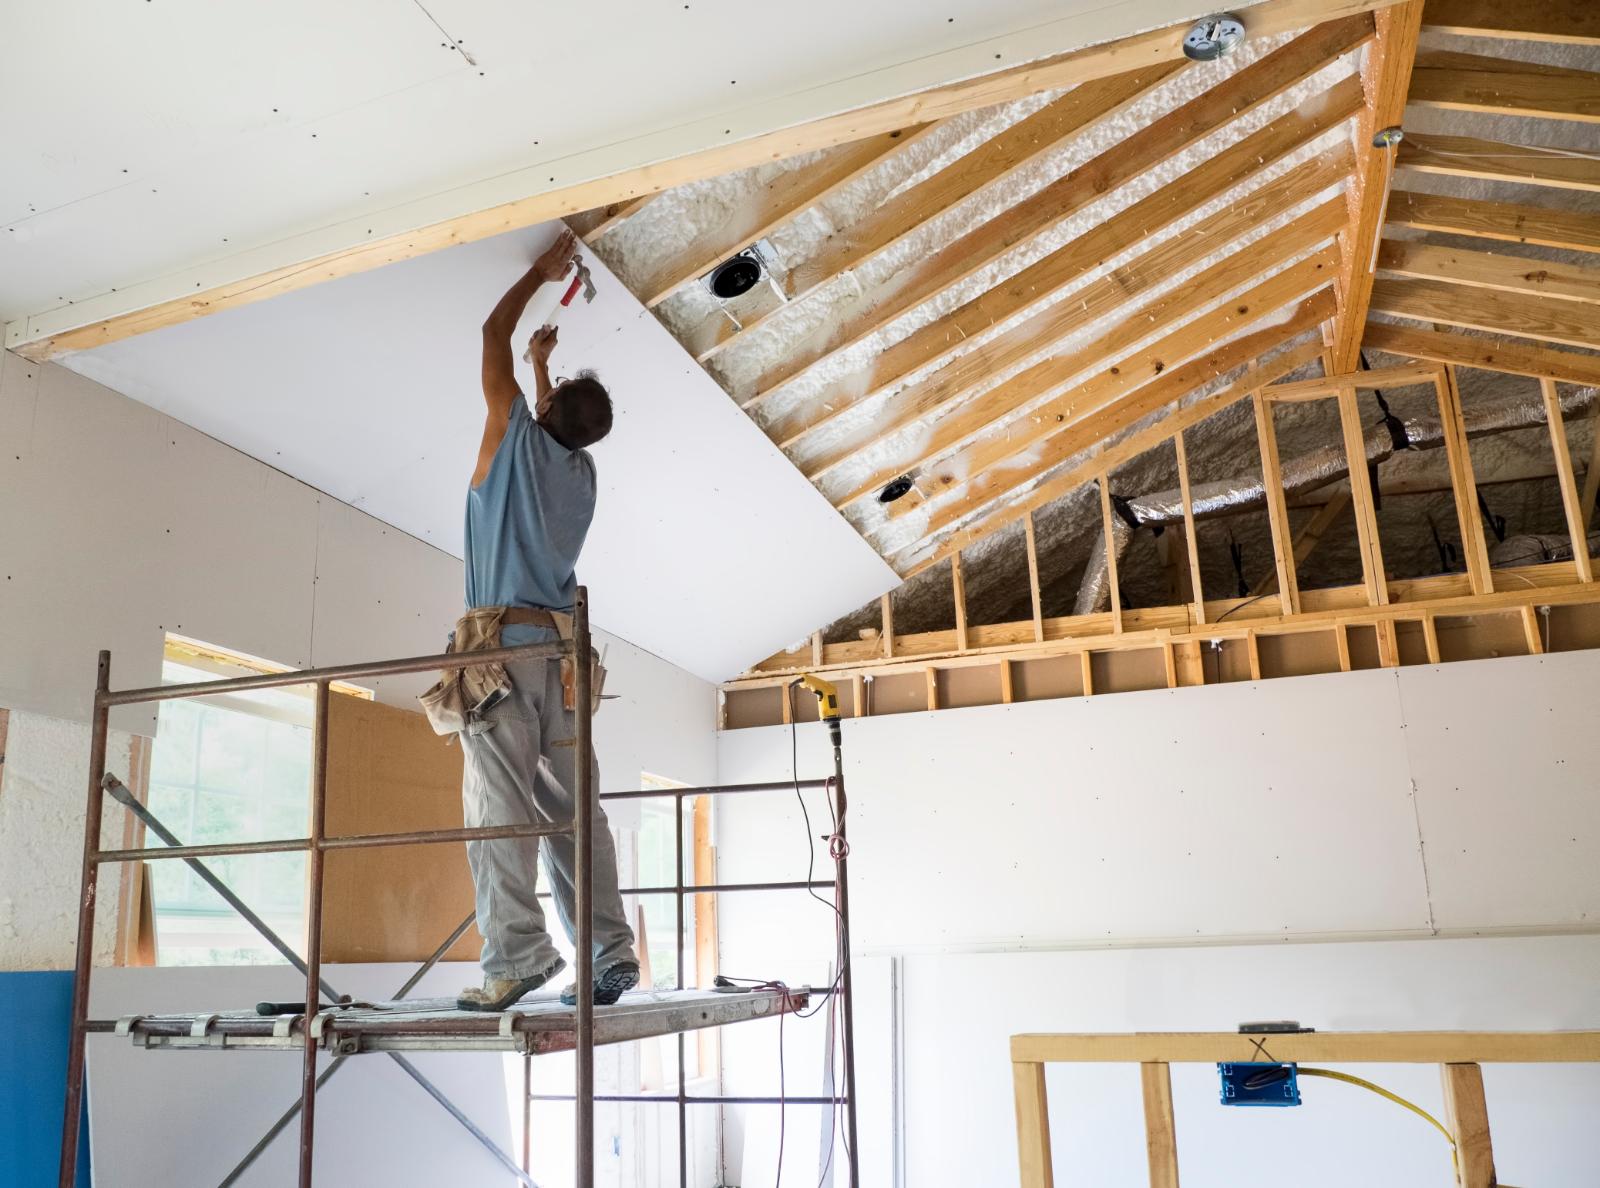
Repairing Ceiling Holes: For holes in the ceiling, it’s important to provide ample support for the patch. Cut a piece of mesh drywall tape to fit the hole and place it over the gap before applying the spackling compound. This will help prevent the patch from sagging over time.
Layering Technique: To fill a large hole effectively, apply the spackling compound in layers. Start by filling the hole halfway, let it dry, then add more compound until the hole is completely filled. This method helps prevent shrinking and cracking.
Feathering Edges: After the hole is filled, use a clean putty knife to feather the edges of the patch. Gently blend the compound into the surrounding wall, creating a smooth finish that will be easier to sand and paint later.
Sanding and Smoothing the Patch
Smooth out the patched area by gently sanding the spackling compound until it blends smoothly with the surrounding wall surface. Sanding is an important step in achieving a flawless finish on your drywall repair.
When sanding, use fine-grit sandpaper or a sanding sponge to smooth down the spackling compound carefully. Work in gentle, circular motions, focusing on the edges of the patch to guarantee a smooth meld between the patch and the wall. Pay attention to the texture of the surrounding wall to match it as closely as possible.
To achieve professional results, consider using a sanding block to maintain a flat surface and prevent over-sanding in one area. Be mindful not to apply excessive pressure, as this can lead to uneven surfaces.
Once the patched area feels smooth and blends seamlessly with the rest of the wall, wipe away any dust with a damp cloth to prepare the surface for painting.
Sanding techniques play an important role in creating smooth surfaces that are ready for painting prep. By taking the time to sand and smooth the patch properly, you set the foundation for a flawless finish. These finishing touches are essential for achieving professional-looking results in your drywall repair project.
Painting and Finishing Touches
After achieving a smoothly blended patch through careful sanding, the next step in your drywall repair project is to prepare for painting and add the finishing touches. When it comes to painting and finishing touches, attention to detail is important for a polished repair job.
Here are some essential tips to help you achieve a professional-looking finish:
Color Matching: To guarantee a flawless repair, invest time in color matching. Bring a sample of your wall’s paint to your local hardware store for accurate color matching. This step is essential for a smooth blend between the patch and the surrounding wall.
Blending Techniques: Use feathering techniques when applying paint to the patched area. Feathering involves gradually thinning out the paint towards the edges of the patch to blend it seamlessly with the rest of the wall.
Drying Time: Allow sufficient drying time between paint coats. This ensures that each layer sets properly and contributes to a durable finish.
Reapplication Tips: If needed, apply additional coats of paint using the same blending techniques. Remember to let each coat dry completely before applying the next one to avoid smudges or uneven patches.
Wrap-Up
Now that you’ve mastered spackling for patching drywall with these essential tips, you’ll be able to tackle any repair project with confidence and skill.
For example, imagine effortlessly filling in a large hole in your living room wall using the layering and feathering techniques you’ve learned.
The end result is a smooth finish that blends in perfectly with the surrounding drywall, leaving your wall looking as good as new.
Happy spackling!


