Contents
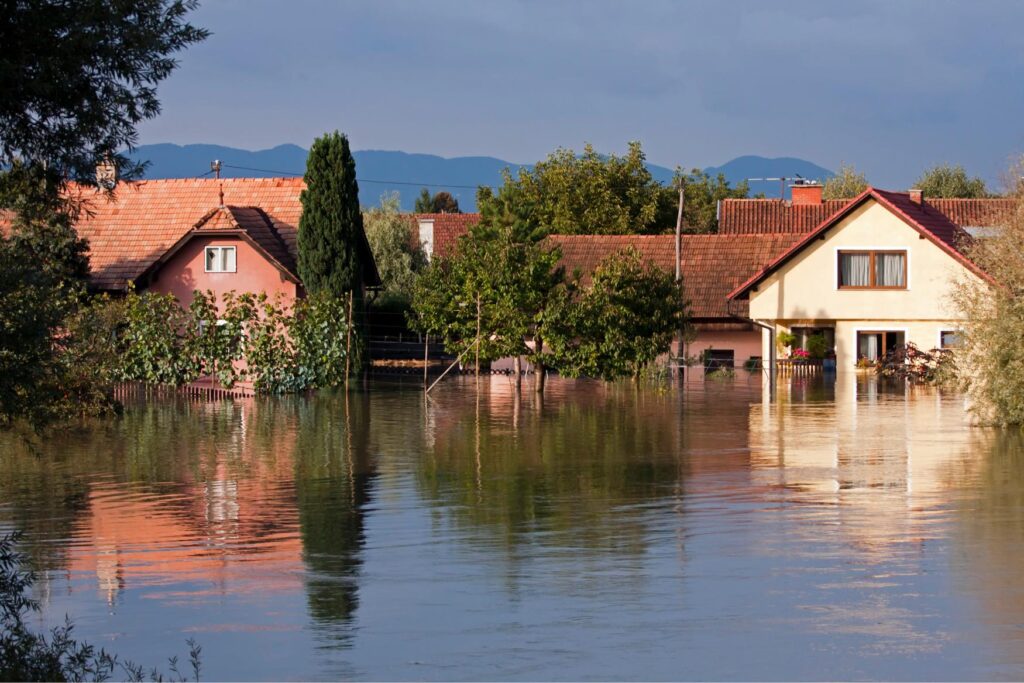
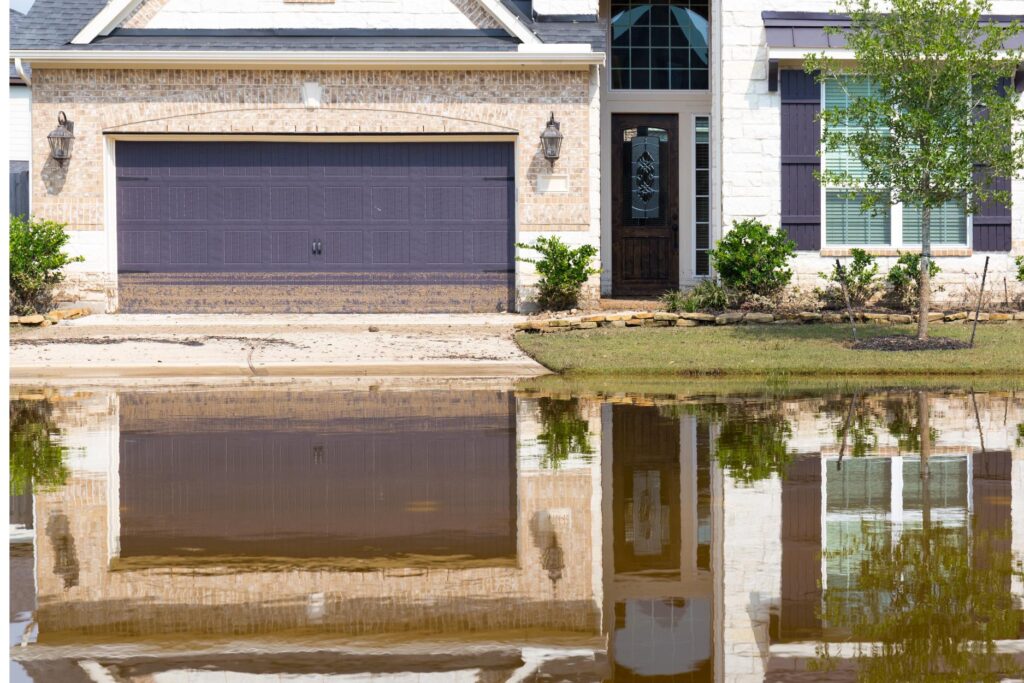
Mastering expert mold restoration techniques is vital when dealing with the aftermath of water damage. From evaluating damage levels to carrying out precise mold remediation procedures, each step plays a significant role in protecting your property. With a strategic method for drying, dehumidification, and preventive measures, you’ll be prepared to combat potential mold growth effectively. Stay tuned to discover the essential knowledge that will enable you to maneuver through the complex realm of mold restoration.
Assessing the Extent of Damage
When evaluating the extent of mold damage in your property, the first step is to conduct a comprehensive visual inspection of the affected areas. Begin by examining areas where moisture is commonly present, such as bathrooms, kitchens, basements, and around windows. Look for visible signs of mold growth, including black or green spots, musty odors, and water stains on walls or ceilings. It’s important to check hidden spaces like behind furniture, inside cabinets, and under carpets, as mold can thrive in these dark, damp environments.
Next, assess the size of the affected area. Is the mold growth confined to a small spot on the wall, or has it spread across a larger surface? Measure the damage’s extent to determine the remediation process’s scope. Additionally, consider the materials affected by mold. Porous materials like drywall, carpeting, and upholstery are more susceptible to mold growth and may require more extensive treatment or even replacement.
Document your findings through photographs or videos. This documentation will help you track the progress of the restoration process and provide valuable information for insurance claims or professional assistance.
Immediate Drying and Dehumidification
To effectively address mold damage in your property, immediate drying and dehumidification are essential steps in preventing further growth and minimizing health risks. After water damage, the first 24-48 hours are vital in drying out the affected areas to inhibit mold spores from taking hold and thriving in the moist environment.
Open windows and use fans to increase ventilation, aiding in the evaporation of excess moisture. Dehumidifiers are also highly efficient in removing excess humidity from the air, further accelerating the drying process.
When drying out the affected areas, make sure to focus on not just visible water but also hidden moisture that may have seeped into walls, ceilings, or floors. Use moisture meters to detect moisture levels in different materials and ensure thorough drying.
Carpets and padding should be promptly removed as they can trap moisture and become a breeding ground for mold.
Acting swiftly and diligently during this stage is important to prevent mold growth and structural damage. Remember, mold can start growing within 24-48 hours of water damage, so immediate action is vital. By thoroughly drying and dehumidifying the affected areas, you can significantly decrease the risk of mold infestation and protect yourself and your loved ones’ health.
Mold Inspection and Testing
Conducting a thorough mold inspection and testing is essential in identifying the extent of mold contamination and determining the best course of action for remediation. When dealing with mold after water damage, it’s vital to follow these expert tips for effective mold inspection and testing:
Visual Inspection: Start by visually inspecting areas prone to mold growth, such as basements, attics, and areas with water damage. Look for visible signs of mold, including discoloration, water stains, or musty odors.
Moisture Detection: Utilize moisture meters to detect any hidden sources of water that may be promoting mold growth. High moisture levels indicate a conducive environment for mold to thrive.
Air Sampling: Consider air sampling to assess indoor air quality and determine the concentration of mold spores in the air. This can help identify hidden mold growth and assess the overall mold contamination level.
Surface Sampling: Collect samples from suspected mold-infested surfaces for laboratory analysis. Surface sampling helps in identifying the types of mold present and their concentration, guiding the remediation process.
Professional Assessment: For accurate results and thorough evaluation, consider hiring a certified mold inspector to conduct a detailed assessment of your property. Their expertise can provide valuable insights for effective mold remediation strategies.
Professional Mold Remediation Process
Implementing a professional mold remediation process is necessary to address mold contamination and restore a safe indoor environment effectively.
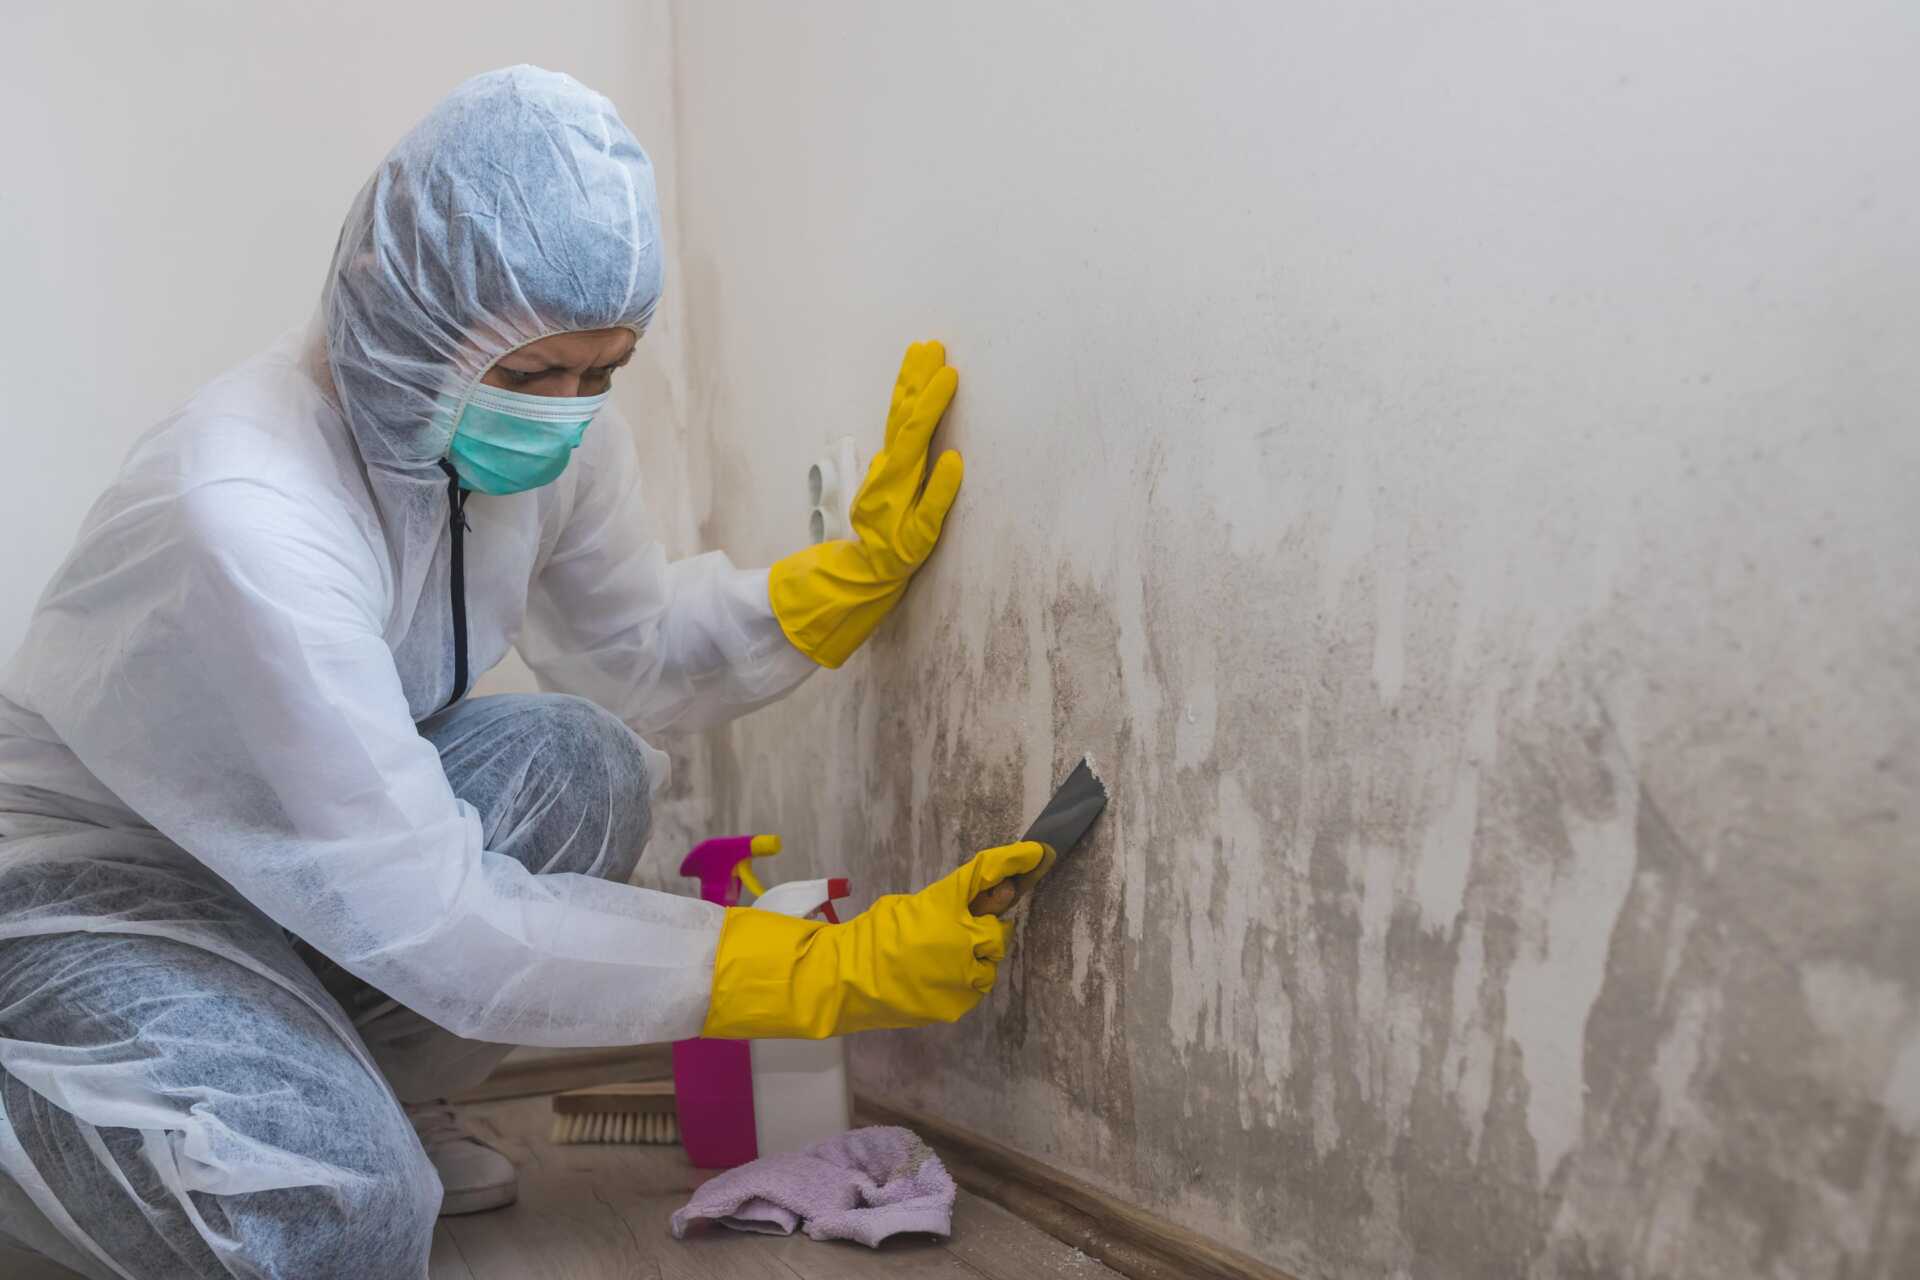
The first step in the process involves containment to prevent the spread of mold spores to uncontaminated areas. This is done by sealing off the affected area using plastic sheeting and creating negative air pressure to keep mold spores from escaping.
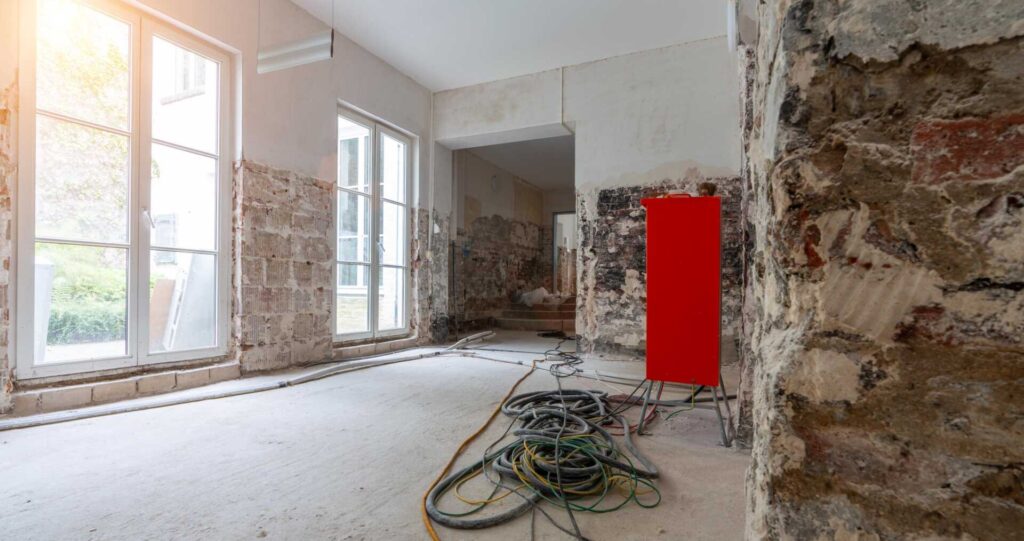
Next, the removal of mold-infested materials is vital. Porous materials like drywall and carpeting that are extensively contaminated may need to be safely discarded. Non-porous surfaces can usually be cleaned and disinfected. Specialized equipment such as HEPA vacuums and air scrubbers are used to remove mold spores from the air and surfaces.
After removal, thorough cleaning is performed to eliminate any remaining mold residue. This includes scrubbing surfaces with effective cleaning solutions and ensuring all traces of mold are gone.
Finally, the affected area is dried completely to prevent future mold growth. Dehumidifiers and proper ventilation are used to achieve ideal dryness.
Professional mold remediators have the expertise to handle these tasks efficiently and effectively. By following a systematic approach, they ensure that all mold is removed and the indoor environment is restored to a safe condition, giving you peace of mind in your living space.
Preventing Future Mold Growth
After successfully completing the professional mold remediation process, your focus should now shift to preventing future mold growth in your indoor environment. To safeguard your home remains mold-free, follow these expert tips:
Control Indoor Humidity: Keep indoor humidity levels between 30-50% by using dehumidifiers or air conditioners. High humidity creates an ideal environment for mold growth.
Fix Leaks Promptly: Repair any leaks in your plumbing, roof, or windows immediately. Even minor leaks can lead to mold growth if left unchecked.
Improve Ventilation: Proper ventilation in areas like bathrooms, kitchens, and attics can help reduce moisture buildup, decreasing the chances of mold development.
Use Mold-Resistant Products: Consider using mold-resistant paint, drywall, and insulation in moisture-prone areas of your home to prevent mold growth.
Regularly Inspect and Clean: Conduct routine inspections of areas susceptible to mold, such as basements and crawl spaces. Regularly clean these areas to prevent mold spores from settling and multiplying.
Wrap-Up
You have successfully tackled the aftermath of water damage with expert mold restoration tips. By following these steps diligently, you have prevented the growth of mold and ensured a safe and healthy environment. Remember, staying vigilant and taking proactive measures is the key to avoiding future mold issues. Keep up the good work, mold detective!


