Contents
If you’ve experienced roof leaks, dealing with potential mold growth is vital. Mold can spread quickly in damp environments, leading to health issues and structural damage. Start by evaluating the extent of the problem and ensuring safety precautions are in place. After that, removing affected materials is important. However, the cleaning process requires careful attention to detail, and you need to know the best practices to make certain your space remains safe. Let’s explore the steps you should take next.
Key Takeaways
- Assess the extent of mold growth by checking for discoloration and using moisture meters to identify hidden issues after roof leaks.
- Ensure safety precautions by wearing gloves, goggles, and an N95 respirator while working in well-ventilated areas.
- Remove and dispose of any affected materials, such as soggy drywall and insulation, to prevent further contamination.
- Clean and disinfect surfaces with vinegar or commercial cleaners, and use bleach solutions to eliminate mold spores effectively.
- Prevent future mold growth by maintaining indoor humidity below 60% and improving ventilation in affected areas.
Assess the Extent of Mold Growth
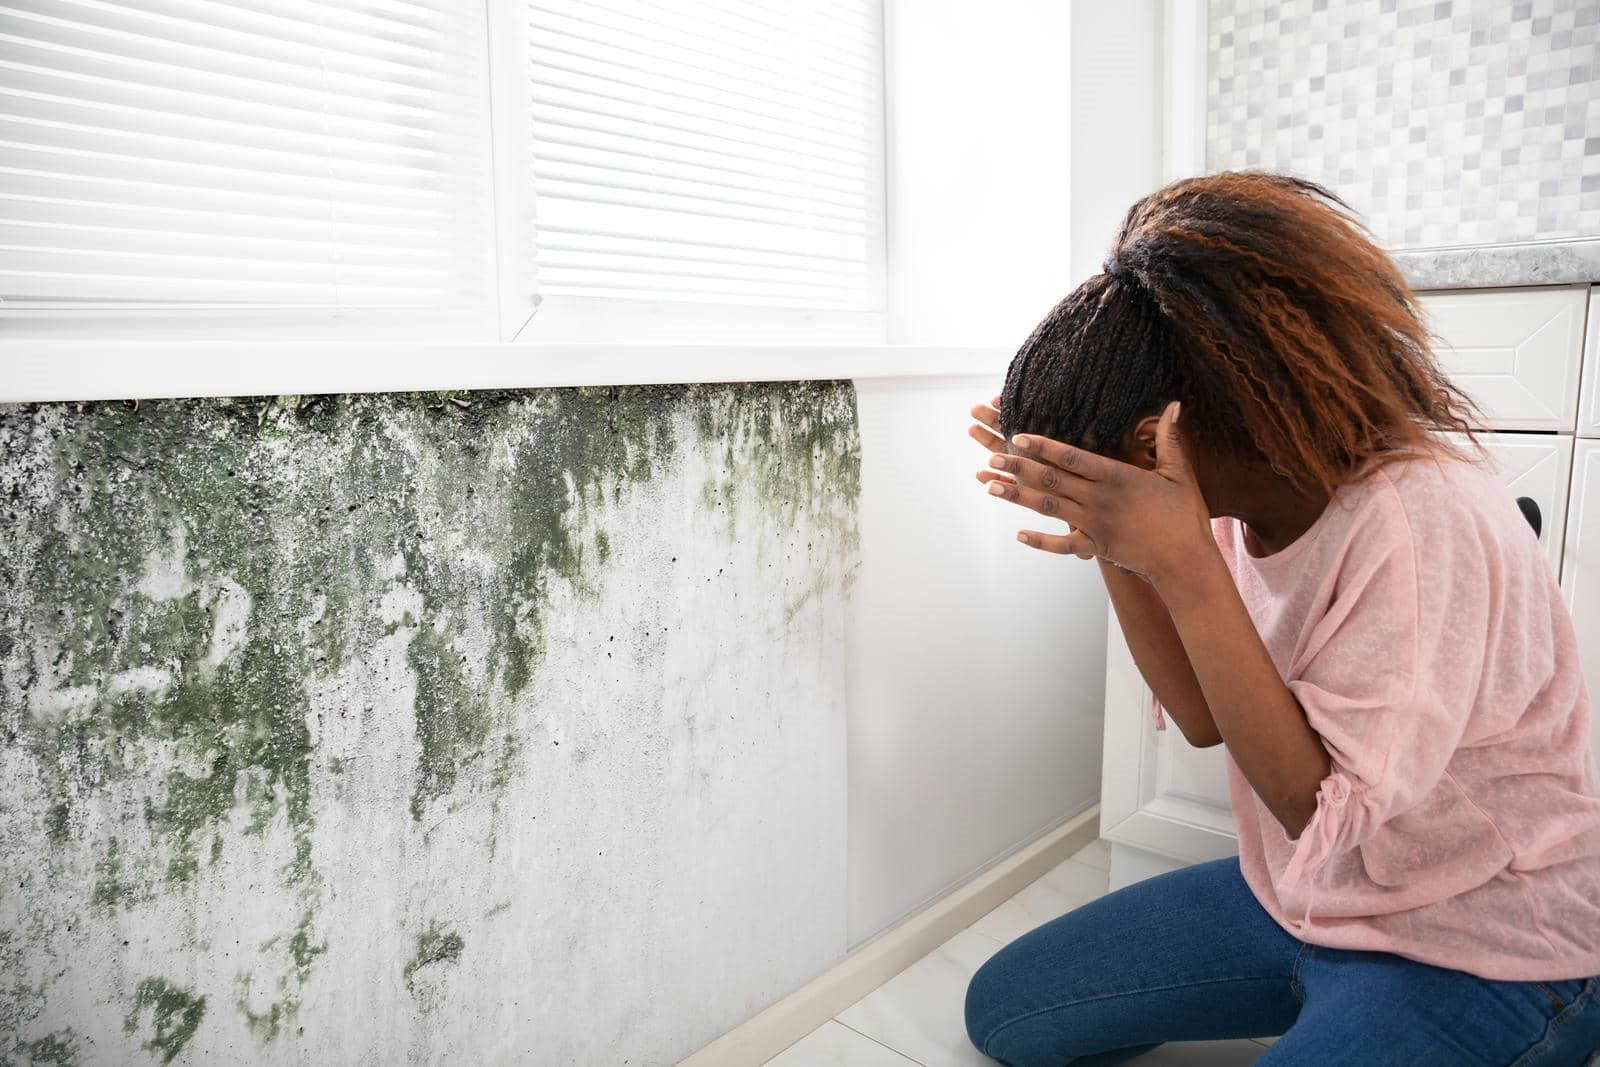
How can you effectively assess the extent of mold growth in your home? Start by using mold identification techniques to locate any visible signs. Look for discoloration, such as black, green, or white patches on walls, ceilings, and floors. These mold growth indicators often signal a moisture problem.
Check areas prone to dampness, like bathrooms, basements, and around windows.
Next, don’t just rely on sight; consider using moisture meters to detect hidden mold. These devices measure the moisture level in materials, helping you identify problem areas that may not be immediately visible.
Keep an eye out for musty odors, which can also indicate mold presence.
Lastly, document your findings. Taking notes and photos can help you track the extent of mold growth and guide your removal efforts.
Ensure Safety Precautions Are in Place
Before you start tackling mold removal, it’s crucial to confirm safety precautions are in place.
First, equip yourself with proper safety gear, such as gloves, goggles, and an N95 respirator. These items protect you from inhaling mold spores and coming into direct contact with harmful substances.
Next, verify that your workspace is well-ventilated. Open windows and doors, and consider using ventilation systems like fans to help circulate air and reduce humidity, which can exacerbate mold growth.
If possible, seal off the affected area to prevent mold spores from spreading to other parts of your home. Make sure you have a clear exit route in case the situation worsens.
Taking these precautions safeguards your health and fosters a sense of community as you engage in responsible mold removal.
Remove Affected Materials
Start by identifying and removing any materials that have been affected by mold. This step is vital in effective mold remediation techniques, as it prevents further contamination.
Here are four key items to take into account when disposing of:
Drywall – If it’s discolored or soggy, it’s best to remove and replace it.
Insulation – Fiberglass and cellulose insulation can trap moisture and should be discarded.
Carpets and Upholstery – If these items show signs of mold growth, think about disposal as cleaning may not suffice.
Wood – Wooden structures that are compromised or extensively damaged by mold need replacement.
When disposing of these materials, be certain to follow local regulations for material disposal options.
Always seal contaminated items in plastic bags to prevent spores from spreading during removal. This proactive approach aids in complete mold removal and ensures a healthier living environment.
Clean and Disinfect Surfaces
Cleaning and disinfecting surfaces is essential for preventing mold from returning after you’ve removed affected materials.
Start by using effective cleaning solutions like a mixture of water and vinegar or a commercial mold cleaner. These solutions can effectively kill mold spores lingering on hard surfaces.
When you clean, focus on areas where moisture might have accumulated, such as walls, ceilings, and corners. Use a scrub brush for stubborn spots, ensuring you get into all crevices. After scrubbing, rinse the surfaces thoroughly with clean water.
Once cleaned, disinfect using a solution that includes bleach or hydrogen peroxide, which are proven mold remediation techniques. Apply it generously and let it sit for at least 10 minutes before rinsing again.
Prevent Future Mold Growth
After you’ve cleaned and disinfected surfaces, it’s important to take proactive steps to prevent future mold growth.
By implementing a few key strategies, you can create a healthier environment for yourself and your loved ones.
Use mold-resistant materials: When repairing or renovating, opt for mold-resistant drywall and paints to deter growth.
Control humidity: Keep indoor humidity levels below 60% by using dehumidifiers or air conditioners. Regularly check moisture levels with a hygrometer.
Improve ventilation: Ensure proper airflow in areas such as bathrooms and kitchens. Use exhaust fans and open windows when possible.
Inspect regularly: Make it a habit to check for leaks and water damage. Early detection can save you from larger mold problems later.
Frequently Asked Questions
How Long Does It Take for Mold to Develop After a Leak?
Mold can start developing within 24 to 48 hours after a leak. To prevent it, use effective leak detection techniques and address moisture quickly. Staying proactive helps keep your space safe and healthy for everyone.
Can I Remove Mold Myself or Should I Hire a Professional?
You might think you can tackle DIY mold removal like a superhero, but sometimes, professional assistance is essential. If the infestation’s vast, consider hiring experts to ensure your home stays safe and healthy.
What Are the Health Risks Associated With Mold Exposure?
Mold exposure can lead to various health risks, including mold symptoms like coughing, sneezing, and skin irritation. You might experience respiratory issues, especially if you have allergies or asthma, so it’s essential to address mold promptly.
How Do I Know if the Mold Is Toxic or Not?
To determine if mold is toxic, use mold identification techniques like visual inspection and air sampling. If you experience toxic mold symptoms—like respiratory issues or skin irritation—it’s essential to address the situation promptly for your health.
Will Insurance Cover Mold Damage From a Roof Leak?
Think of insurance as a safety net; it can catch mold damage from roof leaks, but mold coverage often varies. You’ll need to check your policy details and file insurance claims promptly for assistance.
Wrap-Up
Tackling mold after roof leaks is essential to protect your home. Mold is often discovered in attics after storms due to moisture intrusion. By assessing the extent of the damage, prioritizing safety, removing affected materials, and cleaning thoroughly, it’s possible to address the problem and reduce the risk of future mold growth. Remember, being proactive and maintaining humidity levels below 60% is key to safeguarding your space. Don’t wait; act promptly to keep your home healthy and mold-free.