Contents
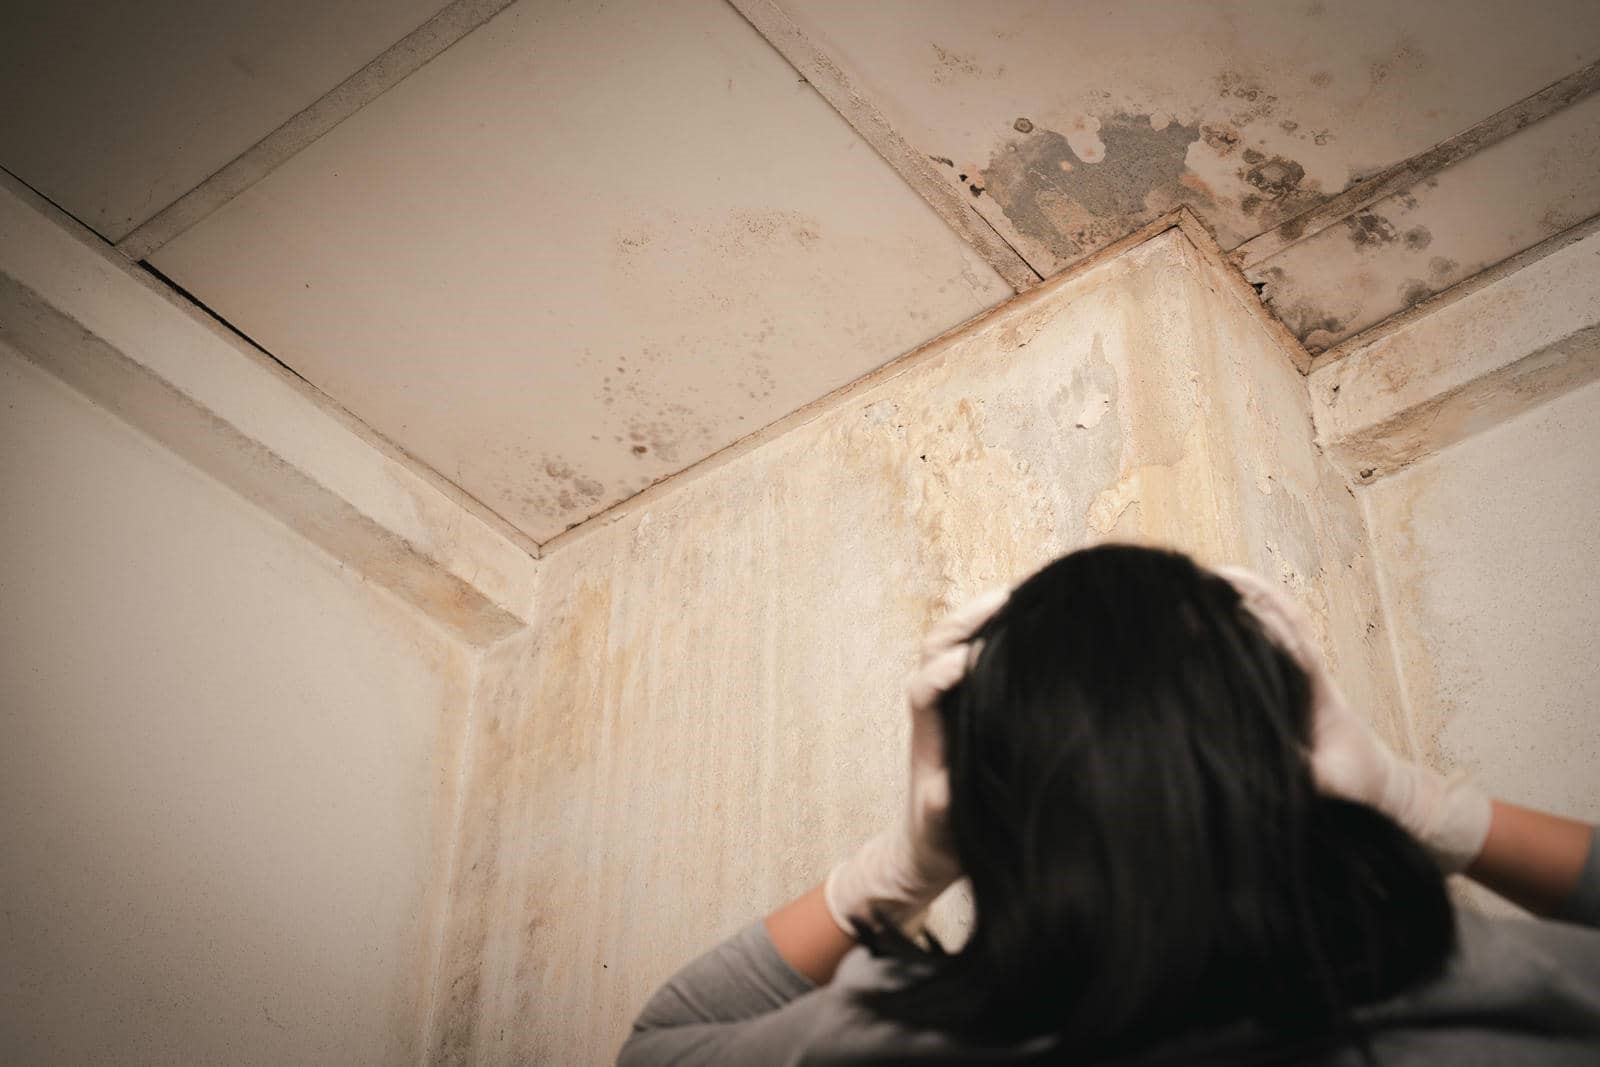
Imagine discovering dark, fuzzy patches creeping along your walls after a roof leak. It’s not just unsightly; it poses serious health risks. Swift action is vital to minimize damage and prevent mold from spreading. You’ll need to assess the situation carefully and take the right steps for cleanup. But where do you start, and what precautions should you take to ensure a safe and effective resolution? Let’s explore the essential strategies for tackling this issue.
Key Takeaways
- Inspect the roof for leaks immediately after water intrusion to identify the source of moisture.
- Remove and dispose of contaminated materials like drywall or carpets to prevent mold growth.
- Clean affected surfaces with soap and water, using diluted bleach for stubborn mold spots.
- Ensure proper ventilation and use dehumidifiers to dry the area completely after cleanup.
- Schedule regular inspections and maintenance to catch leaks and moisture issues early.
Identifying Mold Growth After Water Damage
When you’ve experienced water damage, it’s vital to act quickly, as mold can start growing within 24 to 48 hours. Identifying mold growth is important for your health and safety. Familiarize yourself with common mold types, like black mold, which can pose serious health risks, including respiratory issues and allergic reactions.
Look for visible signs, such as dark spots on walls or ceilings, and a musty odor that lingers. Check damp areas, such as basements and bathrooms, where moisture accumulates. If you notice any discoloration or unusual smells, trust your instincts—mold might be hiding there.
Assessing the Extent of Mold Infestation
To effectively assess the extent of mold infestation, you’ll want to start with visual inspection techniques to spot any visible growth.
Next, utilize moisture detection methods to identify hidden damp areas that could harbor mold.
Finally, consider mold sampling procedures to accurately determine the types and levels of mold present in your environment.
Visual Inspection Techniques
Visual inspection techniques play an essential role in evaluating the extent of mold infestation in your home or business.
By using the right inspection tools and focusing on specific visual cues, you can quickly assess the situation.
Here are three key areas to examine:
Walls and Ceilings: Look for discoloration or peeling paint, which may indicate hidden mold growth.
Floors and Carpets: Check for water stains or dampness, as these often signal mold beneath the surface.
Basements and Attics: Inspect for musty odors or visible mold patches, especially in humid areas.
Moisture Detection Methods
Identifying moisture levels is essential for evaluating the extent of mold infestation in your space. To do this effectively, you can use tools like moisture meters and infrared thermography.
Moisture meters provide precise readings of moisture content in materials, helping you pinpoint problem areas. On the other hand, infrared thermography allows you to visualize temperature differences, revealing hidden moisture behind walls or ceilings.
By combining these methods, you can gain a thorough understanding of moisture presence. This knowledge aids mold assessment and empowers you to take timely action, ensuring a healthier environment for everyone.
Don’t wait—addressing moisture issues early can prevent further mold growth and promote a sense of safety in your home.
Mold Sampling Procedures
Once you’ve assessed moisture levels, the next step involves mold sampling procedures to gauge the extent of mold infestation.
This process helps identify different mold types and their potential risks.
Here are three common sampling methods you can use:
Air Sampling: Captures airborne spores, giving you insight into the mold present in your environment.
Surface Sampling: Involves collecting samples from surfaces where you suspect mold growth, helping pinpoint contamination spots.
Bulk Sampling: This method collects materials suspected of mold presence, offering a thorough analysis of mold types.
Essential Safety Precautions Before Cleanup
Before you tackle mold cleanup, it’s essential to prioritize safety.
Equip yourself with proper personal protective equipment, ensure good ventilation, and check for any electrical hazards in the area.
Taking these precautions will help keep you safe and make the cleanup process more effective.
Personal Protective Equipment
When tackling mold cleanup, ensuring your safety should be your top priority.
Wearing the right personal protective equipment (PPE) is vital to protect yourself from harmful mold spores. Here are some essential PPE types to take into account based on PPE guidelines:
N95 Respirator: This helps filter out mold spores, keeping your lungs safe.
Gloves: Use rubber or latex gloves to shield your skin from direct contact with mold.
Goggles: Protect your eyes from irritants and spores that can cause discomfort.
Ventilation and Airflow
Proper ventilation and airflow are essential for a safe mold cleanup, as they help minimize your exposure to harmful spores. Before you start, verify your ventilation systems are operational and create effective airflow patterns throughout the affected area. This will help disperse spores and prevent them from settling.
| Action | Purpose |
|---|---|
| Open windows | Increases fresh air circulation |
| Use fans | Enhances airflow to remove spores |
| Seal off areas | Contains mold spores in specific zones |
Electrical Safety Measures
Electrical safety measures are essential during mold cleanup to protect yourself from potential hazards. Before you start, make certain to take these precautions:
Conduct Electrical Inspections: Check the area for any exposed wires or damaged outlets. If you notice any issues, avoid the area until a professional can assess the situation.
Turn Off Power: Always shut off the electricity to the affected space. This step ensures you won’t accidentally come into contact with live circuits while cleaning.
Use Circuit Safety Devices: Consider using ground fault circuit interrupters (GFCIs) for added protection. These devices help prevent electrical shocks in damp environments.
Initial Steps for Mold Removal
Before tackling mold removal, it’s essential to assess the extent of the problem and gather the necessary supplies.
Start by inspecting the affected areas for visible mold growth, paying close attention to hidden spots like behind walls or under carpets. You’ll need gloves, a mask, and cleaning solutions specifically designed for mold removal.
Next, develop cleanup strategies that suit your situation. If the mold covers a small area, you might tackle it yourself with soap and water or a commercial cleaner.
For larger infestations, consider reaching out to professionals. Remember, safety first! Ensure proper ventilation to avoid inhaling spores during the cleanup.
Once you’ve addressed the immediate concerns, take steps to prevent future mold growth. Fix any leaks and maintain low humidity levels.
Effective Mold Removal Techniques
To effectively tackle mold issues, you first need to identify where it’s growing and what’s causing it.
Once you pinpoint these sources, you can use safe removal methods to eliminate the problem without risking your health.
Let’s explore the best techniques to ensure your space is mold-free.
Identify Mold Growth Sources
How can you effectively tackle mold growth in your home?
First, you need to identify the sources of moisture that foster various mold types.
Here’s how to uncover those growth conditions:
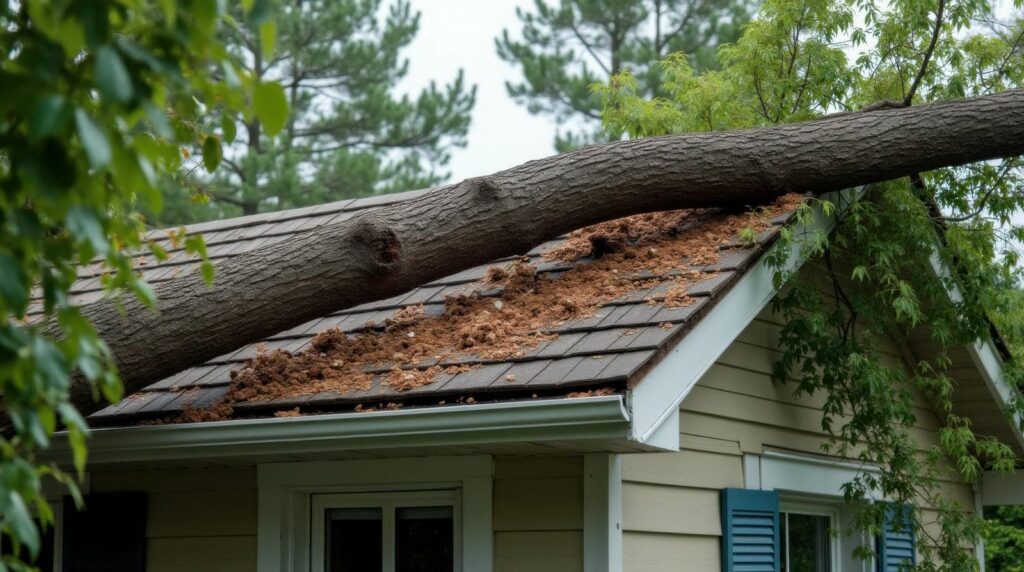
Check for leaks: Inspect your roof, pipes, and windows for any signs of water infiltration.
Monitor humidity levels: Keep an eye on areas like bathrooms and kitchens, where humidity often soars.
Look for condensation: Examine windows and walls for moisture buildup, especially during colder months.
Safe Removal Methods
While mold can be a persistent problem, effective removal techniques can help restore your home to a safe and healthy environment. Start by wearing protective gear, such as gloves and a mask, to ensure your safety during mold removal. Use a mixture of water and detergent to scrub surfaces, and for tougher mold, consider a specialized cleaner.
After removal, ensure safe disposal of contaminated materials. Here’s a handy guide:
| Step | Action |
|---|---|
| Identify | Locate mold-affected areas |
| Remove | Scrub with cleaners |
| Dispose | Seal and discard safely |
Preventing Future Mold Growth
Since mold thrives in damp environments, keeping your home dry is essential for preventing future growth.
You can take proactive steps to create a mold-free space everyone can enjoy. Here are three effective strategies:
Use mold-resistant materials: When renovating or building, opt for mold-resistant drywall and paint. These materials can greatly reduce the likelihood of mold growth in your home.
Implement humidity control: Maintain indoor humidity levels between 30-60% using dehumidifiers or air conditioners. This will help keep moisture at bay, making it less favorable for mold.
Regularly inspect and maintain: Check for leaks and repair them promptly.
Make sure proper ventilation is in areas like bathrooms and kitchens to prevent moisture buildup.
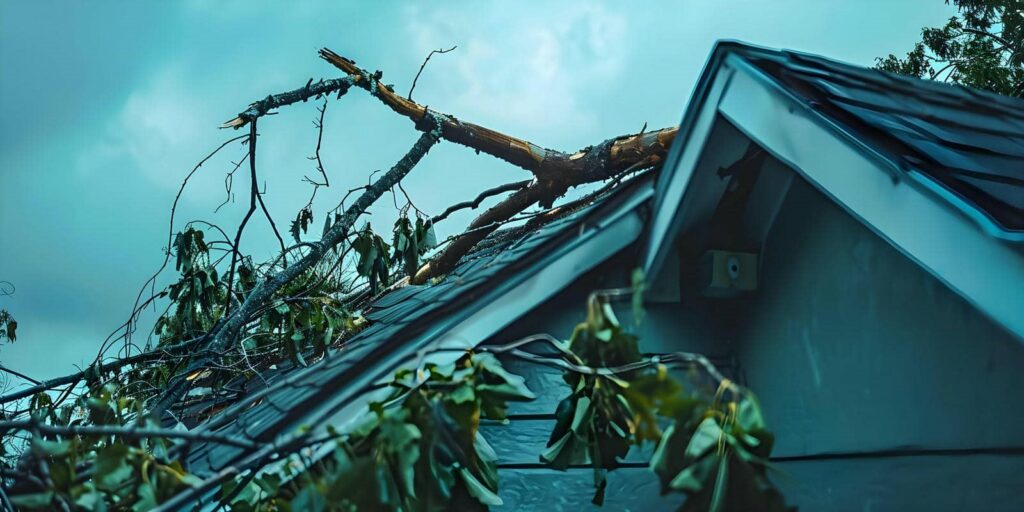
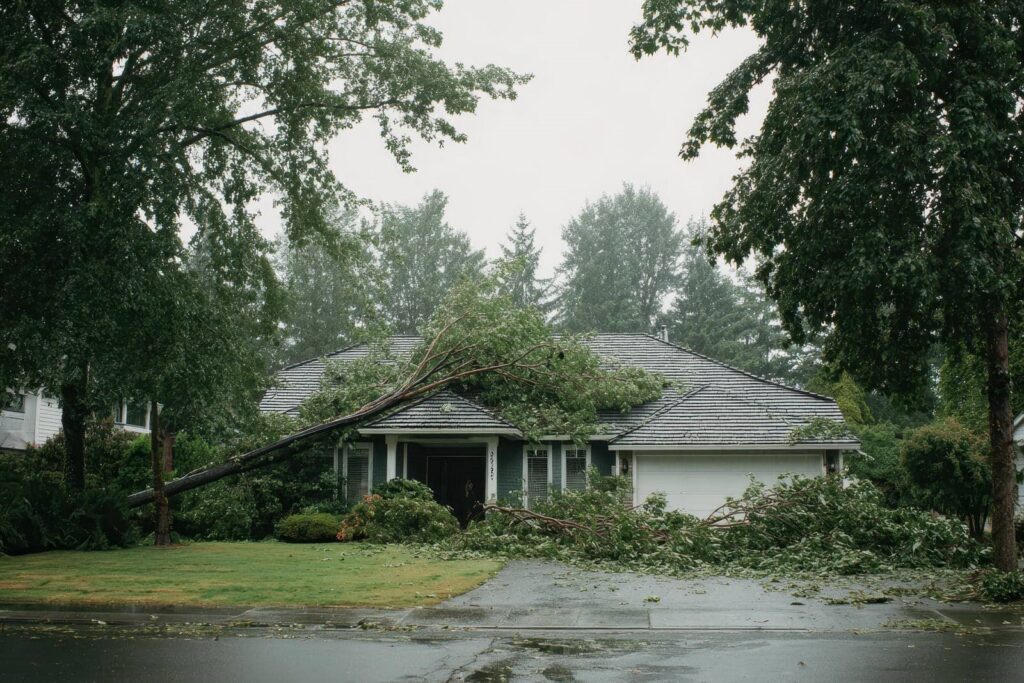
Repairing Roof Leaks to Avoid Recurrence
When you notice a roof leak, it’s essential to act quickly to prevent further damage and mold growth. Repairing the leak promptly is vital for effective roof maintenance and avoiding costly repairs down the line. Here are some key steps to follow:
| Step | Action | Purpose |
|---|---|---|
| Identify Source | Inspect the roof thoroughly | Locate the leak’s origin |
| Clear Debris | Remove leaves and debris | Ensure proper drainage |
| Seal the Leak | Use roofing cement or tape | Prevent further water intrusion |
| Regular Inspections | Schedule routine checks | Catch issues before they escalate |
Cleaning and Sanitizing Affected Areas
After addressing the roof leak, it’s crucial to clean and sanitize the affected areas to prevent mold growth and ensure a safe living environment.
You want to make sure that your home feels welcoming and healthy for everyone. Here are three essential steps for effective mold removal and sanitization techniques:
Remove Contaminated Materials: Carefully dispose of any mold-infested items, like carpets or drywall. Bag them tightly to prevent spores from spreading.
Clean Surfaces: Use a mixture of water and mild detergent to scrub surfaces. For tougher spots, consider a diluted bleach solution, but make certain to provide proper ventilation.
Dry Thoroughly: After cleaning, dry the area completely. Use fans or dehumidifiers to reduce moisture, as dampness is a mold’s best friend.
Following these steps helps create a safe, mold-free space you can enjoy and share with others.
Professional Mold Remediation Services
Even with thorough cleaning and sanitization, mold can sometimes persist or reappear, making professional mold remediation services a wise choice.
These experts have the tools and knowledge to tackle mold issues effectively, ensuring your home remains a safe haven. They eliminate existing mold and implement mold prevention strategies to keep it from returning.
By using specialized equipment, professionals can improve your indoor air quality, removing harmful spores that could affect your health.
They identify moisture sources and address underlying issues, providing you peace of mind that your home is secure.
Investing in professional mold remediation means you’re prioritizing a healthy environment for you and your loved ones.
Don’t wait for mold to become a bigger problem; reach out to experienced professionals who can restore your space and help you breathe easier.
Your home deserves the best protection against mold growth.
Long-Term Maintenance and Monitoring Strategies
To maintain a mold-free environment, it’s essential to implement long-term maintenance and monitoring strategies that keep your home safe and healthy.
By adopting effective mold prevention techniques, you’ll ensure that your living space remains comfortable for you and your loved ones.
Here are three actionable steps to take into account:
Regular Inspections: Schedule routine checks for leaks, condensation, and damp areas. Early detection is key to preventing mold growth.
Humidity Control: Use dehumidifiers in high-moisture areas like basements and bathrooms. Keeping humidity levels below 60% can greatly reduce mold risk.
Ventilation Maintenance: Ensure proper airflow throughout your home by cleaning vents and using exhaust fans in kitchens and bathrooms.
Frequently Asked Questions
How Long Does It Take for Mold to Develop After a Leak?
Mold growth can begin within 24 to 48 hours after a leak. To prevent it, act quickly by drying affected areas and addressing the source of moisture. Staying proactive helps ensure a healthier living space.
Can I Remove Mold Myself or Should I Hire a Professional?
Removing mold yourself is like steering through a stormy sea; DIY techniques can be risky. If you’re unsure, hiring a professional ensures thorough mold removal, protecting your home and health. Trust the experts for peace of mind.
What Are the Health Risks Associated With Mold Exposure?
Mold types can trigger various health symptoms, including respiratory issues, allergies, and skin irritations. It’s essential to understand these risks, as prolonged exposure can lead to more severe health problems. Stay informed and prioritize your well-being.
Will Insurance Cover Mold Removal Costs After a Roof Leak?
Whether your insurance covers mold removal costs depends on your insurance policies and their mold coverage specifics. It’s best to review your policy or contact your agent to clarify what’s included in your coverage.
How Can I Tell if Mold Is Completely Removed?
To tell if mold’s completely removed, conduct mold testing and perform a thorough visual inspection. Look for discoloration, musty odors, or signs of moisture, ensuring your space feels safe and welcoming once again.
Final Thoughts
Addressing mold growth swiftly after roof leaks isn’t just about cleanup; it’s about safeguarding your health and home. You might think it’s too much work, but taking these proactive steps now can save you from costly repairs and health issues later. By following the outlined strategies and maintaining vigilance, you can effectively prevent future mold problems. Don’t wait for mold to take hold—act quickly and ensure a safer, healthier living environment.