Contents
You might think cutting drywall is tricky, but with the right techniques and tools, you can tackle it like a pro. Sharpening your cutting tools and wearing protective gear are the first steps to ensure precise cuts and safety. But what about the best methods for marking and measuring accurately or achieving smooth cuts around corners and angles? Stay tuned to discover expert tips that will elevate your drywall-cutting game and help you achieve flawless results effortlessly.
Key Takeaways
- Keep cutting tools sharp for accuracy and efficiency.
- Prioritize safety with proper gear and ventilation.
- Master measuring techniques for precise cuts.
- Use diagonal cutting methods for angled cuts.
- Smooth rough edges with sandpaper for a professional finish.
Tools Needed
To cut drywall effectively, you’ll need a few essential tools readily available at any hardware store. Ensuring your tools are in top condition is important for achieving precise cuts with minimal material waste.
Start by regularly checking and maintaining your cutting tools to ensure cutting accuracy and efficiency. Tool maintenance is important for cutting drywall effectively. Keep your utility knife sharp by replacing blades as needed. Dull blades can tear the drywall paper, leading to jagged edges and imprecise cuts. Additionally, lubricate the blade of your keyhole saw to prevent it from getting stuck in the drywall, ensuring smooth and accurate cuts every time.
Cutting accuracy is key to minimizing material waste when working with drywall. Use a T-square to mark straight cutting lines on the drywall accurately. This tool will help you achieve clean, precise cuts, reducing the need for excessive sanding or additional finishing work due to uneven edges.
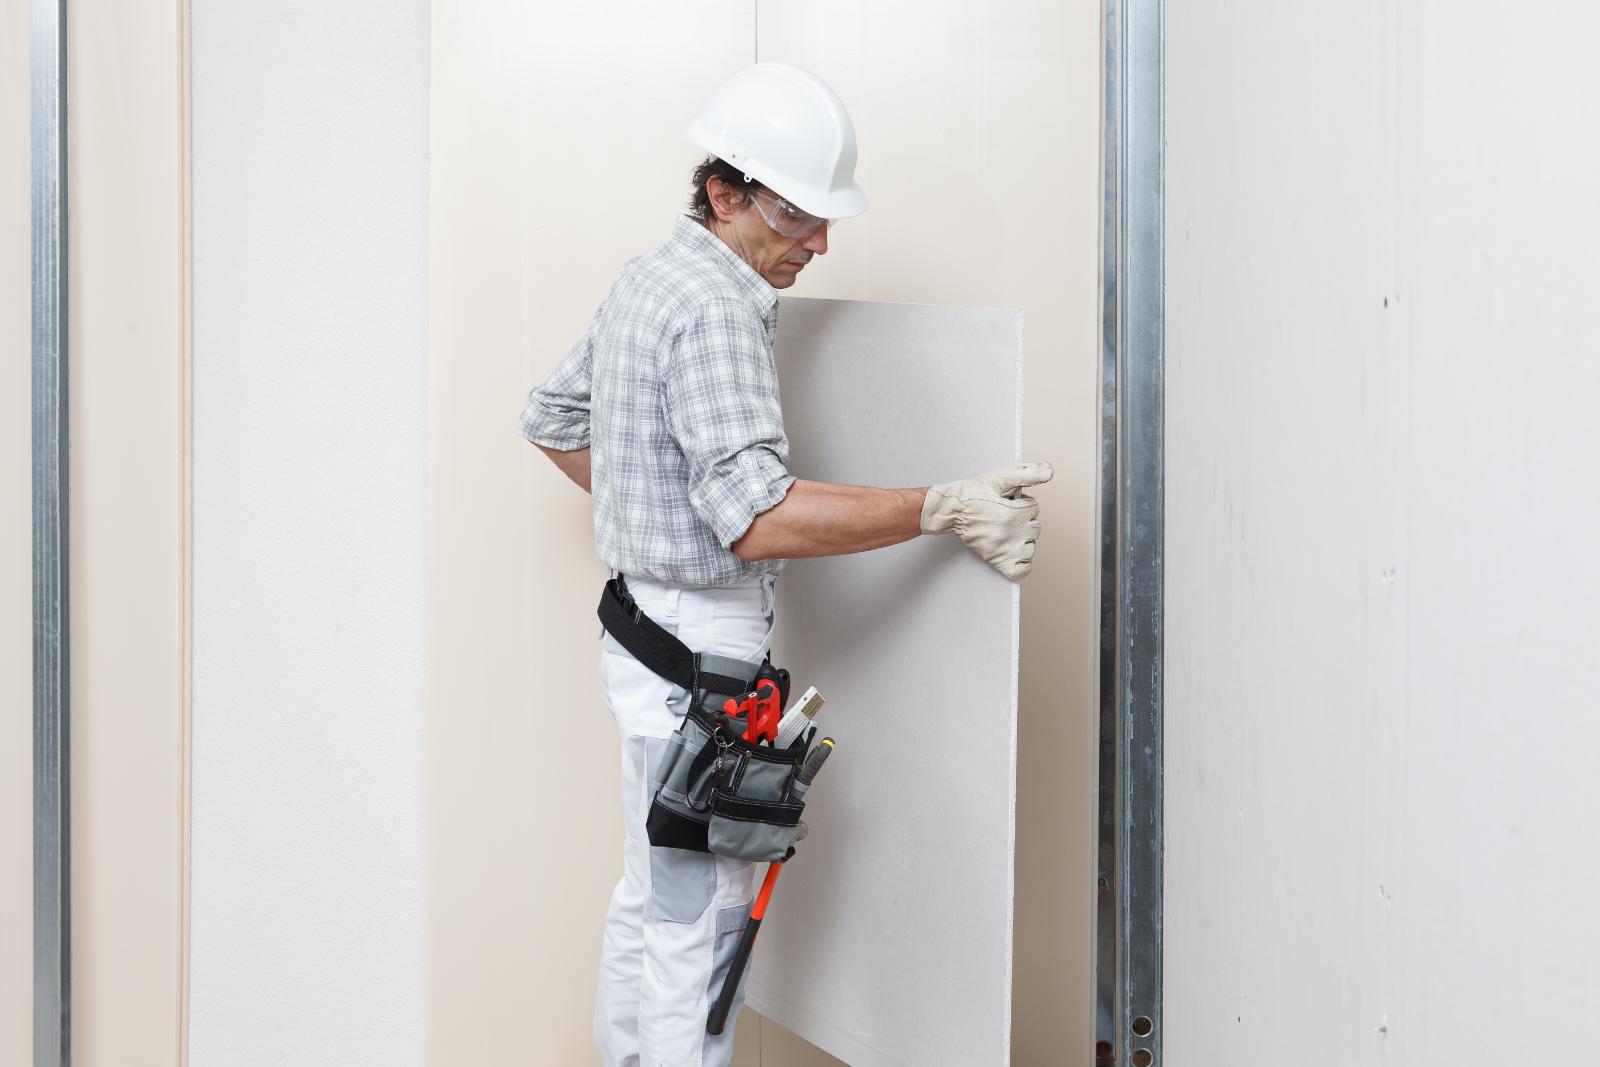
Safety Precautions
Before you start cutting drywall, make sure you have the necessary safety gear essentials. Eye protection, gloves, and a dust mask are crucial to prevent injuries.
Taking injury prevention measures seriously will make your drywall-cutting process safer and more efficient.
Safety Gear Essentials
Prioritize your safety by putting on necessary safety gear before starting any drywall-cutting tasks.
When it comes to safety gear essentials, two important items to have on hand are proper ventilation and eye protection. Adequate ventilation is essential to prevent inhaling harmful dust particles generated during the cutting process. Make sure to work in a well-ventilated area or use a dust mask to protect your respiratory system.
Additionally, always wear eye protection such as safety goggles or glasses to shield your eyes from flying debris and dust. Drywall cutting can produce small particles that may cause irritation or injury if they come into contact with your eyes. Investing in a good pair of safety goggles is a small step that can greatly reduce the risk of eye-related accidents during your project.
Injury Prevention Measures
Implementing appropriate injury prevention measures is essential when engaging in drywall-cutting tasks to ensure a safe and successful project. To ensure your safety and the well-being of those around you, it is vital to be prepared for any potential accidents or injuries that may occur during the process. Below are some key injury prevention measures and safety precautions to keep in mind:
| Injury Prevention Measures | Description | Importance |
|---|---|---|
| First Aid Kit | Keep a fully stocked first aid kit nearby to address minor injuries promptly. | Essential for quick response to minor accidents. |
| Safety Gloves | Wear durable gloves to protect your hands from sharp edges and potential cuts. | Prevent cuts and abrasions. |
| Emergency Response Plan | Create and communicate an emergency response plan in case of severe injuries. | Ensures swift and effective action in critical situations. |
Marking & Measuring
When marking and measuring drywall, make sure you use proper measuring techniques to avoid inaccuracies.
Use a straight edge for precise lines that guide your cutting.
Marking accurately is essential for achieving clean and smooth cuts during the installation process.
Proper Measuring Techniques
Mastering proper measuring techniques, such as marking and measuring accurately, is vital to ensuring precise cuts when working with drywall. Achieving cutting precision starts with using the best tools for the job. A quality tape measure and a sharp utility knife are your best allies in this task. When measuring, make sure that the tape is held taut against the drywall to prevent inaccuracies. Always double-check your measurements before making any cuts to avoid unnecessary errors.
Efficient drywall cutting goes hand in hand with minimizing waste. By measuring accurately, you can reduce the chances of making mistakes that lead to excess scraps. Remember, each cut counts, so getting them right the first time is important. Take your time during the measuring process, as haste can result in costly errors.
Mark your measurements clearly on the drywall using a pencil or a scoring tool, ensuring that your cutting lines are straight and easy to follow. By mastering proper measuring techniques, you will set yourself up for success in achieving precise and efficient cuts while minimizing waste.
Using Straight Edge
Using a straight edge is crucial for achieving precise markings and measurements when cutting drywall. Advanced techniques like using a T-square or a long level can be incredibly helpful in ensuring precision cutting. These tools provide a straight edge that allows you to mark lines accurately, resulting in cleaner cuts and a more professional finish.
If you don’t have a traditional straight edge on hand, consider getting creative with straight-edge alternatives. A piece of sturdy wood or even a metal ruler can serve as makeshift straight edges for smaller projects. Be sure to secure the straight edge firmly in place before marking your measurements to prevent any shifting that could lead to inaccuracies.
Marking Accurately
Accurate marking and measuring are essential to achieve precise cuts when cutting drywall. Precision marking is the cornerstone of cutting accuracy. Here are some efficient tips to help you achieve clean cuts every time:
| Tip | Description |
|---|---|
| Use a T-Square | A T-square is a handy tool for making straight and precise markings on drywall, ensuring your cuts are accurate. |
| Measure Twice, Cut Once | Double-check your measurements before making any cuts to avoid errors that could result in wasted materials and time. |
| Score Before Cutting | To enhance cutting accuracy, score the drywall with a utility knife along the marked line before making the final cut. |
Straight Cutting Techniques
When cutting drywall using a utility knife, make sure that your blade is sharp to achieve clean and precise cuts without tearing the paper surface. For straight-cutting techniques, there are a few key methods and tips to follow for the best results.
Diagonal cutting methods can be handy when you need to create angled cuts on drywall. To execute this, start by marking the desired angle on the drywall using a straight edge or a square. Then, carefully cut along the marked line, ensuring a steady hand to maintain the angle consistently. This technique is useful for fitting drywall around corners or irregular shapes.
For precise straight cuts, always begin by marking your cut line accurately using a pencil and a straight edge. Next, score the drywall along the marked line using a utility knife, making sure not to press too hard.
Once scored, gently snap the drywall along the cut line by holding the waste side and applying pressure on the opposite side. Finally, use the utility knife to complete the cut through the paper backing.
Curved Cutting Techniques
Achieving smooth and accurate curved cuts on drywall demands proper technique and precision to ensure a professional finish. Regarding precision cutting, a circular saw can be your best friend for creating clean and precise curves on drywall.
Start by using a pencil or chalk to outline the curve you desire on the drywall. Then, carefully guide the circular saw along the marked line, ensuring a steady hand and even pressure to avoid any jagged edges or mistakes. Remember to always prioritize safety by wearing appropriate gear such as goggles and gloves.
Alternatively, if you’re looking for more flexibility in your curved cuts, a coping saw is a fantastic tool to have in your arsenal. The coping saw allows you to maneuver around tight curves and intricate shapes with ease.
Begin by drilling a starter hole along the curved line you want to cut. Then, insert the coping saw blade into the hole and gently follow the curve, making slight adjustments as needed to maintain accuracy.
Cutting Outlets & Openings
To accurately cut outlets and openings in drywall, measure and mark the dimensions on the surface using a pencil or a straight edge. Precision cutting is vital to ensure a clean and accurate result. Start by outlining the shape of the outlet or opening you need to create.
Use a utility knife to score along the marked lines gently. Make multiple passes with the knife, gradually cutting through the drywall layer by layer. Avoid applying excessive pressure, as this can lead to jagged edges.
Once the initial cut is complete, gently push on the scored area to break the drywall along the cut lines. Smooth any rough edges using sandpaper or a drywall rasp. For outlet shaping, use a keyhole saw to carefully cut out the shape required for the electrical box.
Take your time and work slowly to prevent overcutting or making mistakes. After cutting out the opening, test-fit the electrical box to ensure it fits correctly. Make any necessary adjustments by trimming the edges with a utility knife.
Cutting Corners & Angles
For cutting corners and angles in drywall, start by measuring and marking the specific angles you need on the surface with a pencil or straight edge. Precision cutting is vital when dealing with corners and angles to ensure a smooth fit.
When your measurements are marked, use a sharp utility knife to score along the lines you’ve drawn. Make sure not to cut all the way through in one pass. Instead, gradually deepen the score with multiple passes until you can cleanly snap the drywall along the line.
Advanced techniques like using a drywall saw or rotary tool can be beneficial for achieving precise corners and angles. A drywall saw allows for more intricate cuts and is particularly useful when dealing with irregular angles. When cutting angles, always double-check your measurements before making any cuts to avoid errors.
If you need to cut out corners or angles within the drywall itself, consider using a keyhole saw for more intricate work. This tool can help you navigate tight spaces and create detailed cuts with ease.
Fine-Tuning & Smoothing
After cutting corners and angles in drywall, the next step involves refining and polishing the edges to ensure a flawless finish. To achieve this, sanding techniques play an important role in fine-tuning the surface of the drywall.
Start by using a sanding block or sanding sponge with fine-grit sandpaper to smooth out any rough edges left from the cutting process. Work in gentle circular motions, applying even pressure to avoid creating uneven surfaces.
For a professional touch, consider using a drywall sanding mesh to further refine the edges. This tool helps feather out imperfections and seamlessly blend the edges into the surrounding drywall. Be sure to wear a dust mask while sanding to protect yourself from inhaling fine particles.
Once you have smoothed out the edges, it’s time to focus on the finishing touches. Run your hand along the sanded edges to feel for any remaining rough spots. If you detect any, lightly sand those areas until they’re smooth.
Wipe down the sanded edges with a damp cloth to remove any dust or debris before proceeding with priming and painting for a flawless final look.
Summary
Just like a skilled artist wielding a brush, mastering the art of cutting drywall requires precision, patience, and practice. With the right tools, techniques, and attention to detail, you can transform a simple sheet of drywall into a masterpiece of home improvement.
Remember, every cut is a stroke of creativity, every measurement a mark of craftsmanship. Embrace the process, hone your skills, and watch as your walls come to life with flawless precision.