Contents
When faced with such an emergency, knowing the fundamental steps for effective restoration can make a significant difference. From evaluating the situation to hiring professionals, every action counts in mitigating damage. As you navigate this challenging process, it’s essential to understand the key strategies that can help you regain control. Let’s explore these important tips for effective emergency response.
Key Takeaways
- Assess the damage immediately and document it with photos for insurance claims.
- Shut off the main water source and ensure safety before entering affected areas.
- Remove excess water using wet vacuums and absorbent materials promptly.
- Utilize dehumidifiers and fans to encourage airflow and accelerate drying.
- Inspect for mold growth and consider hiring professional restoration services if needed.
Assess the Situation Quickly
When water damage strikes, it’s essential to assess the situation quickly. Start by identifying the source of the water intrusion, as this will be vital for your emergency response. Look for visible leaks, damp spots, or areas with standing water.
Conduct a thorough water damage assessment to determine the extent of the damage. Check walls, flooring, and personal belongings for moisture, as this can help you identify what’s salvageable and what needs replacement.
Don’t forget to document everything with photos for insurance purposes. Time is of the essence; delaying your assessment could lead to mold growth and further structural damage.
Engage with professionals if needed, as they’ve the expertise and equipment to handle severe cases effectively. Your prompt action not only protects your property but also fosters a sense of community by ensuring safety for everyone involved.
Shut Off the Water Source
When water damage occurs, your first step is to shut off the water source to prevent further flooding.
Locate the main water valve and turn it off immediately, and if appliances are involved, disconnect them as well.
Quickly identify any leaks to address the issue effectively and minimize damage.
Emergency Water Damage Tip: Locate Your Main Water Valve
In a water damage emergency, quickly locating the main water valve is essential to stopping the flow of water and minimizing damage. The main valve controls your entire water supply, so knowing its location can save you from extensive repairs.
Typically found near where the water line enters your home, it may be in the basement, crawl space, or outside near the foundation. Once you find it, make certain you can easily access it in the future.
Turn the valve clockwise to shut off the water supply completely. This action halts further water intrusion, giving you time to assess the situation and begin restoration efforts.
Turn Off Appliances
As you work to mitigate water damage, turning off appliances connected to the water supply is essential. This step not only helps prevent further flooding but also guarantees appliance safety. Water and electricity don’t mix, and leaving appliances on poses significant electrical risks. Unplug devices, especially those near the affected area, and shut off their water supply.
Here’s a quick reference table for appliance safety during water damage:
| Appliance | Action |
|---|---|
| Washing Machine | Turn off water supply |
| Dishwasher | Unplug and shut off |
| Water Heater | Turn off power |
| Refrigerator | Check for leaks |
| Air Conditioner | Turn off and unplug |
Taking these precautions can greatly reduce damage and enhance safety during restoration.
Identify Leaks Quickly
To minimize water damage, quickly identifying and addressing leaks is essential, so shutting off the water source should be your immediate priority.
Start by locating your main water shut-off valve; knowing its location can save you critical time during an emergency.
Once you’ve turned off the water, conduct a thorough pipe inspection. Look for signs of moisture, corrosion, or dampness that may indicate leaks.
If you’re unsure about your findings, consider utilizing leak detection services to pinpoint hidden leaks effectively.
Remember, even small leaks can lead to significant issues if left unaddressed.
Document the Damage
After addressing the immediate water source, your next step is to document the damage.
Take detailed photos of all affected areas and items, ensuring you capture the extent of the destruction.
Additionally, record any repair costs as you go, as this information will be essential for insurance claims.
Take Detailed Photos
Capturing detailed photos of the water damage is essential for documentation and insurance claims. Clear images help you with damage assessment and guarantee you don’t miss any affected areas. Proper photo organization is key; label each image with descriptions and timestamps for easy reference.
| Photo Type | Description | Importance |
|---|---|---|
| Wide Shots | Captures overall damage | Contextual understanding |
| Close-Ups | Highlights specific issues | Detailed evidence |
| Sequential Photos | Shows progression of damage | Chronological clarity |
| Affected Items | Includes personal belongings | Emotional impact |
Record Repair Costs
Documenting repair costs is crucial for a thorough understanding of the financial impact of water damage. Start by gathering repair estimates from contractors to guarantee you’re aware of potential expenses.
Be meticulous in creating a cost breakdown that details every aspect of the repairs, such as labor, materials, and any additional fees. This not only aids in budget planning but also provides valuable documentation for insurance claims.
Keep receipts and invoices organized, as they’ll be critical when discussing compensation with your insurance provider. Remember, accurate records can considerably influence your claim’s success, making it essential to stay on top of every financial detail throughout the restoration process.
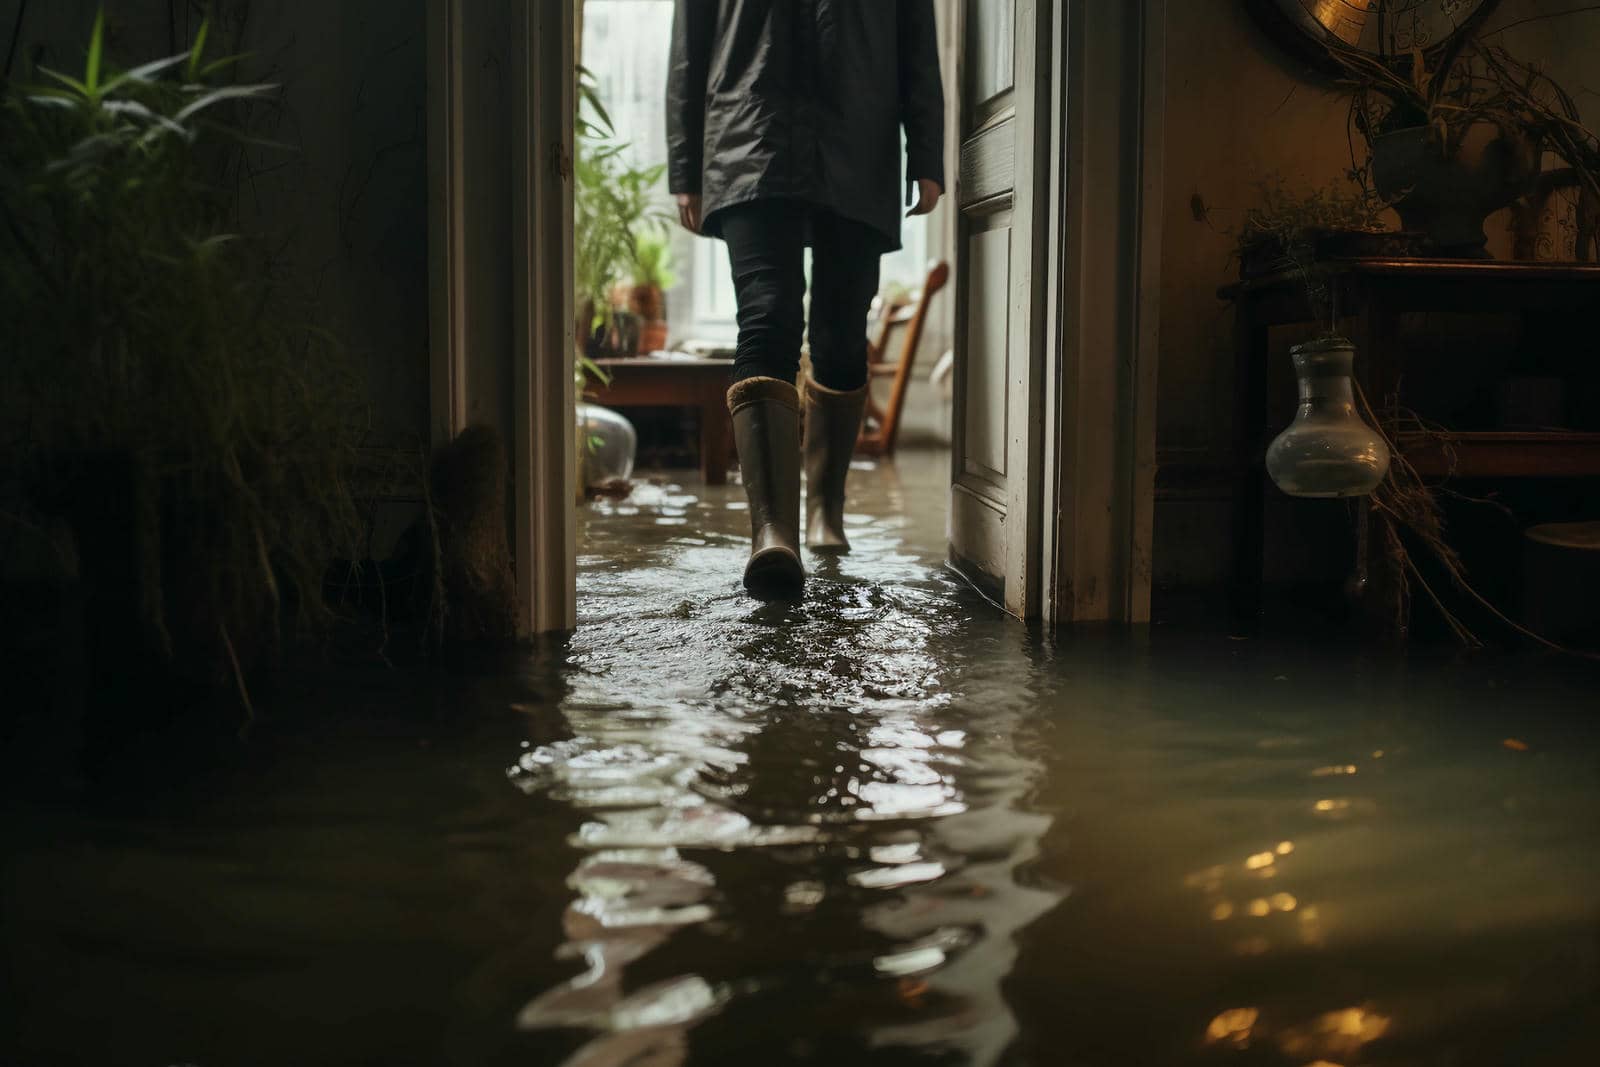
Prioritize Safety
When dealing with water damage, your first concern should always be safety. Before entering a flooded area, assess potential hazards. Look for downed power lines and avoid standing water, as it may contain electrical currents. Confirm your emergency preparedness plan includes safety gear like gloves and boots to protect against contaminants.
If the water is contaminated, don’t attempt to wade through it. Instead, turn off your electricity at the main breaker to prevent shocks. Remember, water safety is paramount; your health and safety should never be compromised.
If you smell gas, evacuate the area immediately and call the professionals. Keep your family informed about the situation and create a safe meeting point if evacuation becomes necessary.
Remove Excess Water
To effectively remove excess water, start by using a wet vacuum to extract standing water from surfaces.
Next, employ absorbent materials like towels or mops to soak up any remaining moisture.
Don’t forget to remove furniture promptly to prevent further damage and facilitate drying.
Use a Wet Vacuum
Start by grabbing a wet vacuum to effectively remove excess water from your space. This tool is essential for handling significant water damage.
When using a wet vacuum, make certain you follow these wet vacuum tips: start from the farthest corner and work your way toward the exit, maximizing efficiency. Be certain to empty the collection tank frequently to maintain suction power.
After you finish, don’t forget about vacuum maintenance—clean the filters and inspect the hoses for clogs. This not only prolongs the life of your vacuum but also guarantees peak performance for the next use.
Employ Absorbent Materials
After you’ve tackled the bulk of the water with a wet vacuum, employing absorbent materials becomes your next step in removing any remaining moisture. These materials are essential for effective water retention, ensuring that no excess moisture lingers to cause further damage. Options such as towels, sponges, or specialized absorbent pads can make a significant difference.
| Absorbent Material | Water Retention Capacity |
|---|---|
| Cotton Towels | High |
| Microfiber Cloths | Very High |
| Sponges | Moderate |
| Absorbent Mats | Very High |
| Paper Towels | Low |
Using these materials efficiently will help accelerate the drying process and reduce the risk of mold growth, ultimately fostering a safer environment for you and your loved ones.
Remove Furniture Promptly
Promptly removing furniture from water-affected areas is essential in mitigating damage and preventing mold growth. Water can quickly seep into fabrics and wood, compromising their integrity.
Start by lifting furniture, avoiding dragging, to minimize further damage. If possible, place items on impermeable surfaces to facilitate drying. Consider using furniture protection methods, such as waterproof covers, while you assess the situation.
For larger pieces, arrange for furniture storage if you can’t dry them in place. Additionally, make certain that any upholstered items are cleaned and dried thoroughly to prevent mold.
Dry Out Affected Areas
To effectively dry out affected areas after water damage, it’s essential to act swiftly and methodically.
Implementing proper drying techniques is critical for moisture control and preventing mold growth. Here’s how you can approach the drying process:
- Ventilation: Open windows and doors to encourage airflow. This helps in reducing humidity levels and promoting evaporation.
- Dehumidification: Use dehumidifiers to extract excess moisture from the air. This is an important step in preventing long-term damage.
- Heat Application: Increase the temperature in the affected area. Warmer air holds more moisture, speeding up the drying process.
Use Proper Equipment
Using the right equipment is essential for effective water damage restoration. First, you’ll need high-capacity water extraction tools, like pumps and wet/dry vacuums, to remove standing water quickly. The sooner you extract water, the less damage you’ll face.
Next, invest in industrial-grade dehumidifiers and fans to enhance your drying techniques. These devices help reduce humidity levels and circulate air, promoting faster evaporation.
Ensure you also have moisture meters to monitor the effectiveness of your drying process. This way, you can confirm that all affected areas are adequately dried, preventing future issues.
Additionally, using protective gear, like gloves and masks, keeps you safe while you work. Remember, having the right equipment not only speeds up the restoration process but also protects the integrity of your space.
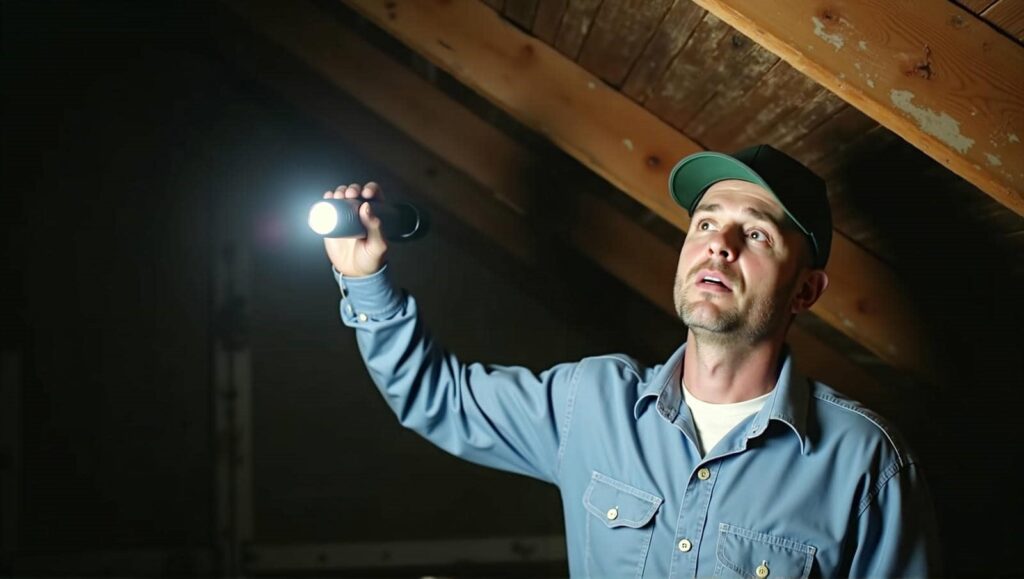
Check for Mold Growth
As soon as you’ve addressed standing water, it’s vital to check for mold growth, since moisture creates an ideal environment for mold spores to thrive.
Mold can spread rapidly, making early detection critical for effective mold remediation and mold prevention.
To assess for mold, follow these steps:
- Inspect Hidden Areas: Look behind walls, under carpets, and in attics or basements where moisture might linger undetected.
- Check for Musty Odors****: If you notice a damp, earthy smell, it could indicate mold growth nearby, even if it’s not visible.
- Examine Surfaces: Look for discoloration, spotting, or any fuzzy growth on walls, ceilings, and other surfaces.
Taking these proactive steps helps you identify mold issues early, ensuring you can implement effective solutions and maintain a healthy living environment.
Notify Your Insurance Company
Notifying your insurance company should be one of your top priorities after experiencing water damage.
Prompt communication is essential to initiate your insurance claim and guarantee you understand your coverage options. Document the damage thoroughly by taking photos and making a list of affected items. This evidence will support your claim and help facilitate a quicker response from your insurer.
When you contact your insurance company, provide them with all relevant details, including the extent of the damage and any immediate repairs you’ve made to mitigate further loss.
Be clear about your coverage options, as different policies may have varying levels of protection against water damage.
Keep records of all conversations and correspondence with your insurer, as this can be invaluable if disputes arise.
Taking these steps not only helps you navigate the claims process more effectively but also fosters a sense of community as you work toward recovery.
Hire a Professional Restoration Service
After you’ve reported the damage to your insurance company, the next step is to hire a professional restoration service.
These experts possess the necessary professional qualifications and are trained in effective restoration techniques to guarantee your home is restored to its pre-damage state.
When choosing a restoration service, consider the following:
- Experience: Look for a team with a proven track record in water damage restoration. Their experience will guide them in handling various situations effectively.
- Certifications: Verify the professionals hold relevant certifications, demonstrating their expertise and commitment to industry standards.
- Equipment: A reputable service will utilize advanced equipment, such as dehumidifiers and water extraction tools, to expedite the restoration process.
Hiring professionals not only alleviates your stress but also guarantees the job is done correctly, allowing you to reclaim your space with confidence and peace of mind.
Frequently Asked Questions
How Can I Prevent Future Water Damage in My Home?
You think ignoring leaks is fine? It’s not! Invest in waterproofing solutions and guarantee proper drainage systems. Regular maintenance keeps your home safe and dry, letting you enjoy peace of mind without water worries.
What Personal Items Should I Save First During a Water Emergency?
During a water emergency, prioritize saving sentimental items and important documents first. Grab family photos, heirlooms, passports, and insurance papers. These belongings hold irreplaceable value, so act quickly to protect them from damage.
How Long Does Water Damage Restoration Typically Take?
Water damage restoration isn’t a sprint; it’s a marathon. The restoration timeline usually spans a few days to weeks, depending on the extent of the damage and the drying process involved. Patience is key.
Can I Perform Water Damage Restoration Myself?
You can perform DIY restoration, but it’s essential to prioritize safety precautions. Assess the damage, wear protective gear, and guarantee proper ventilation. If the situation seems extensive, consider professional help to prevent further issues.
What Are the Signs of Hidden Water Damage?
You’ll notice signs of hidden water damage through damp odors and visible discoloration. Hidden leaks may also cause warping in walls or flooring. Regular inspection helps you catch these issues early, preventing further complications.
Recap
When disaster strikes, every second counts! By following these essential tips, you can turn chaos into calm and reclaim your space from water damage. Don’t let dampness dictate your life – act swiftly and decisively to minimize loss and restore your home. Remember, your safety is paramount, and professional help can be a game changer. With the right approach, you can conquer the flood and emerge victorious, transforming a nightmare into a story of resilience and recovery.