Contents
You may be surprised to learn that water damage accounts for nearly a quarter of all property insurance claims. Understanding the essential steps for successful water damage restoration can make a significant difference in the outcome of such situations. From the initial assessment to the final follow-up inspection, each step plays a crucial role in restoring your property to its pre-damage condition. So, let’s explore these key steps further to ensure a smooth and effective restoration process.
Key Takeaways
- Conduct a thorough damage assessment to determine the extent of damage.
- Initiate prompt water extraction using appropriate tools.
- Start the drying process immediately after extraction.
- Monitor moisture levels continuously to prevent mold.
- Assess insurance coverage and contact the provider for assistance.
Initial Assessment
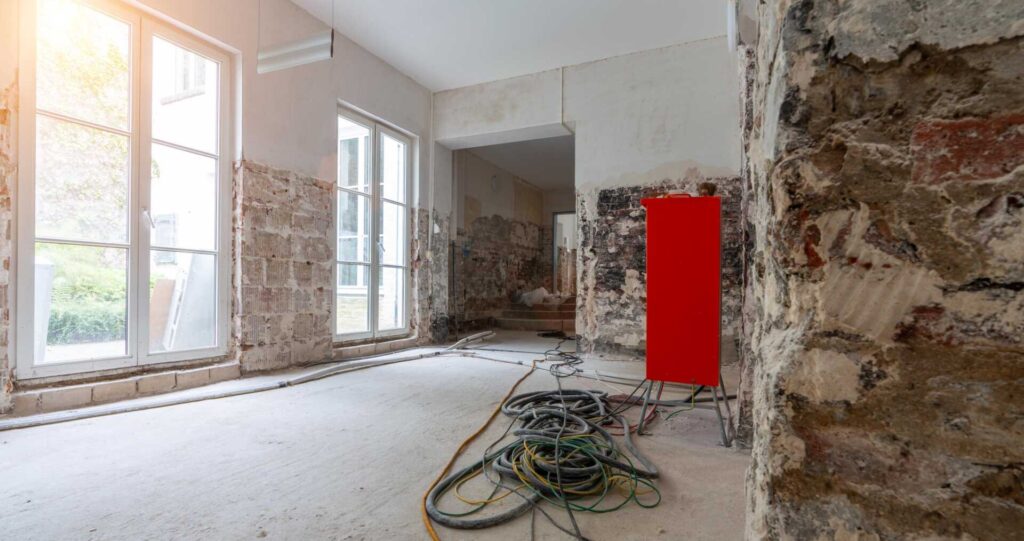
Before diving into the water damage restoration process, conduct a thorough initial assessment to accurately gauge the extent of the damage. Begin by evaluating the property to identify affected areas and potential risks. This step is crucial in devising an effective restoration plan tailored to your specific situation.
When assessing the property, pay close attention to areas where water has intruded and any structural damage that may have occurred.
Next, perform an equipment assessment to ensure you have the necessary tools and resources for the restoration process. Check the condition of dehumidifiers, air movers, moisture meters, and any other equipment required for drying out the affected areas. Having the right equipment in proper working order is essential for a successful restoration project.
During the initial assessment, a risk assessment will also be conducted to identify any potential hazards or safety concerns. This includes assessing electrical systems, potential structural weaknesses, and the presence of hazardous materials like mold. By identifying risks early on, you can take the necessary precautions to ensure the safety of both yourself and others involved in the restoration process.
Water Extraction
Begin by initiating the water extraction process immediately after completing the initial assessment to prevent further damage and facilitate the drying process efficiently. Proper water extraction is crucial in the restoration process to ensure a successful outcome. Here are some essential steps, techniques, and equipment selections for effective water extraction:
| Equipment Selection | Proper Techniques |
|---|---|
| 1. Submersible pumps | 1. Start extraction from the lowest point and work towards the highest point to prevent the spreading of water. |
| 2. Wet/dry vacuums | 2. Use extraction tools like wands and extraction mats for different surfaces. |
| 3. Truck-mounted extractors | 3. Extract water from carpets, flooring, and walls promptly to prevent mold growth. |
| 4. Dehumidifiers | 4. Employ specialized techniques for hardwood floors to prevent warping and damage. |
| 5. Moisture meters | 5. Monitor moisture levels continuously to ensure thorough extraction. |
Selecting the right equipment is vital for efficient water removal. Ensure you have the necessary tools like submersible pumps, wet/dry vacuums, and dehumidifiers. When applying proper techniques, always start from the lowest point and work upwards, using specialized tools for different surfaces. Extract water promptly to prevent further damage and monitor moisture levels diligently. By following these steps with the right equipment and techniques, you are on your way to successful water extraction and restoration.
Drying and Dehumidification
Initiate the drying and dehumidification process promptly after completing water extraction to expedite moisture removal and prevent secondary damage. Controlling humidity levels is crucial in preventing mold growth and further structural deterioration. To effectively dry out the affected area, utilize advanced drying techniques such as high-velocity air movers and dehumidifiers.
Start by strategically placing air movers to create airflow across all wet surfaces. This promotes evaporation and helps remove moisture from materials like carpets, walls, and furniture. Positioning dehumidifiers in the space aids in extracting excess moisture from the air, balancing humidity levels, and accelerating the drying process.
Monitoring the drying progress is essential. Regularly check moisture levels in the air and materials using moisture meters to ensure that the space is drying properly. Adjust the placement of air movers and dehumidifiers accordingly to target areas that may require additional drying.
Implementing thorough drying techniques is key to preventing long-term water damage consequences. Remember, the goal isn’t just to dry visible water but to eliminate all excess moisture to restore the affected area successfully.
Cleaning and Sanitizing
To ensure comprehensive restoration after water damage, the next step involves thorough cleaning and sanitizing of the affected area to eliminate potential contaminants and restore a safe environment. Mold prevention is crucial in this stage to prevent any further damage and health risks. Begin by removing any visible mold growth using appropriate cleaning agents. Inspect hidden areas as well, such as within walls or under flooring, as mold can thrive in damp environments.
Odor removal is another essential aspect of cleaning and sanitizing after water damage. Lingering smells can indicate the presence of mold or bacteria. Utilize specialized deodorization techniques to eliminate odors completely, ensuring a fresh and clean environment.
Surface disinfection is necessary to kill any remaining bacteria or pathogens that may have been introduced during the water damage incident. Use EPA-approved disinfectants to sanitize all surfaces thoroughly. Pay special attention to areas frequently touched, such as doorknobs, countertops, and light switches.
Air purification is the final step in cleaning and sanitizing the affected area. High-efficiency particulate air (HEPA) filters can help remove contaminants from the air, improving indoor air quality. Consider using air purifiers or running HVAC systems with clean filters to ensure the space is free from harmful particles.
Restoration and Repairs
How can you effectively approach the restoration and repair process following water damage in a meticulous and thorough manner?
After cleaning and sanitizing, the next crucial step is restoration and repairs. Begin by assessing the extent of the damage and contacting your insurance provider to understand your coverage. Restoration companies can provide professional services to restore your property efficiently. They have the expertise and equipment to handle water damage effectively, ensuring thorough restoration.
When dealing with restoration companies, make sure to get detailed cost estimates before proceeding with the repairs. Understanding the costs involved will help you plan and manage your budget effectively.
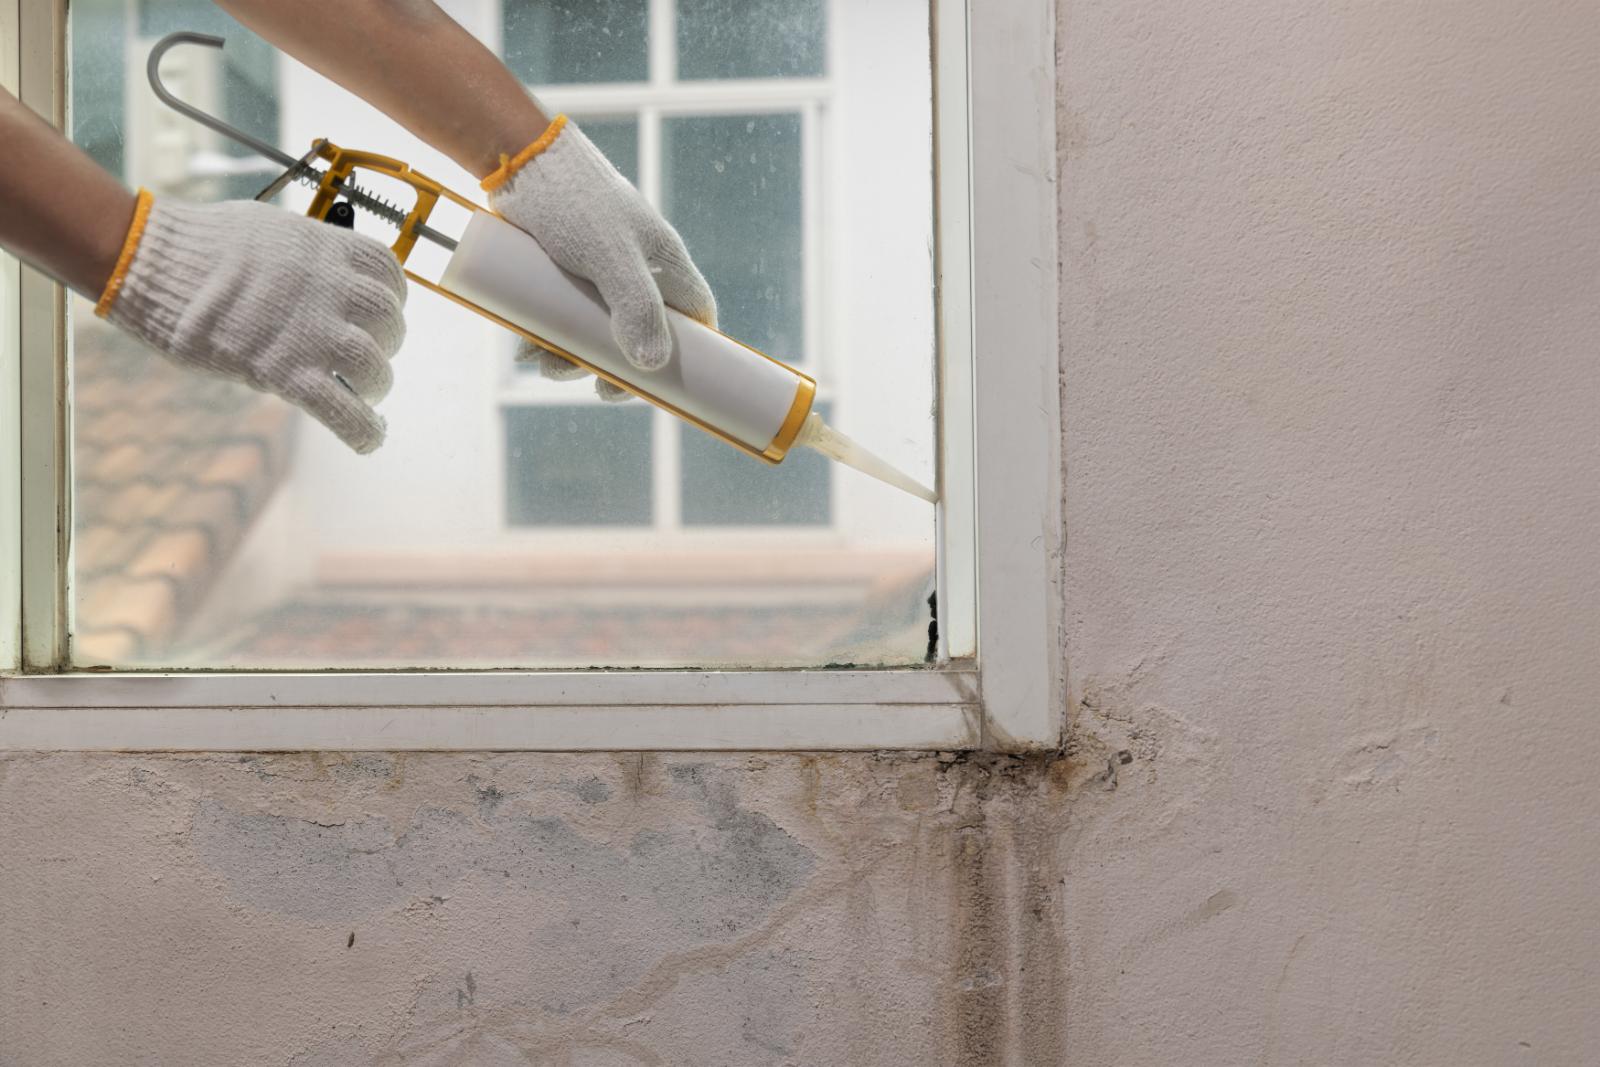
However, if you prefer a hands-on approach or are looking to save costs, consider implementing some DIY techniques for minor repairs. DIY techniques can include fixing minor leaks, replacing damaged drywall, or repairing small areas of flooring.
Follow-up Inspection
When conducting a follow-up inspection after water damage restoration, start with a detailed visual assessment to identify any lingering issues.
Utilize moisture level monitoring tools to ensure that the affected areas are drying properly and to prevent mold growth.
Address any additional concerns that may arise during this inspection to ensure a successful restoration outcome.
Detailed Visual Assessment
Perform a comprehensive visual inspection to assess the extent of water damage and identify any lingering issues during the follow-up inspection. Start by meticulously examining all affected areas, including walls, floors, ceilings, and hidden spaces. Scrutinize for signs of discoloration, warping, or mold growth that could indicate ongoing damage. Look out for any unusual odors that might suggest moisture retention.
Check for water stains on walls and ceilings.
Inspect the flooring for any signs of buckling or swelling.
Examine corners and crevices for hidden pockets of moisture.
Moisture Level Monitoring
To ensure thorough restoration progress, continue by diligently monitoring moisture levels during the follow-up inspection after conducting a detailed visual assessment.
Mold prevention is crucial at this stage, so keep a keen eye on any signs of excess moisture. Utilize moisture mapping techniques to identify areas that may still retain water, as these spots can lead to mold growth if left unchecked. Ensure equipment maintenance is up to date to guarantee accurate readings during the monitoring process.
During the follow-up inspection, prioritize the structural integrity of the affected areas. Check for any signs of weakening or damage caused by the water exposure. By maintaining a focus on structural integrity, you can address any issues promptly, preventing further deterioration.
Consistent monitoring of moisture levels is key to a successful restoration process. By diligently tracking and documenting changes in moisture levels, you can ensure that the affected areas are drying properly and mold growth is prevented.
Address Additional Concerns
As you address additional concerns during the follow-up inspection, focus on identifying any lingering issues that may impact the effectiveness of the water damage restoration process.
Mold prevention:
Check for any signs of mold growth or moisture that could lead to mold development. Implement preventive measures promptly to inhibit mold proliferation.Insurance coverage:
Ensure that you have a clear understanding of your insurance policy coverage related to water damage. Document all necessary information and communicate effectively with your insurance provider to facilitate the claims process smoothly.Structural integrity, Salvageable belongings:
Evaluate the structural stability of the affected areas to address any potential risks. Identify salvageable belongings that can be restored and take necessary steps to preserve them. Prioritize the safety of your home and personal items while striving for comprehensive restoration.
Review
Now that you’ve completed the essential steps for water damage restoration, you’ve paved the way for a successful recovery.
Like a skilled architect building a sturdy foundation, you’ve meticulously assessed, extracted, dried, and restored the affected areas.
Remember, attention to detail is key in ensuring a thorough restoration process.
With your expertise and dedication, you’ve set the stage for a home or business that is not just repaired but revitalized.


