Contents
When it comes to achieving a flawless DIY drywall finish, did you know that mastering the art of feathering and blending mud layers is essential for smooth joints? This technique can make all the difference between a mediocre and professional-looking finish. Stay tuned to discover expert tips on essential tools, proper joint preparation, sanding techniques, mud application, smooth corner tricks, and more to elevate your drywall finishing game to the next level.
Key Takeaways
- Sharp tools are used for precise cuts and cleaned after use.
- Properly prepare joints and reinforce with drywall tape.
- Progress from coarse to fine sandpaper grits for a smooth finish.
- Feather edges and apply consistent mud thickness for seamless results.
- Finish with high-quality primer and attention to detail for a professional look.
Essential Tools for Drywall Finishing
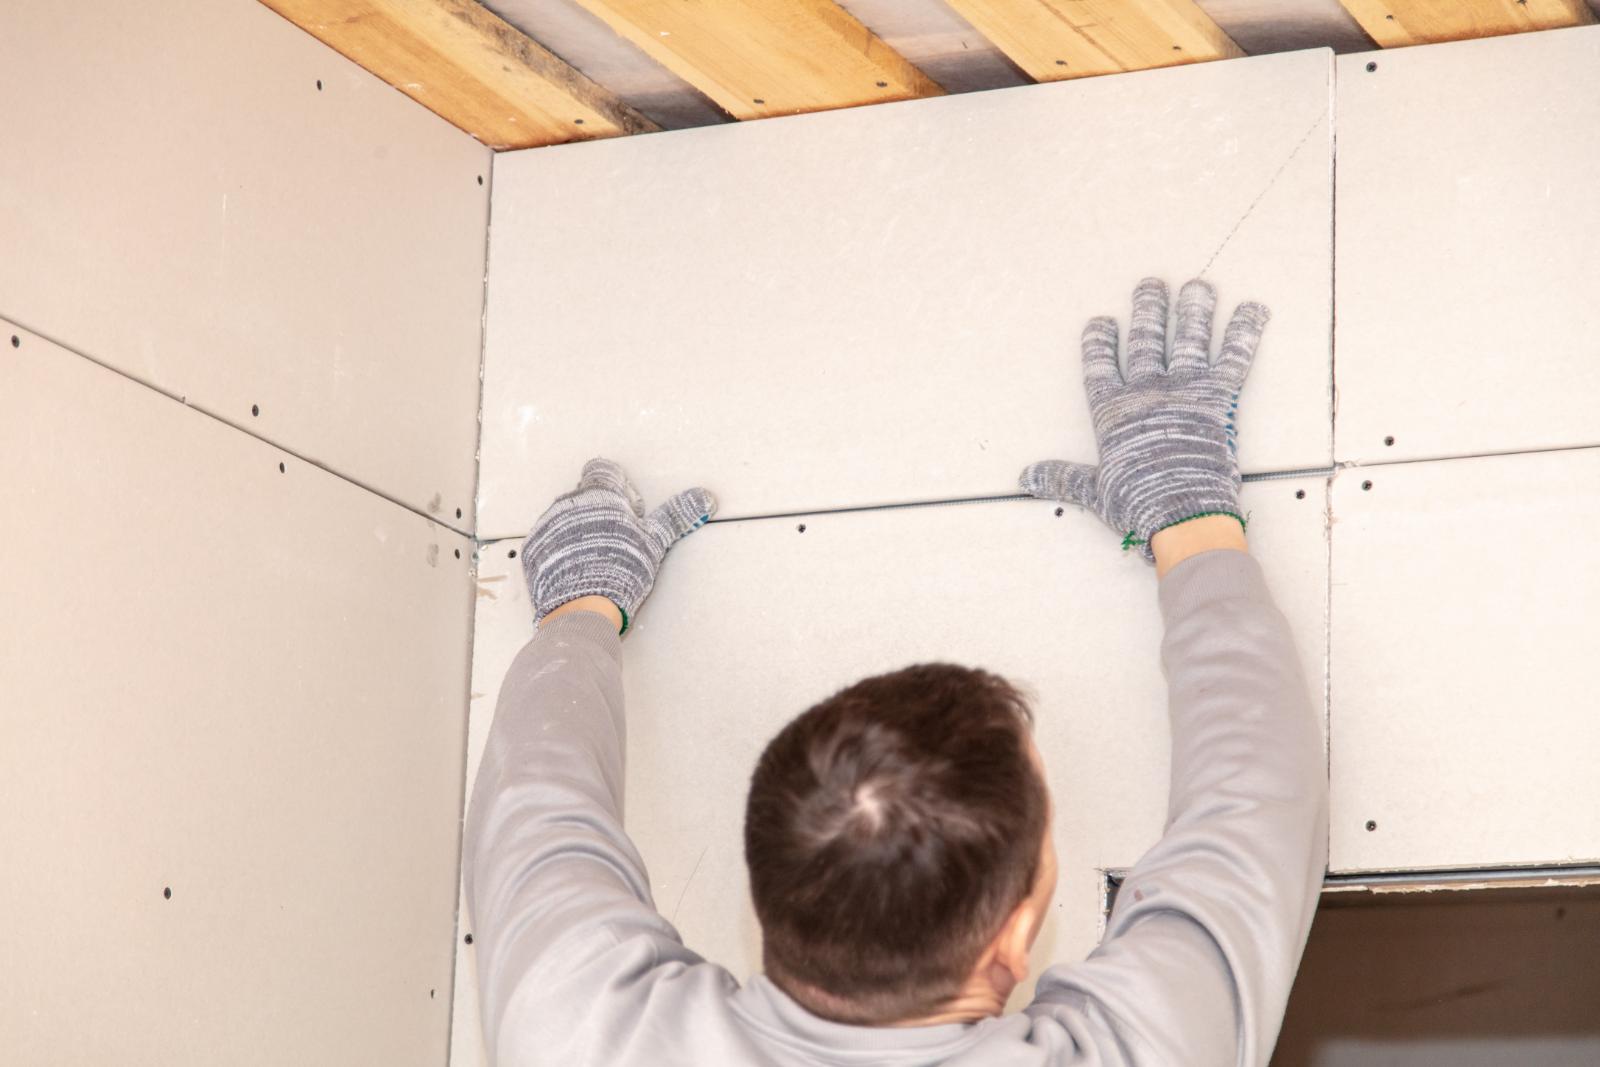
To achieve professional results in your DIY drywall finishing project, you’ll need a set of essential tools that include a mud pan, taping knife, sanding sponge, and corner trowel. Each tool plays an important role in achieving a smooth and flawless finish on your drywall surfaces.
Proper tool maintenance is key to ensuring that your tools remain effective throughout your project. After each use, clean your tools thoroughly to remove any dried joint compound or residue. For taping knives and corner trowels, make sure to keep the blades sharp by honing them with a fine grit sandpaper or a specialized sharpening tool. This will help you achieve clean and precise cuts while applying joint compound.
In addition to the essential tools, you’ll also need various finishing supplies such as joint compound, drywall tape, and sandpaper. Joint compound is used to cover the joints between drywall panels and any divots or imperfections in the surface. Drywall tape helps reinforce these joints, preventing cracks from forming over time. Sandpaper is essential for smoothing out the joint compound and achieving a flawless finish.
Proper Drywall Joint Preparation
When preparing your drywall joints, remember to apply joint tape meticulously to establish a strong bond.
Utilize proper sanding techniques to smooth out any imperfections and achieve a flawless finish.
Feather the edges smoothly for a professional look that blends harmoniously into the surrounding wall surface.
Joint Tape Application
For the best drywall joint preparation, make sure that the joint tape application is done meticulously and with attention to detail. Proper joint tape techniques are essential for achieving a smooth finish.
Begin by embedding the tape in a thin layer of joint compound, ensuring it’s centered over the joint. Use a taping knife to press the tape gently into the compound, removing any air bubbles or wrinkles.
Next, apply a second layer of compound over the tape, feathering the edges to finish joints and feather corners seamlessly. This process helps to blend the joint compound with the surrounding drywall, creating a professional-looking finish.
Pay close attention to mud blending, making sure each layer is smooth and free of ridges or bumps. By taking the time to master the joint tape application, you’ll set yourself up for success in achieving flawless drywall finishing results.
Sanding Techniques
Utilize a sanding block to carefully smooth out any imperfections in the joint compound, ensuring a flawless and even surface for painting or further finishing. When sanding, aim for efficiency by using light to moderate pressure in a back-and-forth motion. This technique helps prevent over-sanding, which can create uneven surfaces.
To control dust, consider using a sanding block with a built-in vacuum attachment or work near a fan to direct dust away from the workspace.
After achieving a smooth finish, it’s time for the finishing touches before paint application. Run your hand over the sanded area to detect any remaining rough spots. Address these by lightly sanding them until the surface feels uniform. Remember, proper sanding is essential for a professional-looking paint job.
Once satisfied with the smoothness, wipe down the area with a damp cloth to remove any lingering dust particles, ensuring a clean surface for painting.
Feathering Edges Smooth
Smoothly feathering edges is a key step in properly preparing drywall joints for a flawless finish. To master the blending technique, apply joint compound along the seam, ensuring it’s slightly wider than the tape. Next, embed the tape into the compound, using a drywall knife to remove excess mud and create a smooth shift from the tape to the wall.
Once the tape is in place, blend out the edges by applying a thin layer of joint compound beyond the seam, gradually tapering it off to merge seamlessly with the surrounding wall.
For those seeking those perfect finishing touches, corner blending is essential. After feathering the edges, focus on sanding corners to achieve a professional look. Use a sanding sponge or fine-grit sandpaper to gently smooth out any ridges or imperfections, ensuring the corners are crisp and integrated.
Sanding Techniques for Smooth Finish
When sanding drywall for a smooth finish, using the proper grit sandpaper for each stage is essential. Start with a coarser grit to remove imperfections and gradually move to a finer grit for a polished look.
Pay special attention to sanding corners carefully to prevent over-sanding or creating uneven surfaces.
Proper Sanding Grits
To achieve a flawless finish on your drywall, selecting the appropriate sanding grits is essential for achieving a smooth surface. When sanding techniques and finishing touches, using the right grit selection can make all the difference.
Begin with a coarser grit, such as 100 or 120, to remove any imperfections like bumps or ridges. This initial sanding helps level the surface and provides a good foundation for the rest of the process.
After the initial sanding, move on to a finer grit, like 150 or 180, to smooth out the surface further. This step helps to refine the drywall, preparing it for the final touches.
Opt for an even finer grit, such as 220 or 240 for the finishing touches. This polishing step gives the drywall a silky smooth texture, ready for priming and painting.
Remember to always sand in a circular motion and keep the sandpaper flat against the surface to avoid creating uneven spots. With the right grit selection and polishing tips, your drywall will have a professional-looking finish.
Sanding for Corners
To achieve a flawless finish on your drywall, mastering the sanding techniques for corners is essential. When it comes to corner sanding, precision is key. Begin by using a sanding sponge or a sanding block specifically designed for corners. These tools allow you to reach into tight spaces and achieve smooth edges.
When sanding inside corners, use a light touch and sand in a back-and-forth motion. Avoid applying too much pressure, as this can lead to uneven surfaces. For outside corners, maintain a consistent angle to prevent over-sanding in one spot.
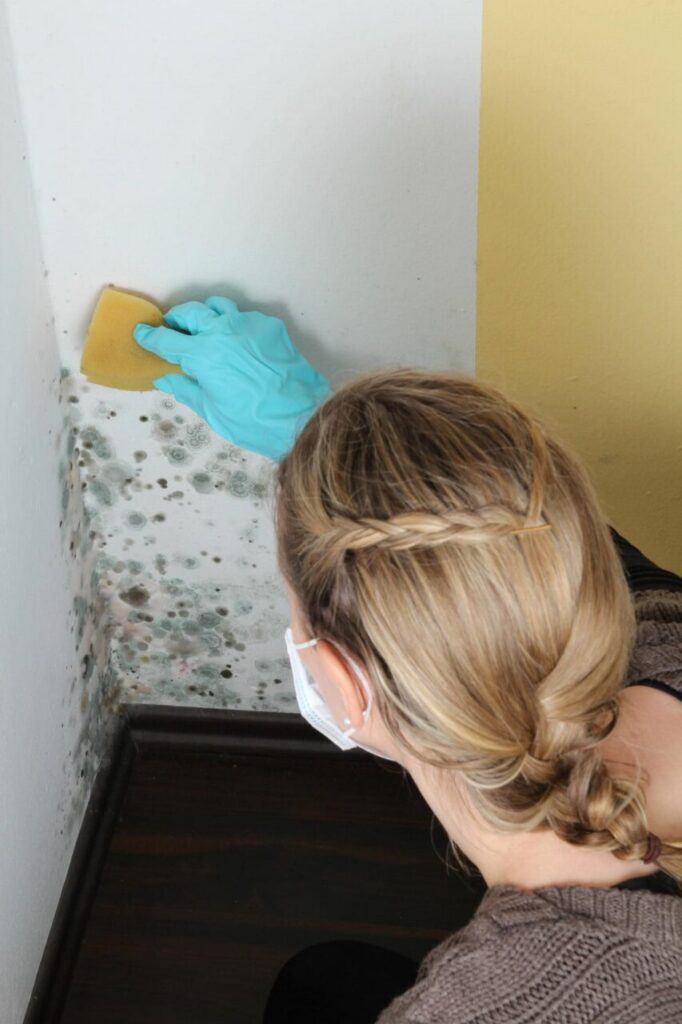
After sanding, run your hand along the corner to feel for any rough patches that may need further attention. Remember to wear a mask to protect yourself from dust particles while sanding.
Applying the First Coat of Mud
Mix the drywall joint compound to achieve a smooth consistency before applying the first coat of mud. This initial layer is vital for filling in the joints and covering the drywall tape. Here are some expert tips and mud application techniques to help you achieve a flawless finish:
| Mud Application Techniques | Description | Tips |
|---|---|---|
| Feathering | Thinly spread mud at the edges to blend it seamlessly with the wall. | Use long, smooth strokes for a professional look. |
| Butt Joints | Apply more mud over the joint and feather it out to create a smooth connection. | Keep the mud slightly thicker for better coverage. |
| Inside Corners | Use a corner trowel for a neat finish in corners. | Apply even pressure to avoid excess mud buildup. |
| Taping Joints | Press the drywall tape into the mud and smooth it out. | Make sure the tape is flat with no wrinkles for easier sanding. |
Tips for Second Coat Application
Consider applying the second coat of mud once the first coat has dried completely to achieve a smoother and more polished finish on your drywall.
When taping, make sure that the joints are well embedded in the first coat before proceeding with the second layer. Use a taping knife to apply the mud, starting in the middle and feathering out towards the edges to blend it smoothly with the surrounding area. This technique helps prevent visible lines and bulges in your finish.
For mud application, use a wider knife than the first coat to spread the mud more evenly. Apply a thin layer of mud over the joints and screws, making sure to cover them completely.
When edge feathering, lightly run the knife along the edges to create a smooth shift between the mud and the drywall. Corner blending is essential to avoid sharp angles; use a corner trowel or knife to create a rounded edge at corners. This technique ensures a professional look and improves the overall durability of the finish.
Feathering and Blending Mud Layers
Achieving a smooth shift between mud layers on your drywall is essential for a professional and polished finish. When it comes to mud application and blending techniques, attention to detail is key to seamlessly merging different layers of mud. Here are some expert tips to help you master feathering and blending mud layers:
Consistent Mud Thickness: Ensure an even application of mud across the drywall surface to avoid lumps or uneven blending.
Feathering Edges: Feather out the edges of each layer of mud by gradually decreasing pressure towards the outer edges. This technique helps in creating a smooth shift between layers.
Use Proper Tools: Utilize high-quality tools such as taping knives and mud pans to apply and blend the mud effectively. These tools can make a significant difference in achieving a professional finish.
Sand Between Layers: Lightly sanding the dried mud between layers can help in creating a smooth merge. Be gentle to avoid removing too much mud and disturbing the smooth shift.
Achieving Seamless Corners
To ensure your drywall finishing project maintains a professional look, mastering the technique of achieving flawless corners is essential for a smooth and polished result. Achieving sharp corners involves meticulous corner bead installation and precise finishing techniques. Here’s a breakdown of key steps to help you achieve smooth corners:
| Step | Description | Tips |
|---|---|---|
| Prepare the Corners | Confirm corners are clean and free of debris before starting. | Use a vacuum to remove dust and dirt for a smooth finish. |
| Install Corner Beads | Secure metal or vinyl corner beads using screws or nails. | Check for straightness and adjust if necessary. |
| Apply Joint Compound | Fill the corners with joint compound using a taping knife. | Feather the edges to blend with the surrounding drywall. |
| Finish with Precision | Sand the corners lightly once the compound is dry for a polished look. | Use a sanding sponge for a smooth and even finish. |
Tricks for Sanding and Polishing
For a professional finish, mastering the art of sanding and polishing is essential in achieving smooth and flawless drywall corners. When it comes to sanding and polishing, some various tricks and hacks can help you achieve that perfect finish.
Here are some valuable tips to elevate your drywall finishing finesse and DIY secrets:
Sanding Shortcuts: Invest in a sanding sponge with different grits to easily tackle different areas of the drywall. Use a sanding pole for higher spots to avoid straining your arms and back. Remember to sand in a circular motion to prevent creating visible lines on the surface.
Polishing Hacks: After sanding, use a damp cloth to wipe down the drywall surface and remove any dust particles. Applying a thin coat of drywall primer can help in highlighting areas that still need attention. For a super smooth finish, consider using a fine-grit sanding sponge to polish the surface gently.
Finishing Finesse: To achieve a smooth and flawless connection between the drywall and the surrounding wall, feather the edges by gently tapering the joint compound. This technique helps in achieving an invisible joint once painted.
DIY Secrets: When polishing, focus on the edges and corners first before moving on to the larger flat areas. This approach helps in maintaining consistency throughout the drywall surface.
Final Touches and Inspection
Mastering the art of final touches and inspection is crucial for making sure that your DIY drywall finishing project is flawless and ready for painting. To achieve a professional finish, start by creating an inspection checklist. This checklist should include checking for any remaining imperfections, ensuring all seams are smooth, and verifying that corners are crisp and well-defined.
Once your inspection checklist is ready, focus on the final touches. Use a high-quality drywall primer to seal the surface and create a uniform base for painting. Pay close attention to areas that might require extra coats of primer, such as joints and patches.
After priming, carefully caulk any gaps or cracks to achieve a smooth look. Next, sand any rough spots or drips with fine-grit sandpaper to ensure a smooth and even surface. Wipe down the walls with a damp cloth to remove any dust or debris before proceeding.
Wrap-Up
So, you’ve mastered the art of DIY drywall finishing with expert precision. Your tools are sharp, your joints perfectly blended, and your corners crisp.
Sanding and polishing like a pro, you’ve added the final touches with finesse. Now, step back and admire your flawless handiwork.
Remember, perfection is key, so always inspect every inch with a critical eye. Congratulations, you’re now a drywall finishing guru!