Contents
Imagine a slow drip echoing in the silent corners of your home, a silent thief stealing away your peace of mind. But where is it coming from? The search for hidden water leaks can be a puzzle that requires patience and precision. By understanding the common signs and utilizing specialized tools, you can uncover the source of these elusive leaks. Stay tuned to discover how to safeguard your home from the damaging effects of hidden water leaks.
Key Takeaways
- Use water leak detection tools like moisture meters and infrared thermometers.
- Check common signs of hidden leaks, such as musty odors and damp spots.
- Locate leaks behind walls with tools like acoustic devices and visual inspections.
- Fix leaks in plumbing systems with DIY solutions or professional help.
- Prevent future water damage by ensuring proper ventilation and regular inspections.
Common Signs of Hidden Water Leaks
To identify hidden water leaks in your home, pay attention to subtle signs such as unexplained water bills, musty odors, and damp spots on walls or ceilings. High water bills can often indicate a leak, especially if your usage patterns haven’t changed. Keep an eye out for unexpected spikes in your water bill, as they could be a red flag for a hidden leak.
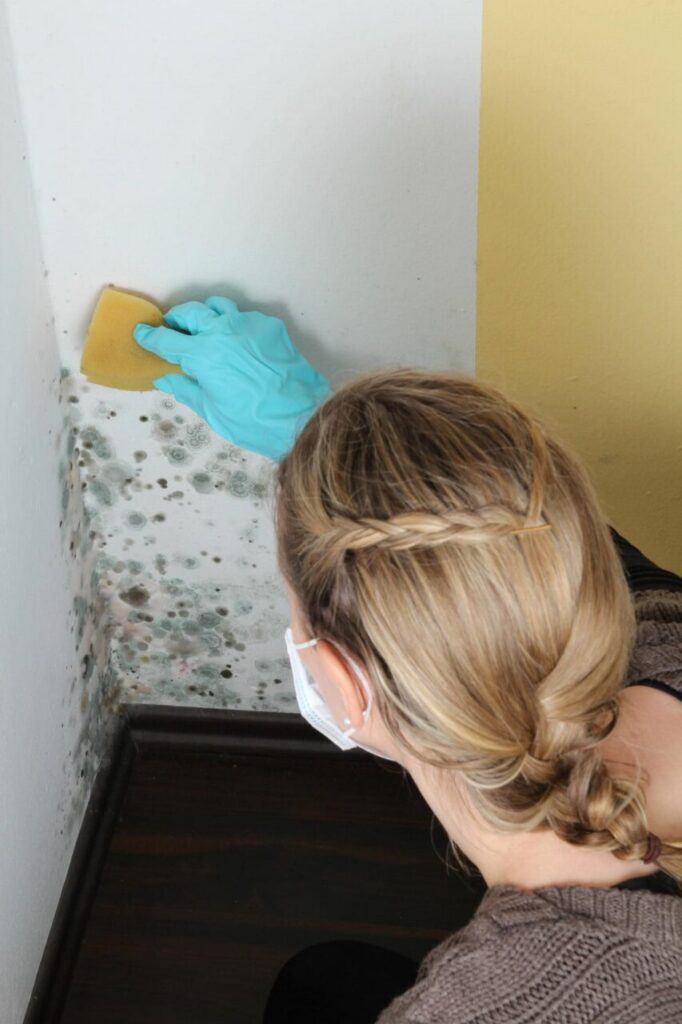
Musty odors in certain areas of your home, particularly in spaces like basements or bathrooms, can point towards mold growth resulting from excess moisture caused by leaks. If you notice a persistent musty smell, it’s essential to investigate further.
Additionally, wet spots on walls or ceilings may suggest water seepage from hidden pipes. These spots can appear discolored or slightly swollen, indicating ongoing water damage. Remember to check areas near appliances like water heaters, dishwashers, and washing machines, as they’re common culprits for leaks.
Tools for Detecting Water Leaks
Utilize a water leak detection kit to identify hidden leaks in your home efficiently. These kits often include tools such as moisture meters, infrared thermometers, and acoustic devices to aid in leak detection.
Moisture meters are crucial for measuring the moisture content in various materials, helping pinpoint areas of potential water damage. Infrared thermometers can detect temperature variations in different surfaces, revealing potential water leaks behind walls or under floors. Acoustic devices work by listening to the sound of running water within pipes and assisting in locating leaks in plumbing systems.
When using a water leak detection kit, start by checking common areas prone to leaks, such as around sinks, toilets, and water heaters. Look for signs of water damage, including mold growth, musty odors, or discolored walls and ceilings. Use the moisture meter to assess moisture levels in these areas.
Next, scan the surfaces with an infrared thermometer to identify any temperature irregularities that could indicate hidden leaks. Finally, use the acoustic device to listen for the distinct sound of water running through pipes, helping you pinpoint the exact location of the leak.
Locating Leaks Behind Walls
Check for leaks behind walls by using a combination of moisture meters, infrared thermometers, and acoustic devices from your water leak detection kit. These tools will help you pinpoint the source of the leak without causing unnecessary damage to your walls.
Here’s how you can effectively locate leaks behind walls:
Moisture Meters: Start by using a moisture meter to detect any unusual levels of moisture within the walls. Move the meter along the wall surface, focusing on areas where water damage is suspected. An increase in moisture levels could indicate a hidden leak.
Infrared Thermometers: Next, utilize an infrared thermometer to identify temperature variations on the wall surface. Leaks behind walls can cause temperature irregularities due to the presence of water. Look for unexpected cold or warm spots that could signal a hidden water leak.
Acoustic Devices: Use acoustic devices to listen for sounds of running water within the walls. These devices can detect the sound of water flowing where it shouldn’t be, helping you narrow down the location of the leak without invasive measures.
Visual Inspection: Lastly, conduct a visual inspection for any signs of wall damage, such as peeling paint, bulging walls, or discoloration. These visual cues often point towards areas where leaks are occurring, guiding you to the exact spot that needs attention.
Fixing Leaks in Plumbing Systems
Identify and address leaks in your plumbing systems promptly to prevent water damage and maintain the integrity of your property. When dealing with leaks, it’s crucial to assess whether you can handle the repair as a DIY project or if you need to seek professional help for more complex issues. Here are some common DIY solutions and instances where professional assistance might be necessary:
| Issue | DIY Solution | Professional Help |
|---|---|---|
| Leaky Faucets | Replace worn-out washers or seals | Call a plumber if the leak persists after replacing parts |
| Burst Pipes | Turn off the water supply, patch the pipe with a clamp | Contact a plumber immediately to fix and prevent further damage |
| Clogged Drains | Use a plunger or plumber’s snake to clear the blockage | Seek a plumber’s expertise for stubborn or recurring clogs |
| Faulty Water Heater | Check for loose connections and tighten them | Call a professional for repairs or replacements |
Preventing Future Water Damage
Regularly inspect and maintain your plumbing systems to safeguard your property against potential water damage. By taking proactive measures, you can prevent future issues and maintain the integrity of your home. Here are some practical steps you can take to protect your property:
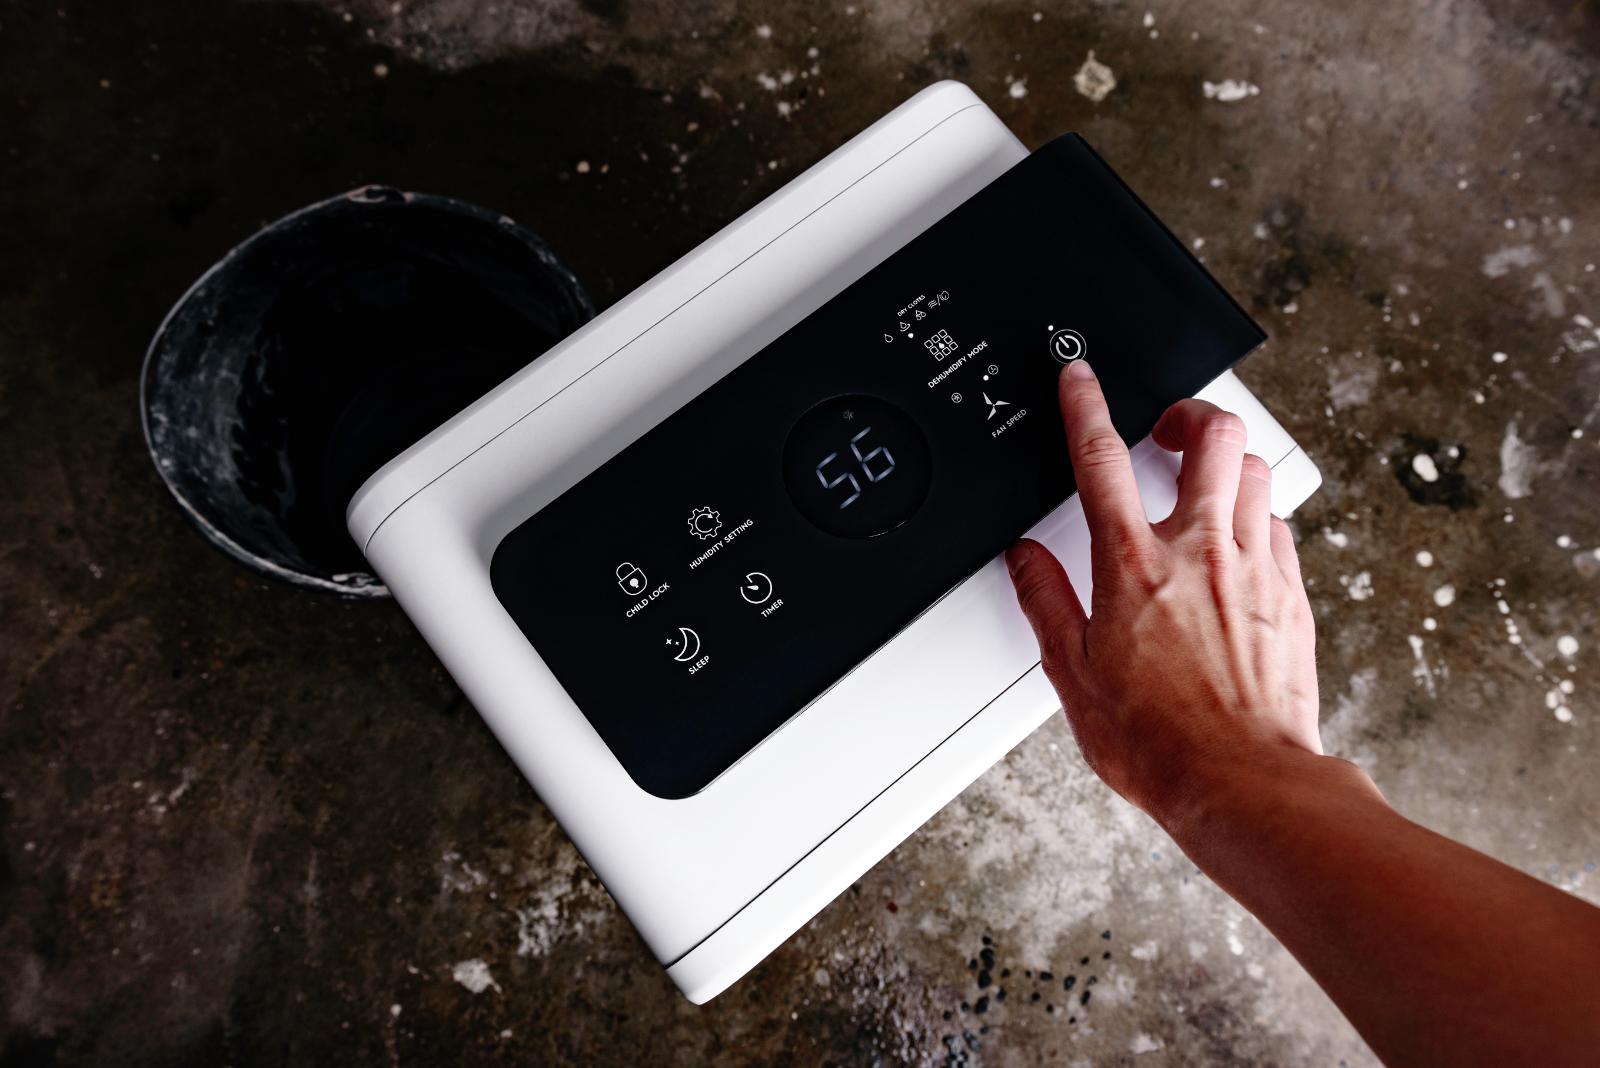
Moisture Control: Ensure that areas prone to moisture buildup, such as basements and crawl spaces, are well-ventilated and free from excess humidity. Consider using dehumidifiers in areas where moisture levels are high to prevent mold growth and water damage.
Inspect and Seal: Regularly inspect your home for any signs of water leaks or damage. Check for water stains on ceilings, walls, and floors, as well as any musty odors that could indicate hidden moisture. Seal any gaps or cracks in your home’s foundation, walls, and windows to prevent water intrusion.
Gutter Maintenance: Keep your gutters clean and free from debris to ensure proper drainage away from your home. Clogged gutters can cause water to overflow and seep into your home’s foundation, leading to water damage over time.
Waterproofing Solutions: Consider investing in waterproofing solutions for vulnerable areas such as basements, bathrooms, and kitchens. Waterproof paints, sealants, and membranes can provide an extra layer of protection against water intrusion, keeping your home safe and dry.
Taking these steps to prevent future water damage can save you time, money, and headaches in the long run. Stay proactive and protect your home from potential water-related issues.
Recap
By staying alert to the signs of hidden water leaks and utilizing the right tools, you can safeguard your home from costly water damage.
Just like a detective carefully searches for clues to solve a case, you, too, can uncover and address water leaks before they cause extensive harm.
Remember, prevention is key to maintaining the integrity of your home and ensuring a safe living environment for you and your loved ones.