Contents
Do you know how to keep your water line in your house clean and free from contaminants?
In this article, we’ll show you how to flush your water line effectively. By following our step-by-step guide, you’ll learn the tools and materials you need, as well as tips for maintaining a clean water line.
Don’t let common issues and troubleshooting get in the way of a healthy water supply.
Let’s get started on ensuring your water is safe and clean.
Key Takeaways
- Flushing your water line helps remove sediment, debris, and potential contaminants.
- It prevents the growth of biofilm and improves the taste and odor of water.
- Regular maintenance, such as inspecting and cleaning fixtures, changing filters, and avoiding pouring grease down the drain, helps maintain a clean water line.
- If you experience low water pressure or discolored water, troubleshooting steps include checking for leaks and blockages, flushing the water line, and contacting a plumber if the problem persists.
Reasons to Flush Your Water Line
What is the most common plumbing item to fail in a residential home? To ensure the cleanliness and optimal functioning of your water line, it’s important to understand the reasons why you should flush it regularly. Flushing your water line serves a vital purpose in maintaining the quality and safety of your water supply.
One of the main reasons to flush your water line is to remove any accumulated sediment or debris. Over time, sediment can build up in the water line, causing blockages and reducing water flow. Flushing the line helps to dislodge and remove these particles, ensuring a clear and unobstructed path for water to flow through.
Another important reason to flush your water line is to remove any potential contaminants. In some cases, bacteria or other harmful microorganisms can enter the water line and contaminate the water supply. Flushing the line helps to flush out these contaminants and maintain the cleanliness and safety of your water. Regular flushing also helps to prevent the growth of biofilm, which is a slimy substance that can develop on the inside of the water line. Biofilm can harbor bacteria and other pathogens, so flushing the line helps to prevent its formation and maintain a clean water supply.
Additionally, flushing your water line can help to improve the taste and odor of your water. Sometimes, minerals or other substances in the water can contribute to an unpleasant taste or odor. Flushing the line helps to remove these substances, resulting in fresher and better-tasting water.
Flushing your water line regularly is a simple yet effective way to maintain the cleanliness, safety, and quality of your water supply. By understanding the reasons behind it, you can confidently take steps to ensure the optimal functioning of your water line.
Tools and Materials Needed
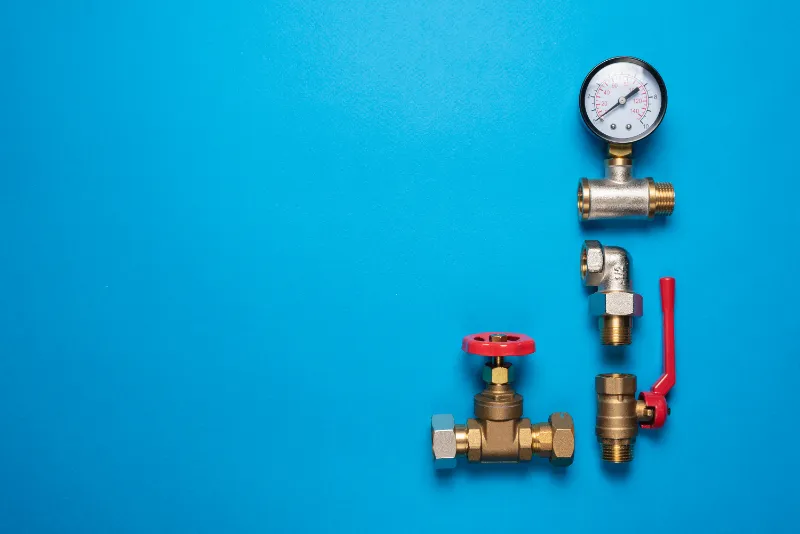
You will need a few essential tools and materials to flush a water line in your house. Here are the items you’ll need:
- Bucket: A bucket will come in handy for collecting any water that comes out during the flushing process. It will help keep your floors clean and prevent any unnecessary mess.
- Adjustable Wrench: An adjustable wrench is crucial for loosening and tightening the connections on your water line. It will allow you to easily disconnect the line and attach it back once the flushing is complete.
- Garden Hose: A garden hose will be used to flush out the water line. Make sure it’s long enough to reach the main water supply and has a nozzle attachment for better control of the water flow.
- White Vinegar: White vinegar is a natural cleaning agent that can help remove mineral deposits and buildup from your water line. It’s an effective and affordable solution for flushing out impurities.
- Towels or Rags: Keep some towels or rags handy to clean up any spills or drips that may occur during the flushing process. They’ll help you maintain a clean and dry work area.
Having these tools and materials ready before you start flushing your water line will make the process smoother and more efficient.
Remember to follow safety precautions and consult a professional if you’re unsure about any step along the way. By taking the time to flush your water line, you’re ensuring the quality and cleanliness of your household water supply.
Step-by-Step Guide to Flushing Your Water Line
To start flushing your water line, begin by turning off the main water supply valve to your house. Locate the valve, typically found near the water meter or where the main water line enters your home. Turn the valve clockwise until it’s fully closed. This will prevent any water from flowing into your house during the flushing process.
Next, open all the faucets in your home, including the outdoor hose bibs. Start with the highest faucet in your house and work your way down to the lowest. This will help to release any trapped air and allow the water to flow freely.
Once all the faucets are open, leave them running for several minutes. This will help to flush out any sediments or debris that may have accumulated in the water lines. Be sure to check the water coming out of the faucets for any discoloration or particles. If you notice any, continue running the water until it runs clear.
After flushing the water lines, close all the faucets starting from the lowest to the highest. Then, slowly turn the main water supply valve back on by turning it counterclockwise. Gradually open each faucet in your house to allow the water to flow back into the lines. Check for any leaks or unusual noises while the water is flowing.
Finally, let the water run for a few minutes to ensure that any remaining air is released from the lines. Once the water runs clear and there are no signs of any issues, you can consider the flushing process complete.
Remember to follow any specific instructions provided by your water utility company or consult a professional plumber if you have any concerns or questions. Flushing your water line regularly can help maintain the quality of your water and prolong the lifespan of your plumbing system.
Tips for Maintaining a Clean Water Line
Maintaining a clean water line involves regularly flushing out sediments and debris. By following these simple tips, you can ensure a clean and healthy water supply for you and your loved ones:
- Inspect and clean your fixtures: Regularly check your faucets, showerheads, and other fixtures for any signs of mineral buildup or sediment. Clean them regularly to prevent clogs and ensure optimal water flow.
- Change your filters: Replace the filters in your water filtration system or water softener as recommended by the manufacturer. This will help remove impurities and extend the life of your system.
- Avoid pouring grease down the drain: Grease can solidify and cause blockages in your water line. Instead, collect and dispose of grease in a separate container.
- Test your water quality: Periodically test your water for contaminants such as lead, bacteria, or chemicals. This will help you identify any potential issues and take appropriate measures to address them.
- Schedule professional maintenance: Consider hiring a professional plumber to perform regular maintenance on your water line. They can inspect for any leaks, check the pressure, and ensure everything is functioning properly.
Common Issues and Troubleshooting
To address common issues and troubleshoot your water line, start by identifying any signs of low water pressure. Low water pressure can be caused by a variety of factors, such as clogged pipes, a faulty pressure regulator, or a water leak. If you notice a decrease in water pressure, check for any visible leaks or dripping faucets. Inspect your pipes for any signs of blockages, such as mineral buildup or debris. If you find a clog, you can try using a plunger or a drain snake to clear it. Additionally, check the pressure regulator, which is usually located near the main water supply. Make sure it’s functioning properly and adjust it if necessary.
Another common issue with water lines is discolored water. If you notice that your water has a brownish or yellowish tint, it could indicate rust or sediment in the pipes. To address this issue, flush your water line by opening all faucets and letting the water run for a few minutes. This will help clear any trapped sediment or rust in the pipes. If the problem persists, you may need to contact a plumber to inspect and clean your water lines.
In some cases, you may experience a foul odor coming from your water. This can be caused by bacteria or contaminants in the pipes. To eliminate the odor, you can try flushing your water line with a mixture of vinegar and water. Simply pour the mixture into your pipes and let it sit for a few hours before flushing it out. If the odor persists, it’s recommended to consult a professional plumber for further assistance.
Conclusion
Flushing your water line is a simple yet essential task to ensure clean and safe water in your house. By following the step-by-step guide and using the necessary tools and materials, you can easily maintain a clean water line.
Regularly flushing your water line not only prevents common issues but also helps troubleshoot any potential problems. So, make sure to prioritize this important maintenance task for a healthy water supply in your home.


