Contents
After a fire, it might feel like mold can sprout up overnight. But don’t panic; addressing potential mold growth is critical and requires a systematic approach. First, you’ll need to assess the water damage that occurred during the firefighting efforts. Next, you’ll identify and remove any contaminated materials to prevent further issues. Let’s explore the essential steps you must take to ensure a thorough mold remediation process.
Key Takeaways
- Assess and document water damage from firefighting efforts to identify potential mold growth areas.
- Remove all contaminated materials, such as carpets and drywall, to prevent mold proliferation.
- Use dehumidifiers and fans to reduce moisture levels and enhance air circulation in affected spaces.
- Apply mold inhibitors on cleaned surfaces, particularly in high-risk areas like basements and kitchens.
- Monitor for mold recurrence by inspecting regularly and maintaining humidity below 60%.
Assess the Extent of Water Damage
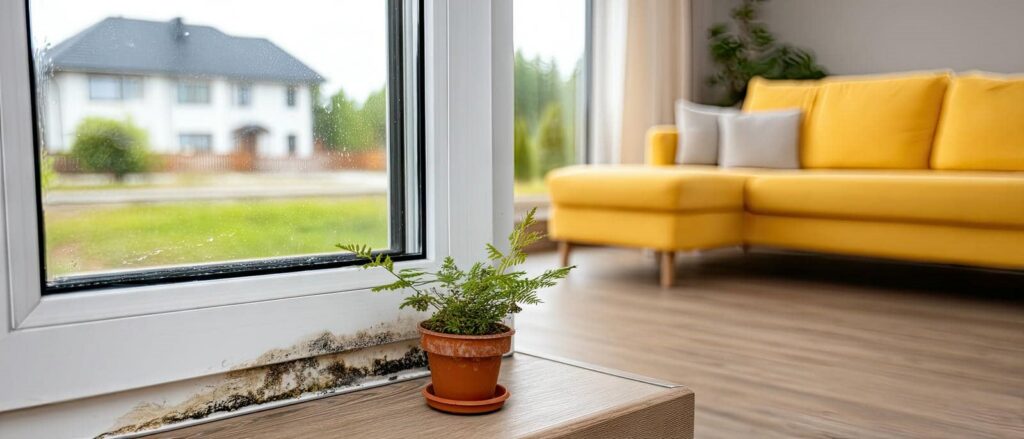
Before you begin the mold remediation process, it’s essential to assess the extent of water damage. Start by identifying the water source; this could be from firefighting efforts, burst pipes, or leaks.
Once you’ve pinpointed the source, conduct a thorough damage assessment. Examine walls, ceilings, and floors for signs of moisture, discoloration, or warping. Use a moisture meter to measure humidity levels in affected areas, which can provide quantitative data on the severity of the damage.
Document your findings meticulously, noting the locations and extent of water intrusion. This assessment will guide you in determining the necessary remediation steps and help establish priorities in your recovery efforts.
Remove Contaminated Materials
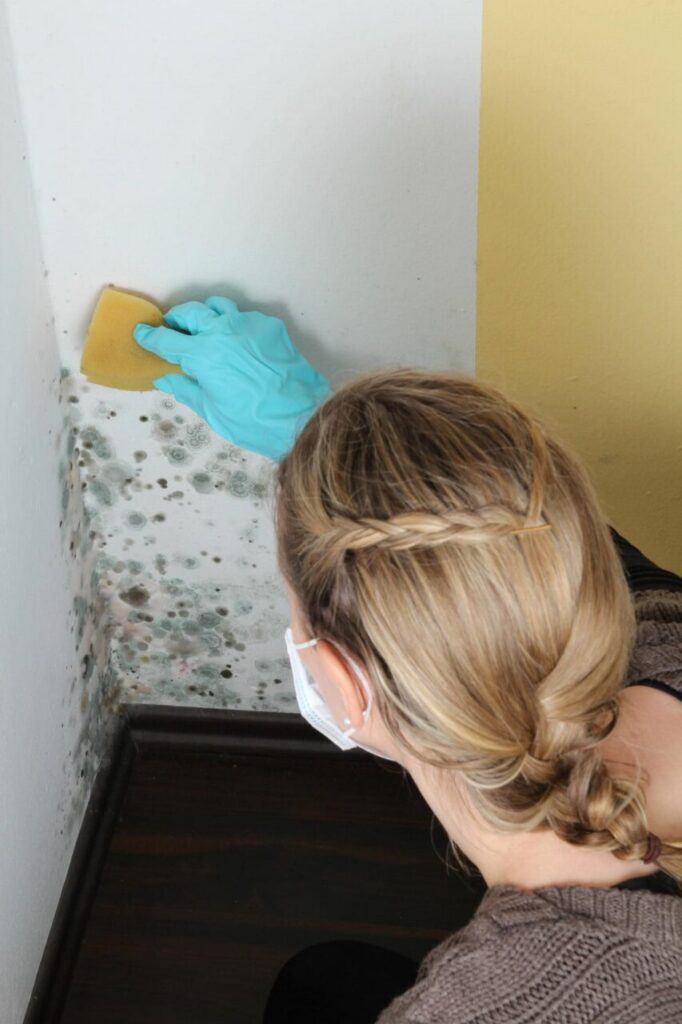
Begin by removing all contaminated materials that have been affected by water damage or mold growth. Start with items such as carpets, drywall, and insulation, as these materials often harbor mold spores and can compromise air quality.
Carefully assess each item for signs of contamination; if in doubt, prioritize removal.
Once you’ve identified the affected materials, it’s essential to bag them securely to prevent mold spores from spreading during disposal. Use heavy-duty plastic bags and seal them tightly.
Make sure you adhere to local regulations regarding the safe disposal of these contaminated materials, as improper disposal can lead to further health risks.
Consider wearing personal protective equipment, such as gloves and masks, to safeguard yourself during this process.
Use Dehumidifiers and Fans
Once you’ve cleared out the contaminated materials, using dehumidifiers and fans becomes essential in preventing further mold growth.
Start by strategically positioning dehumidifiers in areas with high moisture levels, such as basements or near water damage. Aim for dehumidifier placement that maximizes airflow and moisture absorption. Running multiple units can enhance efficiency.
Next, select appropriate fan types to promote ventilation. High-velocity fans work best for moving large volumes of air quickly, while box fans can effectively circulate air in smaller spaces.
Position fans to create cross-ventilation, directing airflow towards the dehumidifiers, which helps maintain low humidity levels.
Monitor humidity closely, aiming for levels below 60% to inhibit mold proliferation.
Apply Mold Inhibitors
As you tackle mold remediation after fire damage, applying mold inhibitors is an essential step in preventing future infestations.
These inhibitors are effective treatments that work by creating an environment unfavorable for mold growth. Implementing mold prevention strategies can greatly reduce the risk of recurrence.
Here are some key tips for applying mold inhibitors:
Choose the right product: Select a mold inhibitor that’s appropriate for your specific situation.
Follow instructions carefully: Always adhere to the manufacturer’s guidelines for application.
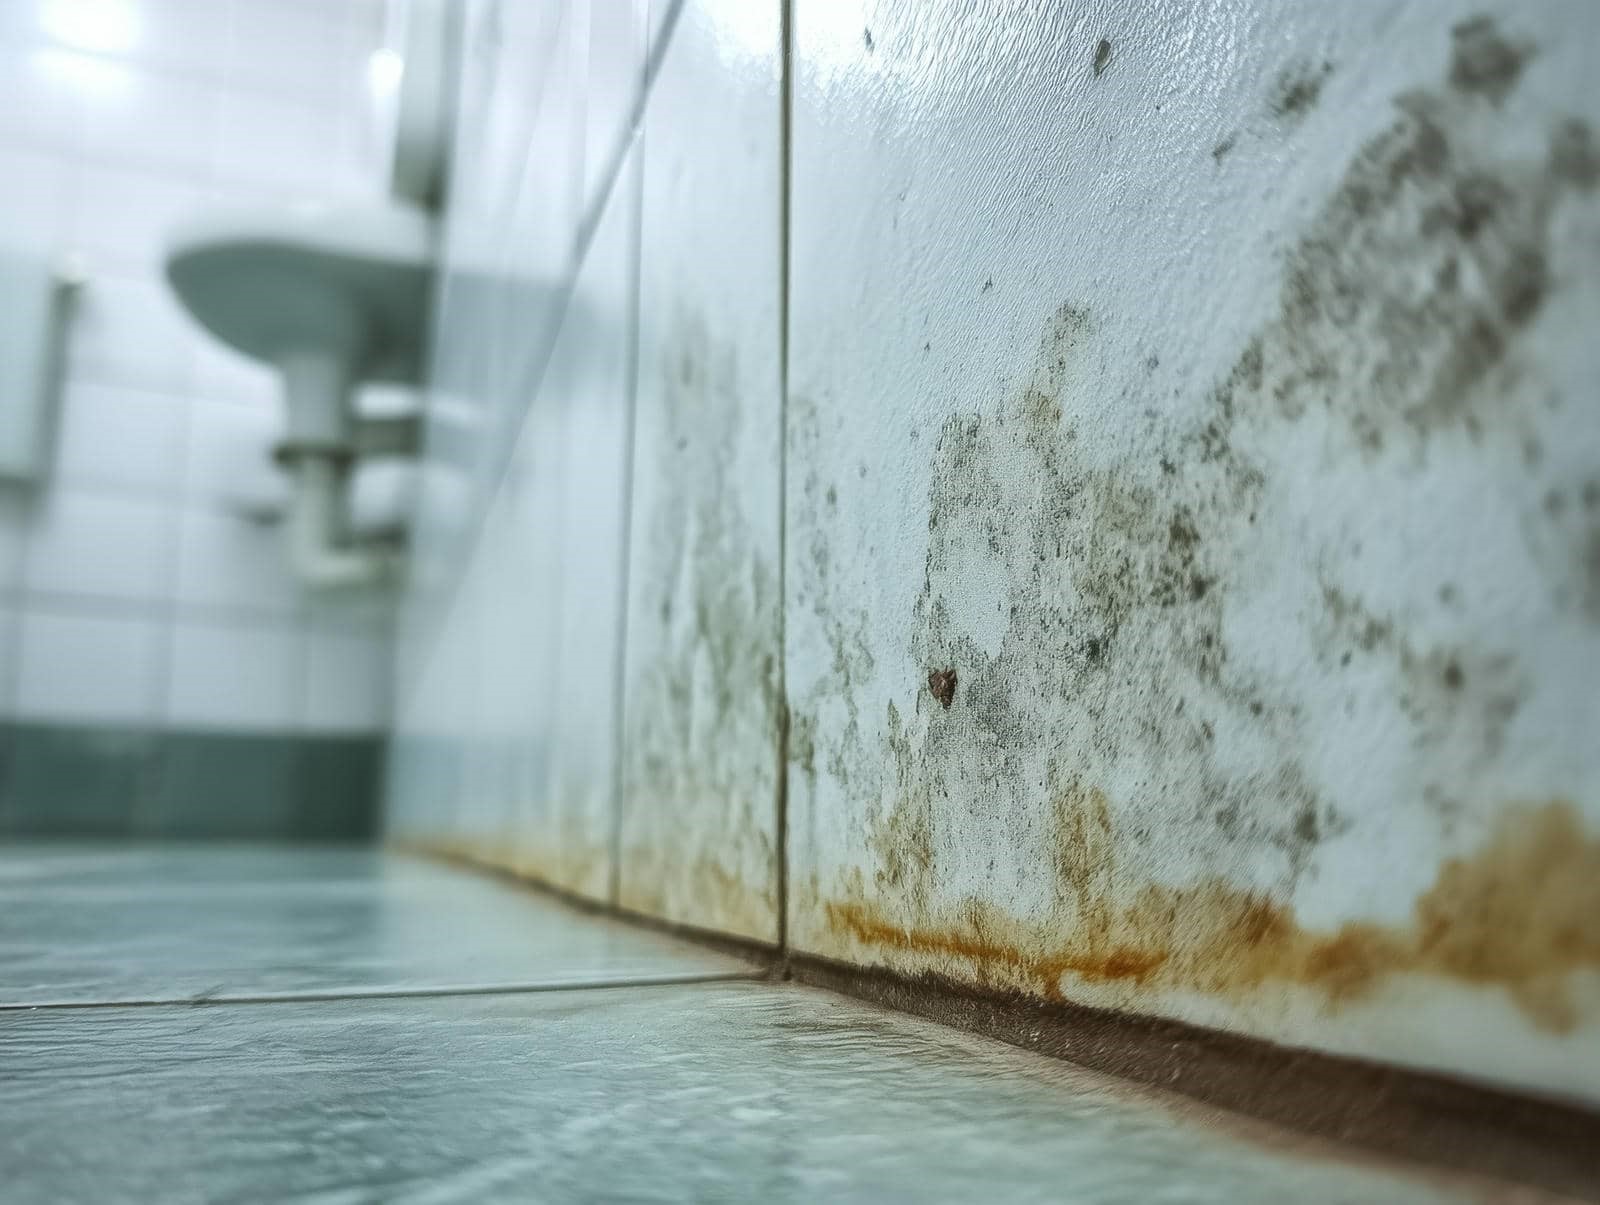
Target high-risk areas: Focus on damp locations like basements, kitchens, and around plumbing.
Use in conjunction with cleaning: Clean surfaces thoroughly before applying inhibitors for maximum effectiveness.
Reapply as needed: Regularly check and reapply inhibitors, especially in areas prone to moisture.
Monitor for Recurrence
To ensure a successful mold remediation process, you must actively monitor for recurrence after addressing fire damage. Start by conducting regular inspections of affected areas, keeping an eye out for signs of mold growth. This vigilance is essential, as mold can reappear if moisture control measures aren’t maintained.
Ensure that your home’s humidity levels remain below 60% by using dehumidifiers and proper ventilation. Inspect plumbing and roofing for leaks, addressing any issues immediately. Additionally, check for condensation on windows and walls, which can indicate excess moisture.
Document your findings to track any changes over time, and consider using moisture meters to assess hidden dampness. If you notice any signs of mold returning, act fast to prevent further damage.
Frequently Asked Questions
How Can I Identify Hidden Mold After Fire Damage?
To identify hidden mold after fire damage, use mold detection methods like moisture meters and thermal imaging. Conduct a thorough fire damage inspection, checking for damp areas, odors, and visible mold growth in affected spaces.
What Safety Gear Should I Wear During Mold Remediation?
When tackling mold, you can’t just wing it. Wear N95 respirators and gloves, along with goggles and protective clothing. These safety precautions and protective equipment will help keep you safe while you handle the situation methodically.
Can I Use Bleach to Remove Mold?
You can’t rely solely on bleach for mold removal. While it may seem effective, bleach doesn’t penetrate porous surfaces well, perpetuating mold myths. Instead, consider specialized mold removers for thorough and lasting results in your remediation efforts.
How Long Does Mold Remediation Typically Take?
Mold remediation can take anywhere from a few days to weeks, like a slow-moving tide. Your remediation timeline depends on the extent of mold growth, the affected areas, and the methods used for removal.
Will My Insurance Cover Mold Remediation Costs?
Your insurance may cover mold remediation costs, but it depends on your policy’s mold coverage and any specific exclusions. Review your policy details to understand what’s included and consult your agent for clarification.
Wrap-Up
Tackling mold after fire damage is vital to prevent further complications. By evaluating water damage, removing contaminants, using dehumidifiers, applying mold inhibitors, and monitoring for recurrence, you’ll stay one step ahead. Remember, an ounce of prevention is worth a pound of cure; addressing these issues promptly can save you time and money down the line. Keep your space dry and well-maintained to ensure your recovery efforts are effective and lasting.