Contents
When addressing roof leaks, pinpointing the exact origin is paramount. However, merely identifying the source is just the beginning. Understanding the intricacies of repairing leaks and taking the right preventative measures can make all the difference in the longevity and effectiveness of your fix. Get ready to uncover the top techniques that will empower you to tackle roof leak repairs with confidence and precision.
Key Takeaways
- Conduct a thorough roof inspection to identify the leak source accurately.
- Choose the right sealant based on the roof material and apply it properly.
- Keep essential repair tools handy and well-maintained for efficient repairs.
- Prioritize proper roof maintenance for long-term leak prevention.
- Address signs of damage promptly to prevent leaks from worsening.
Identifying the Leak Source
When locating a roof leak, start by examining the area directly above where water is dripping into your home. Conduct a thorough roof inspection to pinpoint the source of the leak. Begin by visually inspecting the roof for any missing, damaged, or lifted shingles. Check for any signs of wear and tear around vents, chimneys, skylights, and other roof penetrations. These areas are common culprits for leaks.
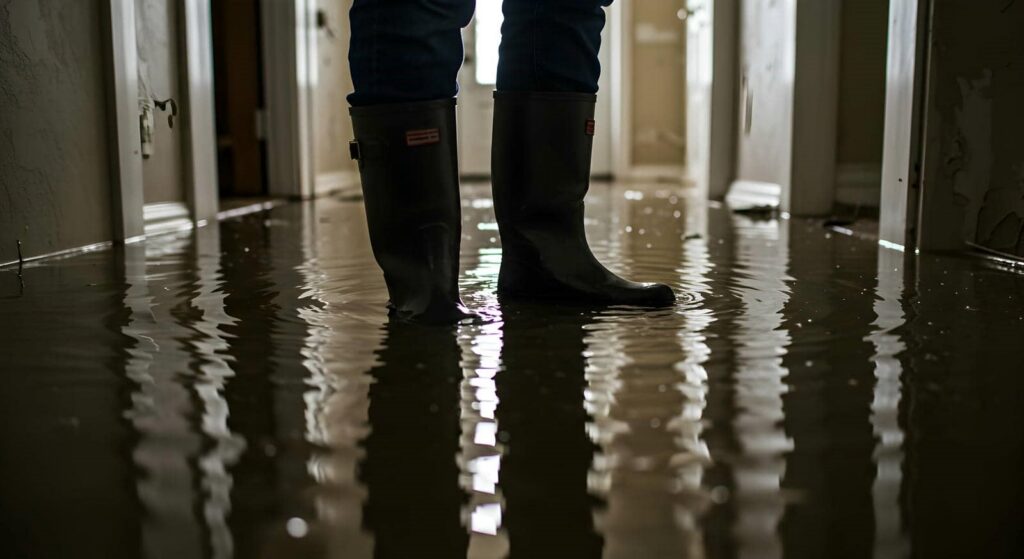
After visually inspecting the roof, it’s time to move on to leak detection. One effective method is to run water over different sections of the roof using a hose while someone else checks for leaks inside the house. This process can help identify the exact location where water is penetrating the roof. Additionally, check for any water stains, mold, or mildew on the ceiling or walls inside your home, as these can indicate where the leak is originating from.
Assessing Roof Damage Extent
To assess the extent of damage to your roof, carefully inspect all areas for signs of deterioration or weakness. Begin by examining the shingles for any cracks, curls, or missing pieces. Look out for water stains on the ceiling or walls inside your home, as they could indicate a leak. Check the flashing around vents, chimneys, and skylights for any gaps or damage. Inspect the gutters for debris buildup or sagging sections that could be contributing to water pooling on the roof. Pay attention to any areas where water may be pooling or not draining properly, as this can lead to damage over time.
When conducting a damage assessment, take note of any areas that may require immediate attention to prevent further issues. It’s essential to address any damage promptly to avoid more extensive repairs down the line. By being thorough in your inspection, you can better determine the repair techniques needed to restore your roof’s integrity and protect your home from leaks.
Gathering Necessary Roof Repair Tools
You’ll need a set of essential repair tools to effectively address roof leaks. Proper organization of these tools is important for a smooth and efficient repair process. Having the right tools readily available can make a significant difference in the quality of your roof repair job.
Having the necessary tools on hand will save you time and effort when tackling any leaks or issues that may arise. It’s crucial to have a well-equipped toolbox with items such as a hammer, nails, roof cement, flashing, and a utility knife. Additionally, safety equipment like gloves, goggles, and a sturdy ladder are essential for working on your roof. Properly maintaining your tools and keeping them in good condition will ensure they are ready for use whenever needed.
Essential Repair Tools
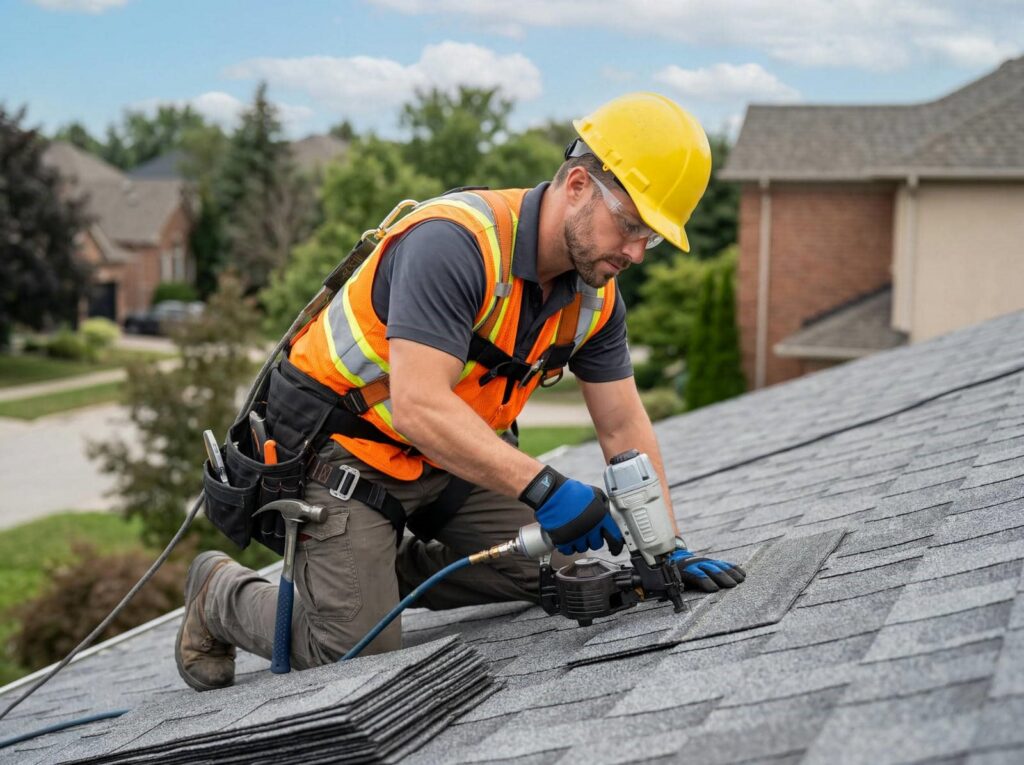
Gather the essential tools required for repairing a roof leak to ensure a successful and efficient repair process. Before starting, make sure your tools are well-maintained to avoid interruptions during the repair. Check that your ladder is sturdy and tall enough to reach the roof comfortably.
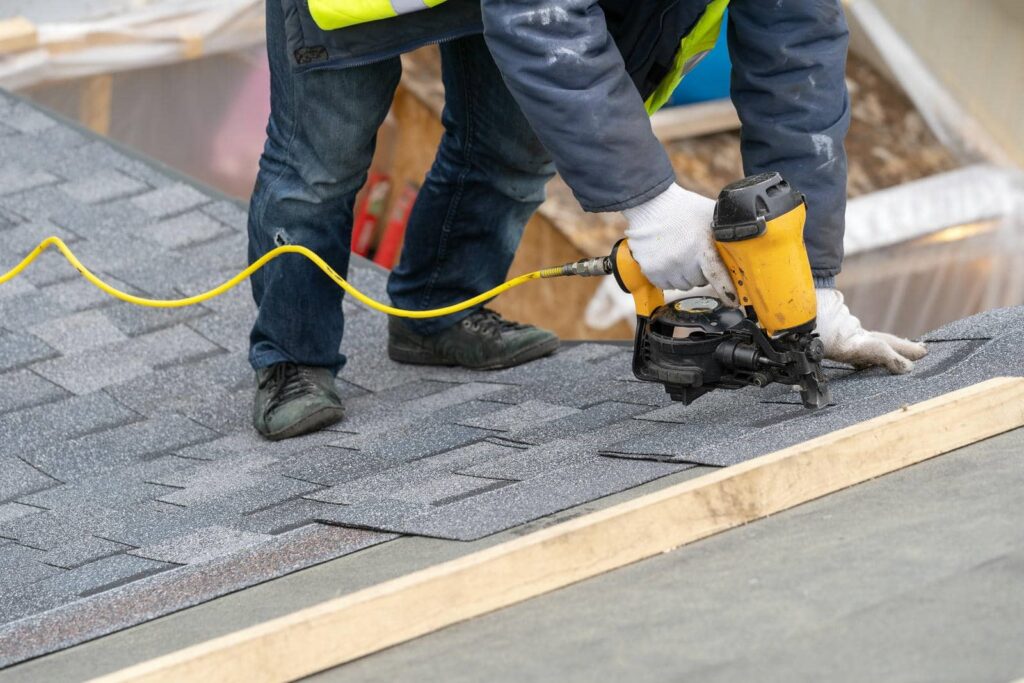
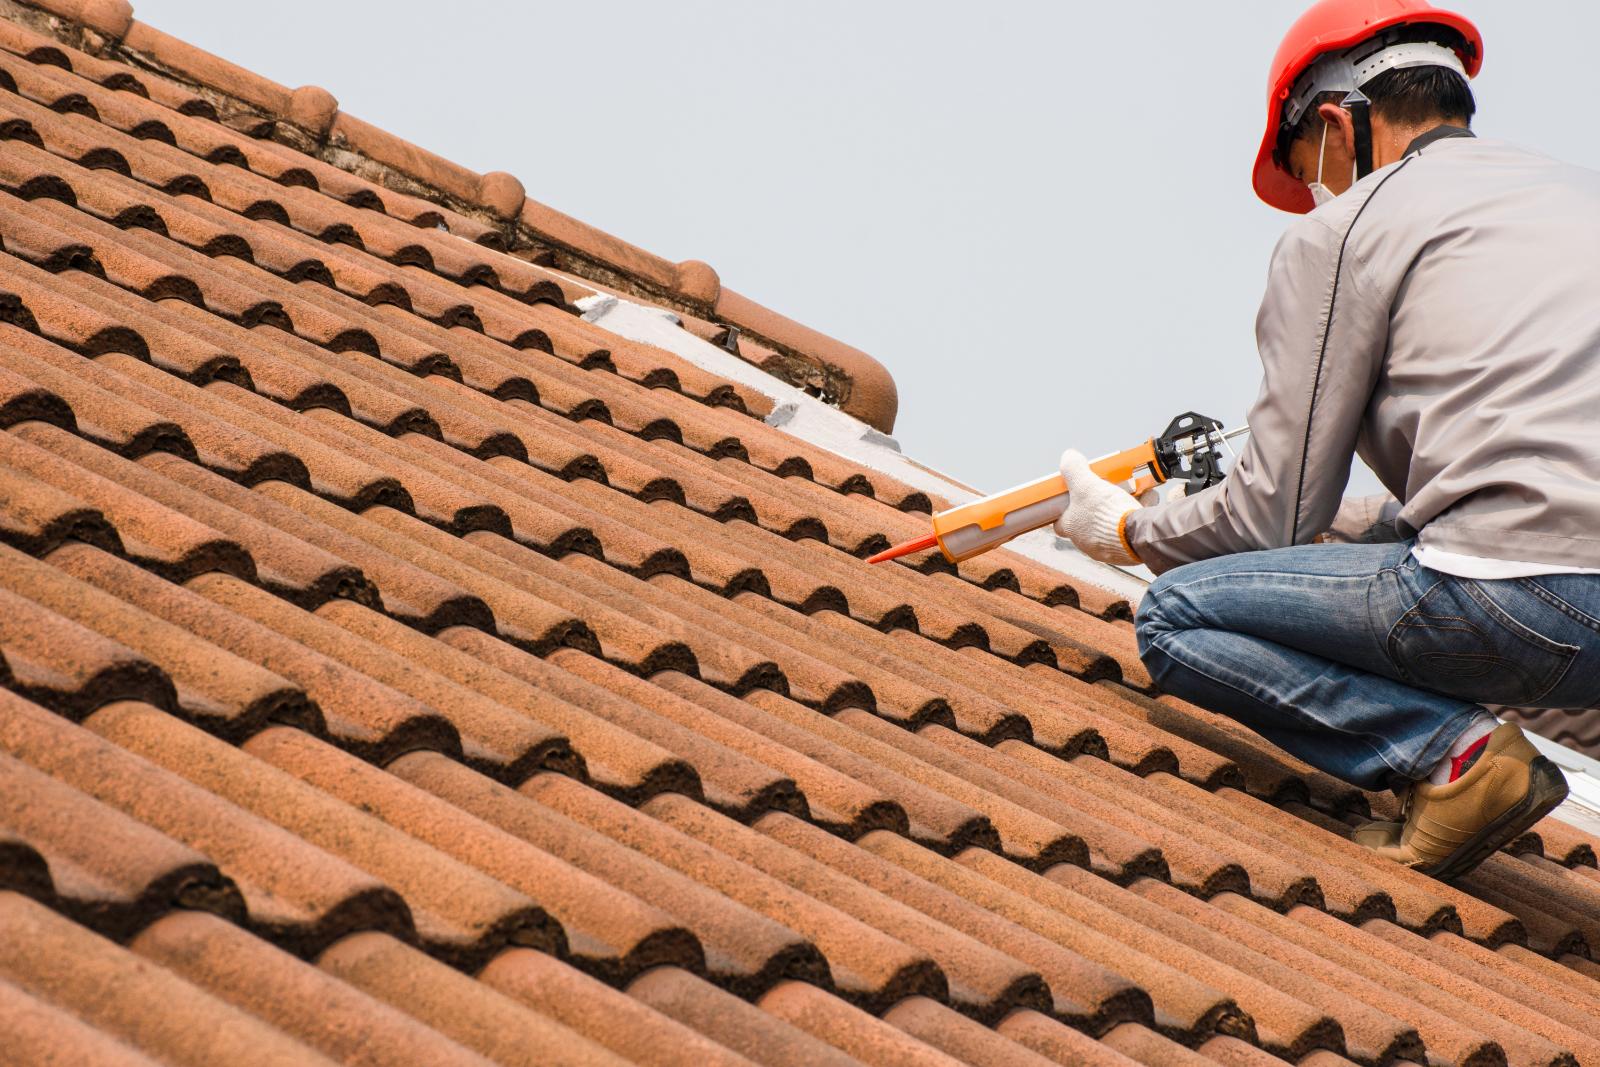
Have a hammer to secure loose shingles, a utility knife for precise cuts, and a caulking gun for sealing gaps. Safety precautions are crucial; wear non-slip shoes, gloves, and safety goggles to protect yourself. A measuring tape helps in accurate measurements, while a roofing nail gun speeds up the process.
Lastly, keep a bucket or tarp handy to catch any leaking water and prevent further interior damage. With these tools and precautions in place, you’re ready to tackle your roof repair effectively.
Proper Tool Organization
Organize your essential roof repair tools effectively for efficient and successful leak repairs.
Important tool storage is vital for quick access and a streamlined repair process. Consider utilizing a toolbox or a tool belt to keep your items organized and within reach while working on the roof.
Sort your tools by size or type to easily locate what you need when addressing leaks. Utilize wall-mounted racks or pegboards to free up space and maintain a tidy work area.
Labeling storage containers can also help in quickly identifying specific tools. By implementing these organization techniques, you can enhance your productivity and make sure that you’re prepared for any roof repair job that comes your way.
Choosing the Right Roof Sealant
When selecting the appropriate roof sealant, it’s essential to take into account various factors such as the type of sealant that best suits your roof’s material and the specific areas needing repair.
Understanding the differences in sealant types can help you make an informed decision, ensuring the sealant’s compatibility with your roof’s surface.
Additionally, applying the sealant correctly following recommended techniques can greatly impact its longevity and durability, ultimately enhancing the effectiveness of your roof repair efforts.
Sealant Types Comparison
To select the most suitable roof sealant for your specific needs, it’s essential to carefully evaluate and compare the various types available in the market.
When considering silicone vs. acrylic sealants, silicone offers excellent weather resistance and durability, making it ideal for outdoor use. Acrylic sealants, on the other hand, are more affordable and paintable, providing versatility in appearance.
Moving on to polyurethane, its pros include exceptional durability and resistance to UV rays, but it can be more challenging to apply due to its viscosity. On the downside, polyurethane sealants tend to be more expensive compared to other options.
Understanding these differences will help you make an informed decision when choosing the right sealant for your roof repair needs.
Application Tips
For the best results in your roof repair project, carefully consider the specific application tips to make sure you choose the right roof sealant. When it comes to repair techniques and waterproofing methods, selecting the correct sealant is essential. Here are some tips to guide you in choosing the most suitable roof sealant:
| Tip | Description | Benefits |
|---|---|---|
| Check Compatibility | Ensure the sealant is compatible with your roof material. | Prevents damage to the roof structure. |
| Consider Climate | Select a sealant that can withstand your local climate. | Ensures longevity and effectiveness. |
| Application Method | Determine if the sealant application method suits your skills. | Ensures proper application for effectiveness. |
| Warranty | Check for sealants with warranties for added protection. | Provides assurance and peace of mind. |
Longevity and Durability
Enhance the longevity and durability of your roof sealant by selecting a product that matches your specific roofing material and climate conditions. Different roofing materials require specific sealants to ensure proper adhesion and protection against the elements.
For example, if you have a metal roof, choose a sealant designed for metal surfaces to prevent corrosion and leaks. Regular maintenance practices, such as inspecting your roof annually and addressing any issues promptly, can also contribute to the longevity of your roof sealant.
Applying an Effective Patch
Consider using a reinforcing mesh or fabric and a high-quality roof patch to seal and repair the leak effectively.
To start, clean the area around the leak thoroughly to guarantee proper adhesion. Cut the reinforcing mesh or fabric to extend at least 2 inches beyond the damaged area. Apply a generous amount of roof patch to cover the leak and press the mesh or fabric into the patch, making sure it’s fully embedded. Smooth out any wrinkles or air bubbles to create a seamless seal.
Once the patch is in place, apply another layer of roof patch over the mesh or fabric to provide additional waterproofing and reinforcement. Make sure to feather the edges of the patch to blend it seamlessly with the surrounding roof surface. Allow the patch to cure completely according to the manufacturer’s instructions before exposing it to any moisture.
Implementing Proper Roof Maintenance
Maintaining your roof properly is essential for ensuring its longevity and preventing costly repairs in the future. By implementing preventive measures and conducting routine inspections, you can catch potential issues early on and avoid major leaks or damage. Here are some key strategies to help you maintain your roof effectively:
| Preventive Measures | Routine Inspections | Benefits |
|---|---|---|
| Clearing debris regularly | Schedule annual professional inspections | Extends roof lifespan |
| Checking for loose or damaged shingles | Conduct visual inspections after severe weather | Identifies issues early |
| Ensuring proper attic ventilation | Inspect roof flashing and sealants | Prevents moisture buildup |
Ensuring Lasting Leak Prevention
To prioritize lasting leak prevention on your roof, make regular maintenance and timely repairs a top priority. Preventive measures play an important role in keeping your roof in top condition. Start by inspecting your roof at least twice a year, checking for any signs of damage such as missing shingles, cracks, or clogged gutters. Addressing these issues promptly can help prevent them from escalating into more significant problems that could lead to leaks.
In addition to regular inspections, consider applying a waterproof sealant to your roof every few years to provide an extra layer of protection against moisture infiltration. This simple maintenance tip can help extend the lifespan of your roof and minimize the risk of leaks.
Furthermore, trimming overhanging tree branches can prevent debris from accumulating on your roof and causing damage that could result in leaks. By taking these preventive measures and implementing regular maintenance practices, you can make sure that your roof remains leak-free for years to come.
Summary
As you finish applying the final patch to your roof, you take a step back and feel a sense of accomplishment wash over you.
The coincidence of finding the leak source and successfully repairing it fills you with relief and satisfaction.
With the right tools, sealant, and maintenance techniques, you have guaranteed lasting leak prevention for your roof.
You can now rest easy knowing your home is protected from the elements.