Contents
When facing water damage in your home, quick action is crucial. Starting with a thorough assessment of the situation, you can begin to tackle the restoration process efficiently. However, it’s not just about removing water; it’s also about preventing long-term issues like mold growth. Following a few essential DIY tips, you can effectively address water damage in your home and safeguard your property. Whether you’re dealing with a minor leak or a major flooding incident, being prepared and knowing how to respond can make all the difference in restoring your home to its former state.
Key Takeaways
- Use a wet/dry vacuum for water extraction.
- Employ fans and dehumidifiers for drying.
- Salvage items promptly to prevent damage.
- Ensure proper ventilation to prevent mold.
- Act quickly to mitigate water damage.
Assessing the Damage
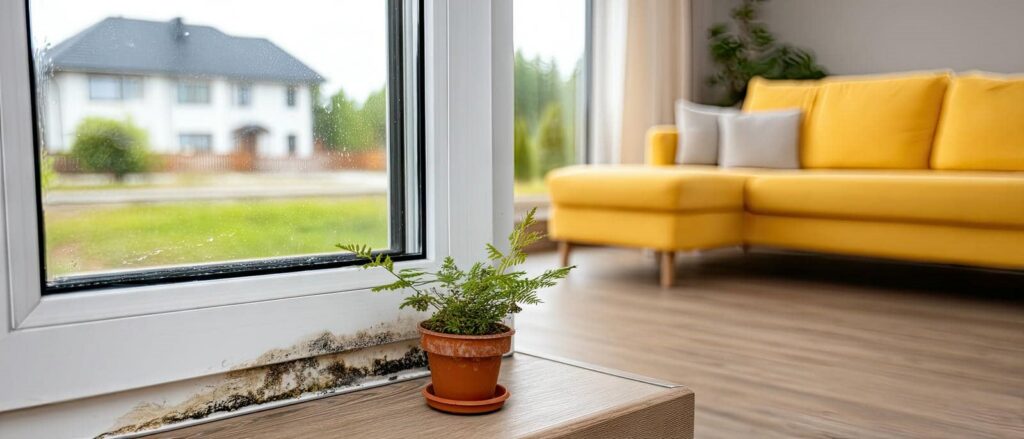
To begin assessing the damage, first, inspect all affected areas for signs of water infiltration and saturation. Check for water stains, peeling paint, musty odors, and any visible mold growth. Evaluate the extent of the damage to determine the necessary next steps in the restoration process. It’s crucial to act promptly to prevent further issues.
Next, gather the materials needed for the damage evaluation. You’ll require a flashlight to illuminate dark corners and a moisture meter to detect hidden pockets of water. Additionally, have gloves, masks, and protective eyewear on hand to ensure your safety during the assessment. A camera or smartphone can also be helpful for documenting the damage for insurance purposes.
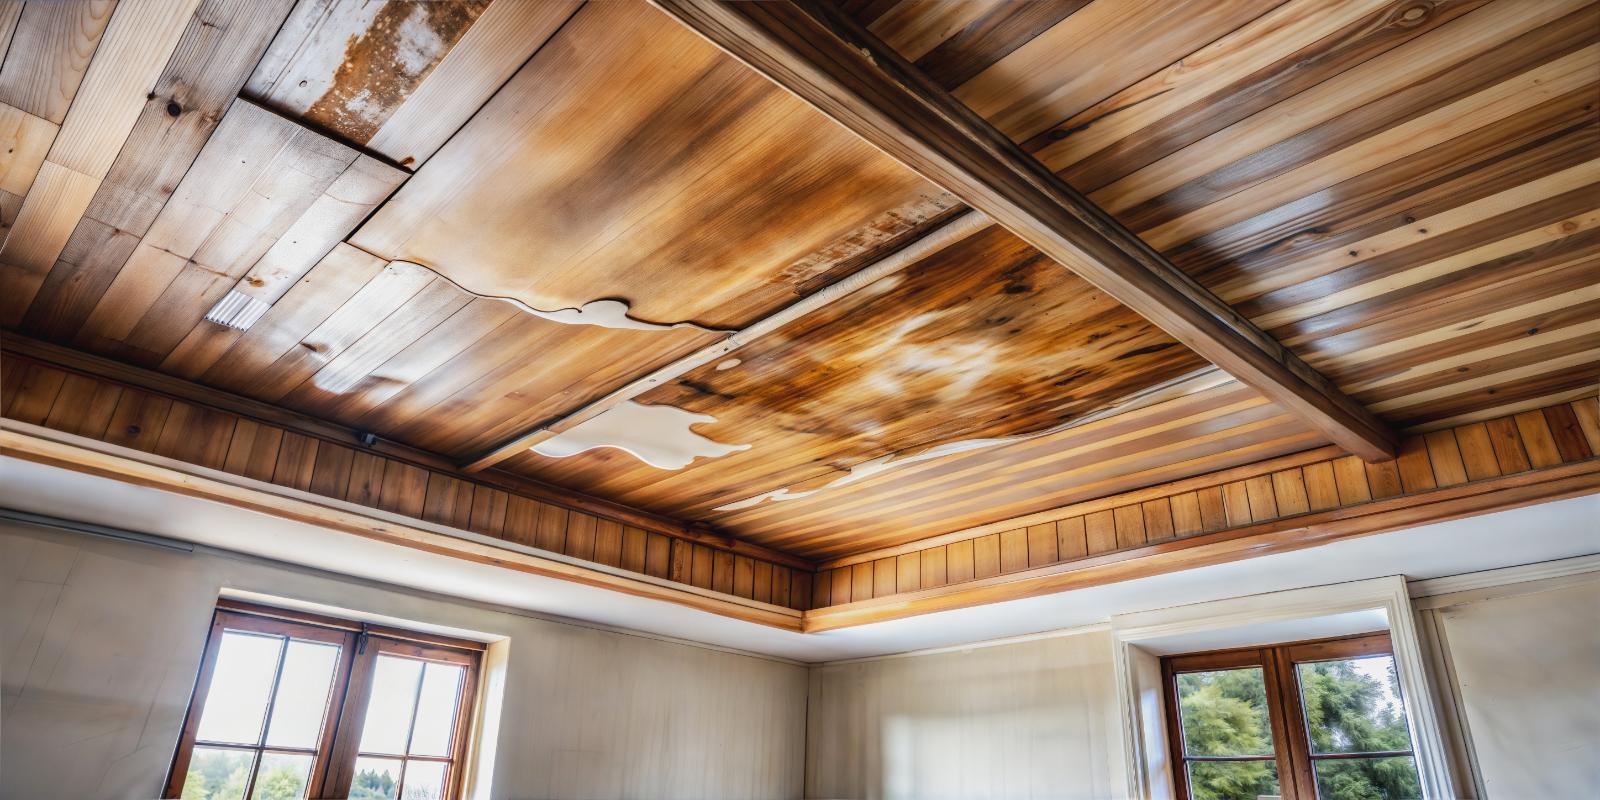
During the evaluation process, make note of any structural damage, warped surfaces, or compromised materials. Check the flooring, walls, ceilings, and furniture for water damage. Pay close attention to vulnerable areas such as basements, crawl spaces, and attics. Understanding the full scope of the damage will guide you in developing an effective restoration plan.
Once you have thoroughly evaluated the damage and documented your findings, you can proceed to the next steps in the restoration process. This careful assessment sets the foundation for a successful DIY water damage restoration project.
Removing Standing Water
Begin the process of eliminating standing water by utilizing a high-capacity wet/dry vacuum to extract water from the affected areas efficiently. This step is crucial to prevent further damage and mold growth in your home.
When using the wet/dry vacuum, start from the highest point in the room and work your way down to ensure you capture as much water as possible. Be thorough in your extraction, focusing on both visible water and moisture that may have seeped into carpets, walls, or furniture.
Water extraction is essential for effective water damage restoration. Standing water can quickly lead to mold growth, which poses health risks and further structural damage. By promptly removing the water, you minimize the chances of mold developing in your home.
Ensure that the wet/dry vacuum is emptied regularly to maintain its suction power and efficiency.
Once you have extracted the standing water, consider using fans and dehumidifiers to help dry out the area completely. This will further aid in mold prevention and reduce the overall moisture levels in the affected space.
Drying Out the Area
Utilize fans and dehumidifiers to expedite the drying process in the affected area after extracting standing water. Proper air circulation is crucial to prevent mold growth and further damage. Begin by opening windows and doors to allow fresh air to flow into the space.
Position fans strategically around the room to maximize airflow. Point them towards the wet areas, focusing on walls, carpets, and furniture.
In addition to fans, dehumidifiers should be incorporated to reduce moisture levels in the air. Dehumidifiers work by absorbing excess humidity, aiding in the drying process. Place the dehumidifier in a central location within the affected area for optimal efficiency. Set the humidity level to around 30-50% to facilitate faster drying. Empty the water tank regularly to ensure continuous operation.
To enhance the effectiveness of fans and dehumidifiers, remove any wet materials or belongings from the area. Damp items can prolong the drying process and contribute to mold growth. If possible, elevate furniture on blocks to allow air to circulate underneath. Check hidden spaces like closets and cabinets for moisture buildup.
Salvaging Belongings
When salvaging belongings after water damage, prioritize items that can be quickly dried and cleaned to prevent further deterioration. Start by focusing on smaller items such as photos, documents, and electronics that are more susceptible to water damage. Use salvage techniques like air drying, wiping with a gentle cloth, or silica gel packets to absorb moisture. Consider professional help if the damage is extensive for larger items like furniture and carpets.
Here is a table outlining some common belongings restoration and salvage techniques:
| Belonging | Restoration Techniques |
|---|---|
| Photos | Carefully separate and air-dry flat |
| Documents | Carefully separate and air dry flat |
| Electronics | Power off immediately, remove batteries, and air dry with silica gel packets |
Remember that the key to successful belonging restoration is acting quickly. The longer items stay wet, the higher the chances of irreversible damage. By following these salvage techniques and prioritizing your belongings effectively, you can increase the likelihood of saving your cherished items post-water damage.
Preventing Mold Growth
To prevent mold growth after water damage, thorough and prompt drying of affected areas is crucial. Mold prevention begins with proper ventilation. Open windows and use fans to circulate air, helping moisture evaporate faster. If the weather permits, allowing fresh air to flow through the space aids in drying out damp areas more effectively.
Additionally, consider using dehumidifiers to control the humidity levels in your home. These devices help extract excess moisture from the air, reducing the chance of mold taking hold.
In cases where water damage is extensive, professional-grade dehumidifiers may be necessary to ensure all moisture is adequately removed. Pay special attention to areas that are prone to retaining moisture, such as basements, crawl spaces, and attics. These spaces often lack proper ventilation and are at higher risk for mold growth if not dried thoroughly.
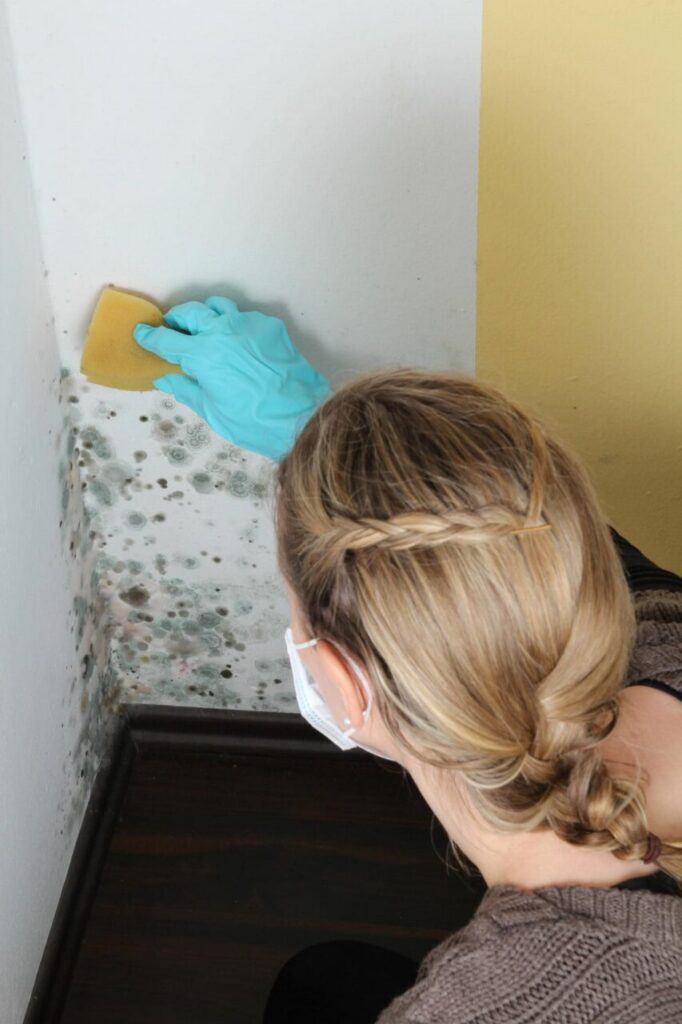
Regularly check for any signs of mold or musty odors, as these can indicate hidden moisture issues. If mold is present, it’s essential to address it promptly to prevent further spread. By staying vigilant and implementing these mold prevention techniques through ventilation and humidity control, you can significantly reduce the risk of mold growth after water damage incidents.
Recap
Now that you have successfully assessed the damage removed the standing water, dried out the area, salvaged your belongings, and prevented mold growth, you can rest assured that your DIY water damage restoration efforts have paid off.
By following these effective tips, you haven’t only saved time and money but ensured your home’s safety and well-being.
Congratulations on a job well done!