Contents
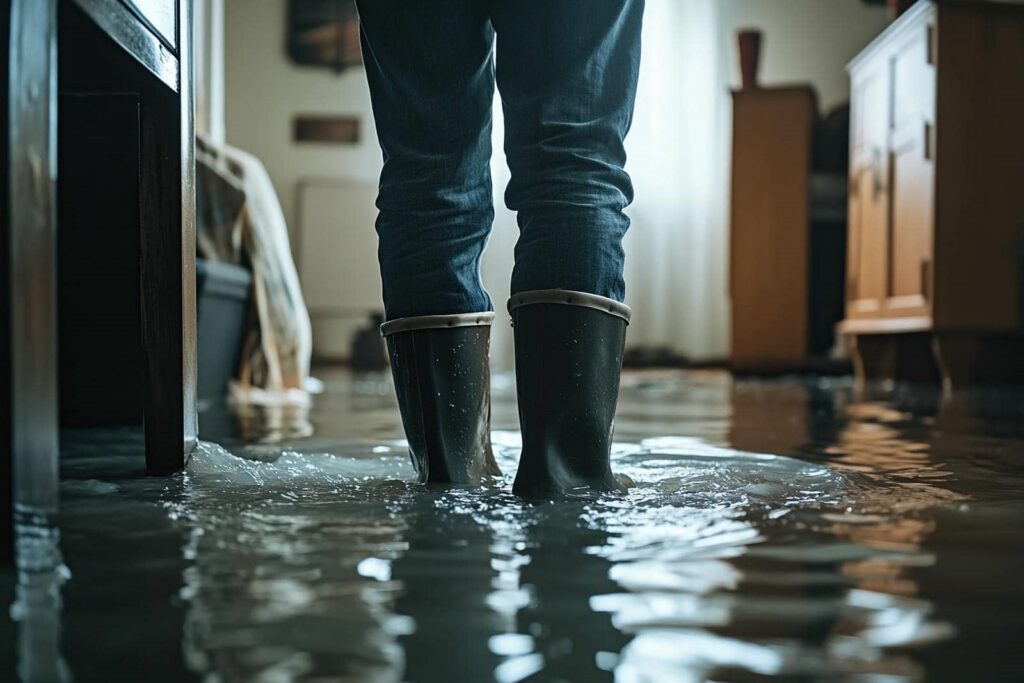
Are you curious about the two different rough-ins completed when plumbing a new home? Well, get ready to learn all about it!
In this article, we’ll break down the process for you in a way that’s easy to understand. You’ll discover the importance of rough-ins for supply lines, drainage lines, venting systems, fixtures, and water heaters.
So, if you’re ready to dive into the world of plumbing, let’s get started!
Key Takeaways
- Rough-In for Supply Lines: Proper installation and connection of water delivery system, installation of hot and cold water lines, additional lines for specialized fixtures, installation of shut-off valves at strategic points, secure and watertight connection to main water source.
- Rough-In for Drainage Lines: Proper and efficient removal of waste water, determining optimal placement and slope for drainage pipes, installation of PVC or ABS pipes and fittings, installation of vent pipes to prevent pressure buildup, installation of cleanouts for easy maintenance.
- Rough-In for Venting System: Placement of vent pipes to remove sewer gases, proper sizing of vent pipes for adequate airflow, correct connections to drainage system, prevention of harmful gases and airlocks, importance of venting for effective plumbing system.
- Rough-In for Fixtures: Installation of plumbing connections and supply lines, alignment with specific requirements of each fixture, correct pipe sizes, angles, and distances, installation of shut-off valves and drains, proper connection to main water line.
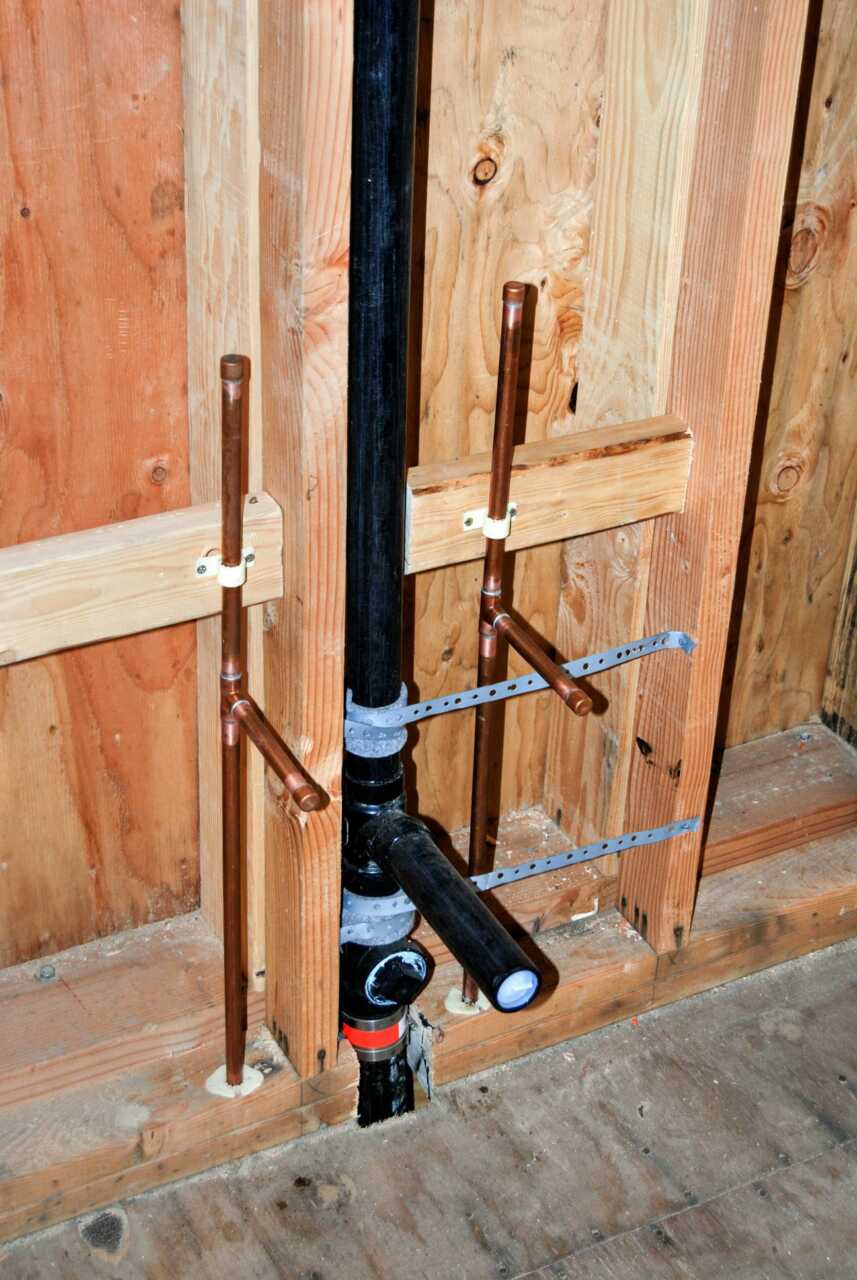
Rough-In for Supply Lines
When plumbing a new home, you’ll begin by completing the rough-in for supply lines, ensuring proper installation and connection of the water delivery system. This crucial step sets the foundation for a reliable and efficient water supply throughout the house, providing a comfortable and convenient living experience for the occupants.
During the rough-in for supply lines, you’ll install the necessary pipes and fittings that will carry water to various fixtures and appliances in the home. This includes the installation of hot and cold water lines, as well as any additional lines required for specialized fixtures such as a dishwasher or washing machine. By carefully planning and positioning these supply lines, you can ensure a smooth flow of water to every faucet, shower, and toilet in the house.
In addition to the pipes and fittings, you’ll also need to install shut-off valves at strategic points along the supply lines. These valves allow you to control the water flow to specific areas or fixtures, making it easier to perform maintenance or repairs in the future. By providing these shut-off valves, you can ensure that any potential leaks or issues can be isolated and addressed without disrupting the water supply to the entire house.
Furthermore, it’s essential to properly connect the supply lines to the main water source, typically located near the water meter or well. This connection should be secure and watertight to prevent any leaks or water wastage. It’s also important to follow local building codes and regulations when completing the rough-in for supply lines, ensuring that all installations meet the required standards for safety and functionality.
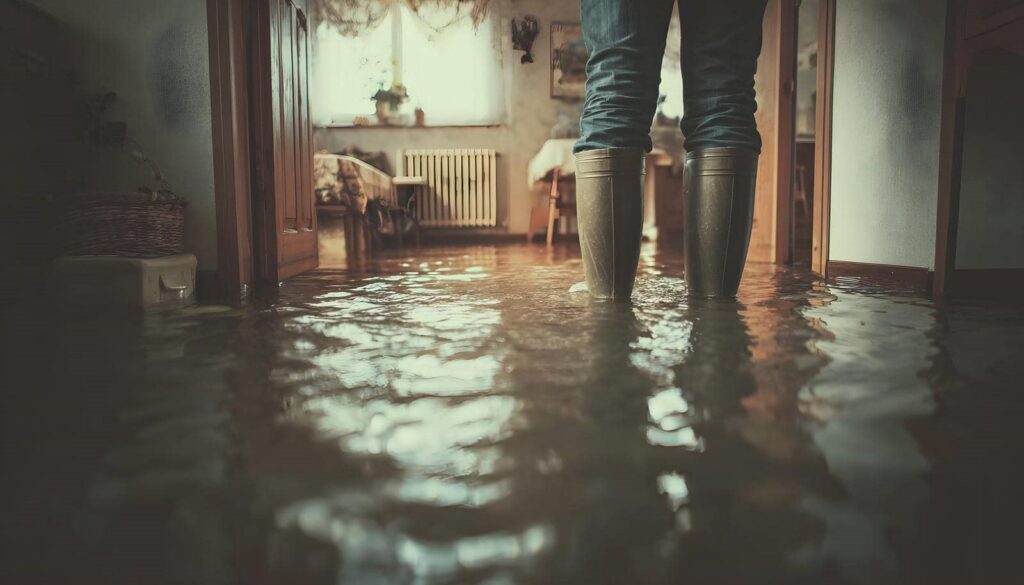
Rough-In for Drainage Lines
To continue the plumbing process after completing the rough-in for supply lines, the next step is the rough-in for drainage lines. This crucial step ensures that waste water is properly and efficiently removed from your new home.
During the rough-in for drainage lines, plumbers will install the necessary pipes and fittings that will connect to your home’s sewer or septic system. First, the plumbers will determine the optimal placement and slope for the drainage pipes. They’ll carefully plan the layout to ensure that gravity can effectively move waste water away from your home. Once the layout is finalized, the plumbers will begin installing the drainage pipes, using a combination of PVC or ABS pipes and fittings.
The rough-in for drainage lines also involves installing vent pipes. Vent pipes are essential for allowing air to enter the drainage system, preventing the buildup of pressure and ensuring that waste water flows smoothly. These vent pipes are typically connected to the drainage pipes and extend through the roof of your home.
In addition to the pipes and venting, plumbers will also install cleanouts for drainage lines during the rough-in. Cleanouts are access points that allow for easy maintenance and clearing of any potential blockages in the drainage system. These cleanouts are usually installed at strategic points along the drainage pipes, making it convenient for plumbers to access and resolve any issues that may arise in the future.
Rough-In for Venting System
During the rough-in for drainage lines, another essential rough-in is completed for the venting system. Proper venting is crucial for a plumbing system to function effectively and efficiently.
Here are three key aspects of the rough-in for the venting system that you need to know:
- Vent Pipe Placement: Vent pipes are installed to remove sewer gases and allow fresh air into the plumbing system. These pipes are typically placed vertically and connect to the drainage pipes. They should be strategically positioned to ensure proper airflow and prevent the buildup of harmful gases.
- Vent Pipe Sizing: The diameter of the vent pipes is an important consideration during the rough-in. The size of the vent pipes must be adequate to handle the expected volume of air and gases. If the vent pipes are too small, it can lead to blockages and poor drainage performance. On the other hand, oversized vent pipes can cause excessive noise and reduce the efficiency of the system.
- Vent Pipe Connections: Proper connections are essential for the venting system to work effectively. Vent pipes should be connected to the drainage system at the appropriate locations, such as the above fixtures and appliances, to allow for the proper release of gases and prevent the formation of airlocks.
Rough-In for Fixtures
Now, let’s move on to the next important rough-in process when plumbing a new home: rough-in for fixtures. This step involves installing the necessary plumbing connections and supply lines for fixtures such as sinks, toilets, showers, and bathtubs. It’s crucial to get this rough-in done correctly to ensure that the fixtures function properly once they’re installed.
During the rough-in for fixtures, the plumbing professional will carefully measure and position the piping and drainage systems to align with the specific requirements of each fixture. This includes determining the correct pipe sizes, angles, and distances to ensure optimal performance and water flow. They’ll also install shut-off valves and drains for each fixture, allowing for easy maintenance and repair in the future.
In addition to the plumbing connections, the rough-in for fixtures also involves installing the water supply lines. These supply lines are responsible for delivering clean water to the fixtures. The plumber will connect the supply lines to the main water line and ensure that they’re properly sealed to prevent any leaks or water damage.
Properly completing the rough-in for fixtures requires extensive knowledge of plumbing systems and building codes. It’s important to hire a skilled and experienced plumber who can ensure that all the necessary connections are made correctly and according to regulations.
Once the rough-in for fixtures is completed, the plumbing professional will conduct thorough inspections to check for any potential issues or leaks. They’ll also test the water flow and ensure that all the fixtures are functioning properly.
Rough-In for Water Heater
When roughing in for a water heater, you’ll need to install the necessary plumbing connections and piping to ensure proper functionality. Here are three important steps to consider when roughing in for a water heater:
- Install the hot and cold water supply lines: Begin by connecting the hot and cold water supply lines to the water heater. The hot water supply line should be connected to the top outlet, while the cold water supply line should be connected to the bottom inlet. This ensures that the water flows in the correct direction and allows for efficient heating.
- Connect the pressure relief valve: The pressure relief valve is a crucial safety feature that prevents the water heater from building up excessive pressure. It should be installed on the side or top of the water heater and connected to a discharge pipe. This pipe should be directed towards a suitable drain or outside of the building to safely release any excess pressure.
- Set up the venting system: Proper ventilation is essential to ensure the safe operation of the water heater. Install the vent pipe, which allows the byproducts of combustion to exit the building. The type and size of the vent pipe will depend on the specific water heater and local building codes. It’s important to follow the manufacturer’s instructions and any applicable regulations to ensure proper venting.
Review
When plumbing a new home, there are several rough-ins that need to be completed.
These include rough-in for supply lines, drainage lines, venting systems, fixtures, and water heaters.
Each rough-in plays a crucial role in ensuring the proper functioning of the plumbing system.
By completing these rough-ins, you can lay the foundation for a well-designed and efficient plumbing system in your new home.