Contents
Imagine you’re a seasoned baker carefully filling a cake with just the right amount of frosting, ensuring a flawless finish. Like this precision, patching drywall holes requires attention to detail and proper technique. But what if you could learn the secrets to a flawless repair job that blends in flawlessly with your wall? Stay tuned to discover the ultimate DIY guide that will have you patching drywall holes like a pro in no time.
Key Takeaways
- Assess hole size and type for appropriate repair methods.
- Gather necessary tools and materials for patching.
- Prepare the damaged area by cleaning and sanding.
- Apply patching compound in thin layers, feathering edges.
- Finish with sanding, priming, painting, and final touch-ups.
Materials Needed
To successfully patch drywall holes, you’ll need a few key materials that are essential for a smooth repair job. When it comes to patching techniques, having the right materials is vital.
One material option you can consider is a drywall patch kit. These kits typically include everything you need, such as a self-adhesive patch, spackling compound, putty knife, and sandpaper. They’re convenient for small to medium-sized holes and are user-friendly, making them great for beginners.
Another material option is using a piece of drywall and joint compound. This method is more suitable for larger holes. You’ll need to cut a piece of drywall slightly larger than the hole, secure it to the existing drywall using screws, and then apply a joint compound to blend the patch with the wall. This technique requires a bit more skill but can result in a smooth finish when done correctly.
Whichever material option you choose, make sure to have a utility knife, sandpaper, paint, and a paintbrush on hand to complete the job. These additional materials are essential for finishing touches and achieving a professional-looking result.
Assessing the Damage
Before beginning the patching process, assess the damage to your drywall by examining the hole’s size and surrounding area. Identify the extent of the damage to determine the appropriate repair method.
Make sure to have a checklist of necessary tools on hand to effectively address the issue.
Damage Evaluation Tips
Begin by visually inspecting the drywall hole to assess the extent of the damage and determine the appropriate repair approach. Understanding the severity of the damage is essential in choosing the right DIY repair solutions for drywall restoration. Here are some key tips for evaluating the damage:
| Damage Evaluation Tips | Description |
|---|---|
| Hole Repair Techniques | Identify the size and shape of the hole to determine if it can be filled with spackling paste or requires a patch. |
| Wall Damage Assessment | Check for any structural issues beyond the surface damage, such as water damage or mold growth. |
| DIY Repair Solutions | Determine if the damage is suitable for a DIY fix or if it requires professional assistance. |
Identifying Hole Size
Assess the size of the hole in your drywall to accurately gauge the extent of the damage before proceeding with the repair process. Understanding the dimensions of the hole will help you determine the most suitable DIY patching solutions and repair techniques.
Here are some key points to evaluate when identifying the hole size:
Hole Size Measurement: Measure the diameter and depth of the hole to select the appropriate patching method.
Repair Techniques: Different hole sizes require specific repair techniques, such as spackling for small holes or using a patch kit for larger ones.
DIY Patching Solutions: Knowing the size of the hole will guide you in choosing the right materials and tools for a successful repair.
Hole Size Importance: The significance of accurately identifying the hole size can’t be overstated, as it directly impacts the effectiveness and longevity of the repair.
Necessary Tools Checklist
Assess the degree of damage by creating a thorough checklist of essential tools for repairing drywall holes.
Additionally, keep a dust mask and safety goggles for protection during the repair process.
To avoid common patching mistakes, remember to use a high-quality patching compound, apply it in thin layers, and allow each layer to dry completely before adding more. Proper sanding between layers is crucial for a smooth finish. Avoid rushing the process to prevent uneven patches or visible seams. Ensure that your tools are clean and in good condition before starting the repair to achieve a professional-looking result.
Following these DIY tips and maintaining organized tool set-up will help you successfully repair drywall holes with ease.
Preparing the Area
Start by clearing away any loose debris or dust around the hole in the drywall. Ensuring a clean and smooth surface is vital for successful patching. Here are some important steps to prepare the area effectively:
Inspect the Surrounding Area: Check for any additional damage or weak spots in the drywall near the hole. It’s important to address these issues before proceeding with the patching process.
Clean the Area Thoroughly: Use a vacuum or a damp cloth to remove any remaining dust or debris around the hole. A clean surface will help the patching compound adhere better and result in a more polished repair.
Sand the Edges: Lightly sand the edges of the hole to create a smooth blend between the patch and the existing drywall. This step is crucial for achieving a professional-looking finish.
Protect the Surrounding Area: To prevent any accidental damage or mess, consider laying down a drop cloth or masking off the area around the hole. This extra precaution will make cleanup easier and protect your floors or furniture.
Following these steps will ensure that your patching job goes smoothly and the repaired area blends harmoniously with the rest of the wall. Proper preparation is key to achieving professional results and avoiding common patching mistakes.
Applying the Patching Compound
Now that you have prepared the area, it’s time to apply the patching compound. Start by selecting the appropriate compound for your drywall repair needs.
Once chosen, apply the compound to fill the hole, ensuring a smooth and even finish.
Choosing the Compound
Select the appropriate patching compound based on the size and depth of the drywall hole you’re repairing. Different types of compounds are suitable for various sizes and depths of holes. Here’s a quick guide to help you choose the right one:
Lightweight Spackling: Ideal for small holes and cracks.
Joint Compound: Perfect for medium to large-sized holes.
Setting-Type Compound: Great for large holes or deep repairs where strength is essential.
All-Purpose Compound: Versatile option for a variety of hole sizes.
When applying the compound, remember to follow these application techniques:
Apply the compound using a putty knife in thin layers.
Feather the edges to blend the patch with the surrounding wall.
Sand the patched area gently once the compound is dry for a smooth finish.
Prime and paint the repaired area to match the rest of the wall flawlessly.
Applying the Patch
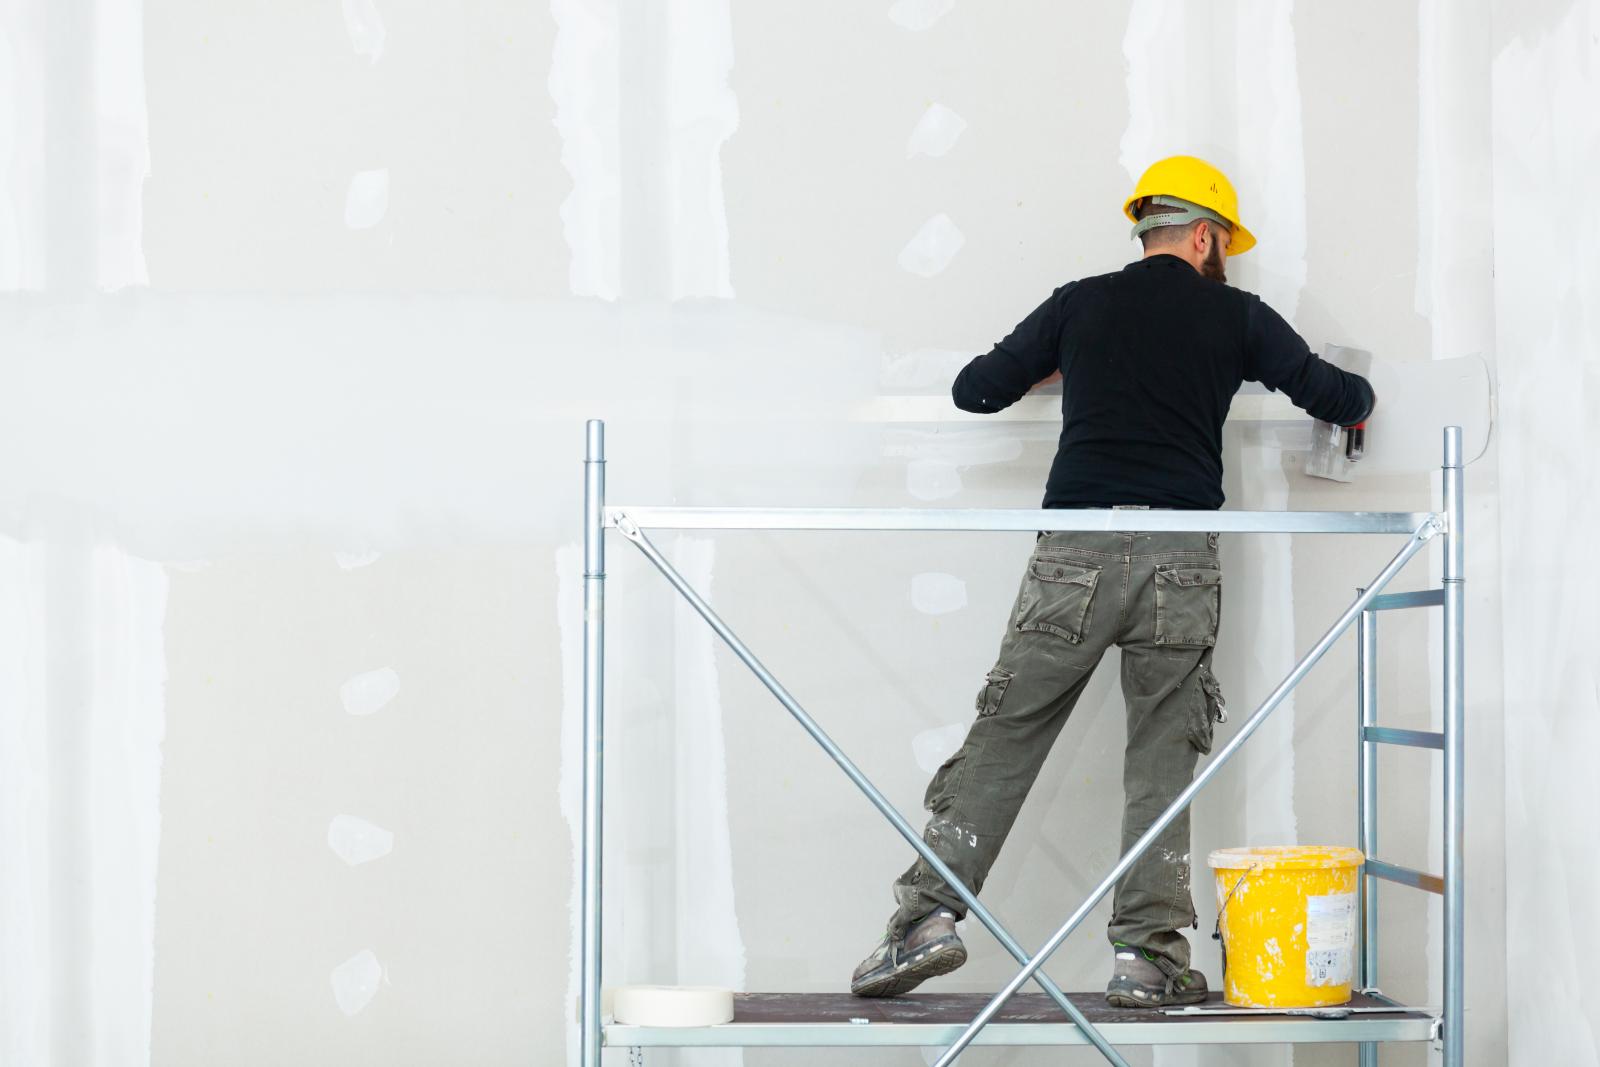
Begin by applying the patching compound using a putty knife in thin, even layers over the drywall hole to achieve a smooth and uniform repair. Make sure the compound completely covers the hole and extends slightly beyond its edges for better adhesion. When spreading the compound, feather the edges to blend them seamlessly with the surrounding wall. This patch blending technique is essential for a professional-looking finish once the repair is complete.
Allow the patching compound to dry completely according to the manufacturer’s instructions. Drying time can vary depending on the product and the depth of the patch. Once the compound is dry, use a sanding technique to smooth out any unevenness and create a flat surface. Be careful not to oversand, as this can damage the patch and require additional repair work.
After sanding, the patched area is ready for paint application. Choose a paint that matches the existing wall color and carefully apply it to the repaired section.
Smoothing the Surface
To smooth the surface and apply the patching compound effectively, spread the compound in thin, even layers over the drywall hole using a putty knife. This step is important in achieving a smooth finish that blends with the rest of the wall.
Here are some essential tips to help you achieve a professional-looking result:
Use a clean putty knife: Make sure your putty knife is clean before applying the compound to prevent any debris from getting mixed in.
Feather the edges: Extend the compound past the hole’s perimeter and feather the edges gently to create a smooth blend with the surrounding wall.
Let it dry completely: Allow each layer of compound to dry thoroughly before applying the next one to prevent cracking and ensure a durable repair.
Sanding techniques: After the compound has dried, use fine-grit sandpaper to smooth out any imperfections and create a flat surface ready for painting.
Sanding and Smoothing
Smooth out any rough edges or uneven surfaces on the patched drywall using fine-grit sandpaper. When sanding, it’s important to employ the right technique to achieve a flawless finish. Begin by gently sanding the edges of the patch in a circular motion, gradually expanding to the center. This method helps blend the patched area seamlessly with the surrounding wall, ensuring a polished finish. Be mindful not to oversand, as it can damage the patch or create an uneven surface.
For finishing touches, run your hand over the sanded area to check for any remaining imperfections. If needed, lightly sand those spots until the surface feels uniform. Once satisfied with the smoothness, proceed to match the texture of the patched area with the rest of the wall. You can achieve this by using a drywall texture spray or a sponge to mimic the surrounding texture.
After the texture matching is complete, the patched area is now ready for paint application. Make sure the surface is clean and dust-free before priming and painting to ensure a professional-looking result.
Priming the Patched Area
Prepare the patched area for painting by applying a coat of primer to ensure proper adhesion and a uniform finish. Priming is an essential step that confirms the paint adheres well to the repaired area and helps achieve a smooth look once the painting is complete.
Sanding Techniques:
Before priming, make sure the patched area is smooth by using fine-grit sandpaper to feather the edges of the patch with the surrounding wall.
Painting Tips:
Choose a high-quality primer that’s suitable for the surface you’re working on. A water-based primer is usually a good choice for drywall repairs.
Drying Time:
Allow the primer to dry completely as per the manufacturer’s instructions before moving on to painting. Typically, this can take anywhere from 1 to 2 hours.
Texture Matching:
If the primed area looks slightly different from the rest of the wall, consider applying a thin layer of joint compound over the patch to better match the texture.
Painting the Patch
Achieve a smooth finish by applying paint to the patched area using smooth, even strokes to blend it with the surrounding wall. When painting over a patched drywall hole, choosing the right paint color is vital for a flawless repair. Make sure you select a paint color that matches the existing wall color for a cohesive look. Once you have the correct paint color, follow these simple steps to paint the patch effectively:
| Step | Description | Tips |
|---|---|---|
| 1 | Apply the base coat | Use a brush or roller evenly. |
| 2 | Allow the paint to dry | Follow the paint manufacturer’s instructions. |
| 3 | Blend the colors | Feather the edges for a smooth integration. |
| 4 | Touch up techniques | Use a small brush for precise touch-ups. |
| 5 | Apply finishing touches | Inspect the patch and make any necessary adjustments. |
Blending colors is essential to ensure the patch is indistinguishable from the rest of the wall. Use touch-up techniques to refine the painted area, focusing on seamlessly integrating the patch with the surrounding wall. Finally, apply finishing touches to ensure a flawless outcome, making any last-minute adjustments to achieve a professional finish.
Final Touches and Cleanup
To complete the drywall patching process, attend to final touches and cleanup to secure a polished result. After successfully patching the hole in your drywall, the final steps are vital to ensure a smooth finish.
Dust Removal:
Use cleaning supplies like a vacuum with a brush attachment or a microfiber cloth to eliminate any dust or debris around the patched area. Ensuring a clean surface is essential before proceeding further.Color Matching:
If you’re planning to paint the patched area, make sure to use painting techniques that blend the new paint seamlessly with the existing wall. Proper color matching is key to achieving a cohesive look.Cleanup:
Wipe down the surrounding area with a damp cloth to remove any remaining dust or particles. This will help create a tidy workspace and prevent any unwanted particles from affecting the final result.Inspect and Touch Up:
Take a moment to inspect the patched area from different angles and lighting conditions. If needed, touch up the paint or texture to achieve a flawless integration with the rest of the wall.
Summary
Just like a skilled artist carefully blends colors on a canvas, following the best DIY guide for patching drywall holes allows you to smoothly repair any imperfections in your walls.
By evaluating, preparing, applying, sanding, priming, painting, and finishing with care, you can achieve a professional-looking finish that will leave your walls looking flawless and refreshed.
Embrace the art of patching drywall holes and transform your space with confidence.


