Contents
When it comes to fixing drywall holes, did you know there are several top methods that can help you achieve a smooth repair job? Each approach has advantages in ensuring a professional finish, from spackling paste to mesh tape techniques. But what sets these methods apart, and how can you determine which one suits your needs best? Let’s explore the intricacies of each method to help you make an informed decision for your next drywall repair project.
Key Takeaways
- Spackling Paste Method: Fill holes evenly, sand edges, and wipe clean for a smooth finish.
- Mesh Tape Technique: Reinforce with fiberglass tape cover with compound, sand, prime, and paint.
- Patch and Paint Approach: Master patching, sand, prime, and paint for a seamless repair.
- Drywall Patch Kit Solution: Use self-adhesive patches and tools for a flawless finish.
- Hot Mud Application: Quick-drying compound, sand after, for a professional result.
Spackling Paste Method
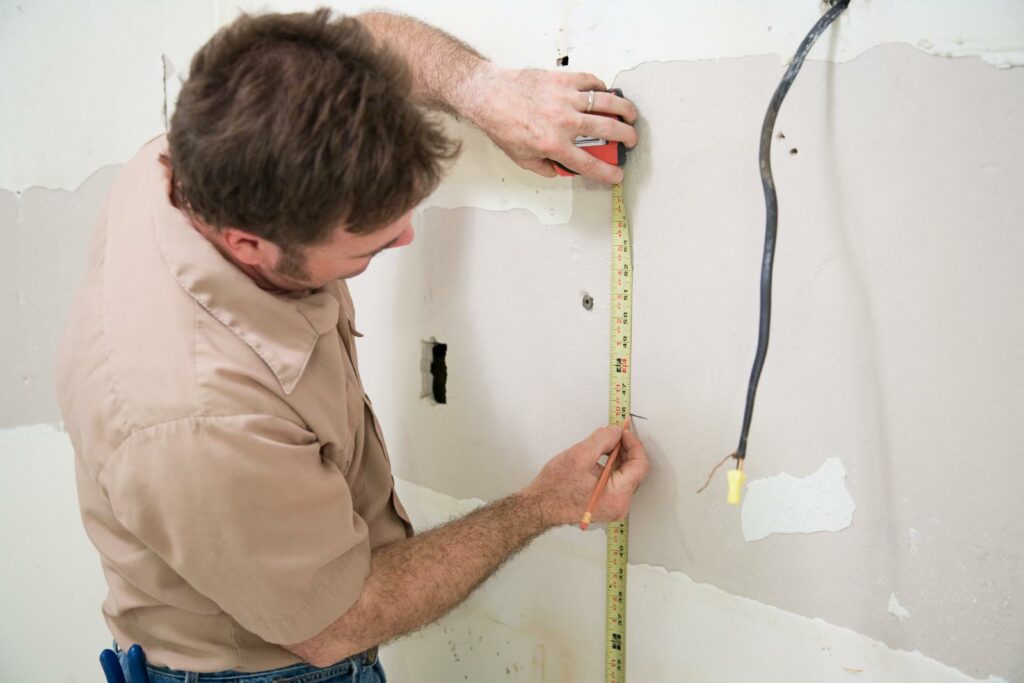
To effectively patch drywall holes using the Spackling Paste Method, begin by preparing the surface with a clean and smooth finish. Start by gently sanding the edges of the hole to create a smooth surface for the spackling paste to adhere to. Use a fine-grit sandpaper to avoid creating additional damage to the surrounding area. After sanding, wipe away any dust or debris with a damp cloth to guarantee a clean workspace.
Next, apply the spackling paste to the hole using a putty knife. Fill the hole completely and smooth the paste evenly across the surface, slightly overfilling to accommodate for shrinkage during the drying process. Allow the spackling paste to dry completely according to the manufacturer’s instructions. Typically, this can take anywhere from a few hours to overnight, depending on the hole depth and the room’s humidity levels.
Once the spackling paste has dried, sand the patched area again to create a flawless finish. This time, use finer grit sandpaper to achieve a smooth texture that blends in with the surrounding wall.
After sanding, you can paint the patched area to match the existing wall color. Select a paint color that matches the surrounding wall to achieve a perfect finish.
Mesh Tape Technique
For a more durable repair when patching drywall holes, consider using the Mesh Tape Technique to ensure long-lasting results. This method is highly effective for drywall repair and hole filling, ensuring a sturdy and smooth finish. The Mesh Tape Technique involves reinforcing the patch with self-adhesive fiberglass mesh tape, providing extra strength to prevent future cracks or damage. Follow these steps for a successful repair:
| Materials Needed | Tools Required | Time Required |
|---|---|---|
| Mesh tape | Utility knife | 30 minutes |
| Joint compound | Putty knife | |
| Sandpaper | Sanding block | |
| Primer | Paintbrush | |
| Paint |
Begin by cutting a piece of mesh tape slightly larger than the hole to be patched. Place the tape over the hole and cover it with a thin layer of joint compound using a putty knife. Smooth out the compound and let it dry completely. Once dry, sand the area gently to create a smooth surface. Apply primer and paint to match the surrounding wall for a polished finish.
Patch and Paint Approach
The Patch and Paint Approach offers a smooth finish when tackling drywall holes. Focus on mastering the patching technique to guarantee a sturdy foundation for the paint.
Explore various paint finish options to achieve the desired look and durability for your walls.
Patching Technique Tips
Utilize a high-quality patching compound for a smooth finish when using the patch and paint approach to fix drywall holes. To guarantee a smooth repair, follow these expert tips:
Fill the Hole Properly:
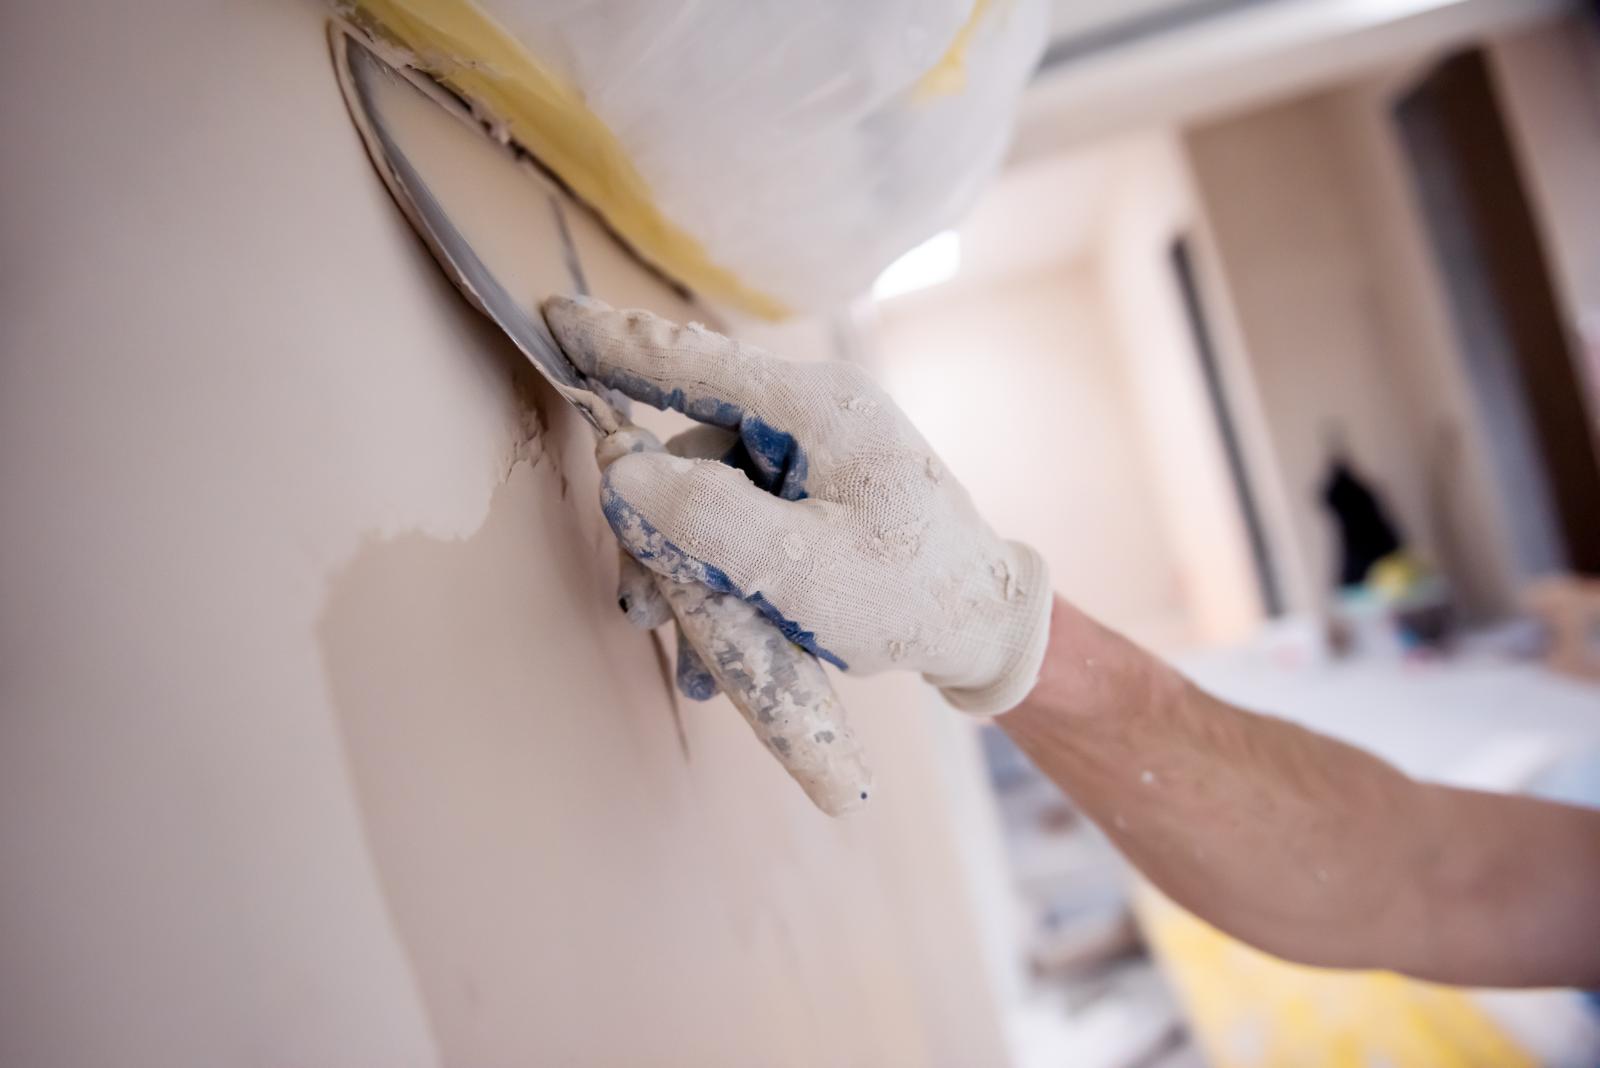
Begin by cleaning the area around the hole to remove any dust or debris. Apply the patching compound with a putty knife, pressing firmly to fill the hole completely. Smooth out the surface, ensuring it’s level with the rest of the wall.Sand and Prime:
Lightly sand the patched area once the compound is dry to blend it with the wall. Use a primer to prepare the surface for painting, helping the new paint adhere evenly.Paint with Care:
Choose a paint color that matches the existing wall. Apply the paint in thin, even coats, blending it with the surrounding wall to camouflage the patch completely. Allow each coat to dry before applying the next for a flawless finish.
Paint Finish Options
To achieve a professional-looking result when patching drywall holes using the patch and paint approach, consider the different paint finish options available for smoothly blending the repaired area with the rest of the wall.
When choosing a paint finish, you’ll encounter two primary options: gloss and matte. Gloss finishes are reflective and durable, making them easier to clean, but they can highlight imperfections in the patched area. On the other hand, matte finishes have a more subtle sheen and can help hide minor flaws, offering a more forgiving finish.
Color matching techniques play an important role in seamlessly integrating the patched area with the surrounding wall. To ensure a perfect match, it’s recommended to use the same paint brand, type, and color batch as the existing wall paint. If the original paint is no longer available, custom color matching at a paint store can help create a blend that closely resembles the current wall color.
Drywall Patch Kit Solution
Consider selecting a high-quality drywall patch kit for a quick and efficient solution to repairing small to medium-sized holes in your walls. These kits are designed to provide you with all the necessary tools and materials to effectively patch up the damaged areas on your drywall.
Here are three key components typically found in a drywall patch kit:
Self-Adhesive Patch: A self-adhesive patch is a convenient solution that eliminates the need for pre-cutting patching materials. These patches are usually made of fiberglass or metal and come in various sizes to suit different hole sizes.
Spackling Compound: The spackling compound included in the kit is used to fill in and smooth out the patched area. This compound is easy to apply and sands down smoothly, ensuring a flawless finish once painted over.
Putty Knife: A putty knife is an essential tool in any drywall patch kit. It’s used to apply the spackling compound evenly over the damaged area and helps in blending the patch with the surrounding wall surface.
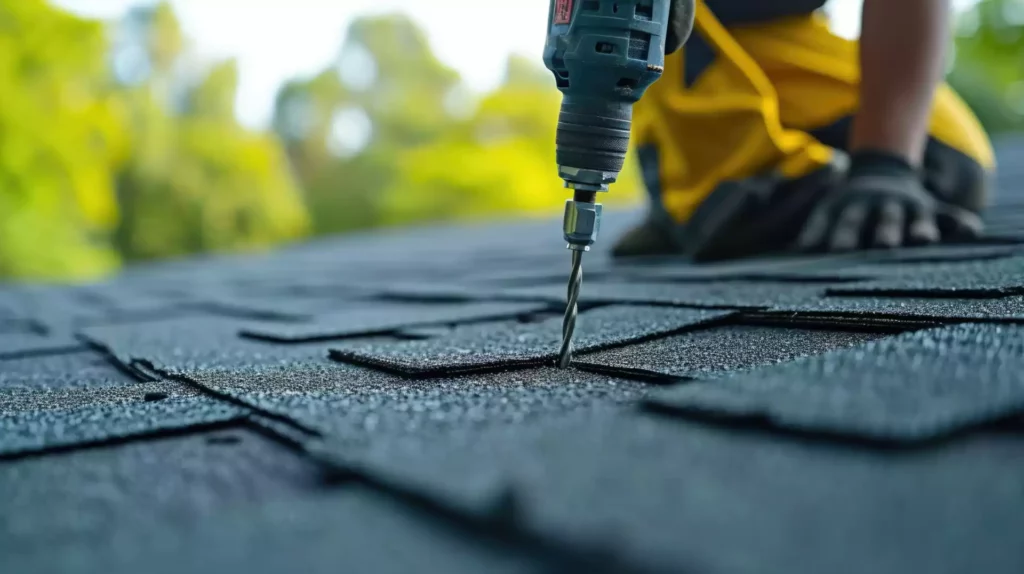
Hot Mud Application Process
For a more efficient and durable drywall repair, mastering the hot mud application process is key to achieving professional results. Hot mud, also known as setting-type joint compound, is a quick-drying material that’s excellent for filling in large holes or gaps in drywall.
When applying hot mud, it’s essential to work swiftly due to its fast drying time. This means you must mix small batches at a time and guarantee a smooth application to avoid inconsistencies in texture. Once applied, hot mud typically sets in about 20-45 minutes, depending on the brand and thickness used.
After the hot mud has dried completely, the sanding process is necessary to achieve a flawless finish. Use fine-grit sandpaper to feather the edges and smooth out any imperfections. Take care not to oversand, as this can result in a patch that stands out from the rest of the wall.
Applying hot mud requires precision and skill. Utilize proper application techniques such as feathering the edges, blending the patch with the surrounding wall, and ensuring a flush finish. To add the finishing touches, consider using a damp sponge to gently smooth out any remaining rough spots before painting.
Mastering the hot mud application process will elevate your drywall repair skills and help you achieve professional-looking results with ease.
Texture Matching Tips
When addressing texture matching during drywall repair, pay close attention to the existing wall texture to smoothly blend the patched area with the surrounding surface. Achieving a flawless match requires careful consideration and precision.
Here are some key tips to help you master texture blending and achieve professional-looking results:
Texture Blending Strategies:
- Begin by examining the texture of the surrounding wall closely. Note the pattern, thickness, and overall appearance.
- Use the appropriate repair tools recommended for the specific texture type. For example, a drywall knife, texture brush, or sponge may be needed to replicate the existing texture effectively.
- Practice your technique on a spare piece of drywall or an inconspicuous area before applying it to the patched section. This will help you refine your approach and ensure a better match.
Matching Paint Shades:
- Selecting the right paint shade is essential for a successful texture match. Take a sample of the existing wall paint to your local hardware store to find the closest match.
- Apply the paint evenly over the patched area, extending slightly beyond the repair to blend seamlessly with the surrounding wall.
Finishing Touches Techniques:
- Once the texture and paint have dried, use a fine-grit sandpaper to smooth out any rough edges or imperfections.
- Feather the edges of the repair with a damp sponge to further blend it with the surrounding surface, creating a cohesive finish that seamlessly integrates with the rest of the wall.
Professional Drywall Repair Services
Hiring professional drywall repair services can promise a high-quality and smooth restoration of damaged walls in your home or business. These experts bring a wealth of experience and knowledge to make sure your walls are repaired efficiently and effectively. Here are some key aspects to take into account when opting for professional services:
| Cost Effective Alternatives | Benefits of Professional Services | Time Saving Solutions |
|---|---|---|
| Professionals can provide cost-effective alternatives such as bulk material discounts. | The benefits include a flawless finish that enhances the aesthetic appeal of your space. | Hiring experts saves you time as they work swiftly and efficiently. |
| Experts have access to high-quality materials at better prices due to their industry connections. | Professional services often come with a pledge, giving you peace of mind about the longevity of the repair. | Their efficiency ensures that the repair process is completed within a shorter timeframe. |
| By avoiding DIY mistakes, you save money in the long run by preventing the need for frequent repairs. | You can rely on their expertise to handle complex issues, ensuring a durable and lasting solution. | Professional repair services prioritize efficiency to minimize interruptions to your daily routine. |
Opting for professional drywall repair services saves you time and ensures a durable and cost-effective solution for your damaged walls.
DIY Drywall Hole Fix Methods
To successfully tackle drywall hole repairs on your own, start by gathering the necessary materials like joint compound, sandpaper, and a putty knife.
Follow step-by-step instructions carefully to guarantee a smooth patch job that blends in seamlessly with the rest of your wall.
With the right tools and technique, you can confidently handle small to medium-sized drywall repairs in your home.
Materials Needed
To fix drywall holes yourself, gather the essential materials required before you begin the repair process. Ensuring you have the right supplies will make the patching process smoother and more efficient. Here are three key items you’ll need:
Patching materials: Depending on the size of the hole, you may require a spackling compound, joint compound, or a self-adhesive mesh patch. These materials are essential for filling and covering the hole effectively.
Cost comparison: Consider the cost of the materials needed for the repair. While the spackling compound is inexpensive and suitable for small holes, larger holes may require pricier options like joint compounds.
Drywall hole size and repair options: Assess the size of the hole to determine the most appropriate repair method. Smaller holes can be easily fixed with spackling, while larger holes may need a patch or joint compound for a more durable repair.
Step-by-Step Instructions
Begin by evaluating the size of the drywall hole to determine the appropriate method for repairing it. For small holes, start by cleaning the area and applying spackling compound with a putty knife. Allow it to dry, sand the surface smooth, and repeat if necessary.
Larger holes require a self-adhesive drywall patch. Place the patch over the hole, cover it with joint compound, and feather the edges with a drywall knife. Once dry, sand the area until it’s level with the rest of the wall.
Next, focus on the finishing touches. Apply a primer to the patched area to ensure the paint sticks evenly. Once the primer is dry, paint the wall to match the surrounding area. To complete the process, sand any rough edges gently for a polished finish.
For this project, you’ll need tools such as a putty knife, sandpaper, joint compound, a drywall patch, primer, and paint. Cost considerations include the price of materials and any tools you may need to purchase or rent.
Wrap-Up
Whether you choose to tackle the drywall hole repair yourself or hire a professional, the key is to use the right method for a smooth finish.
By following the top methods such as spackling paste, mesh tape reinforcement, or patch and paint approach, you can guarantee that your wall looks as good as new.
Remember, a little effort now will save you time and money in the long run.