Contents
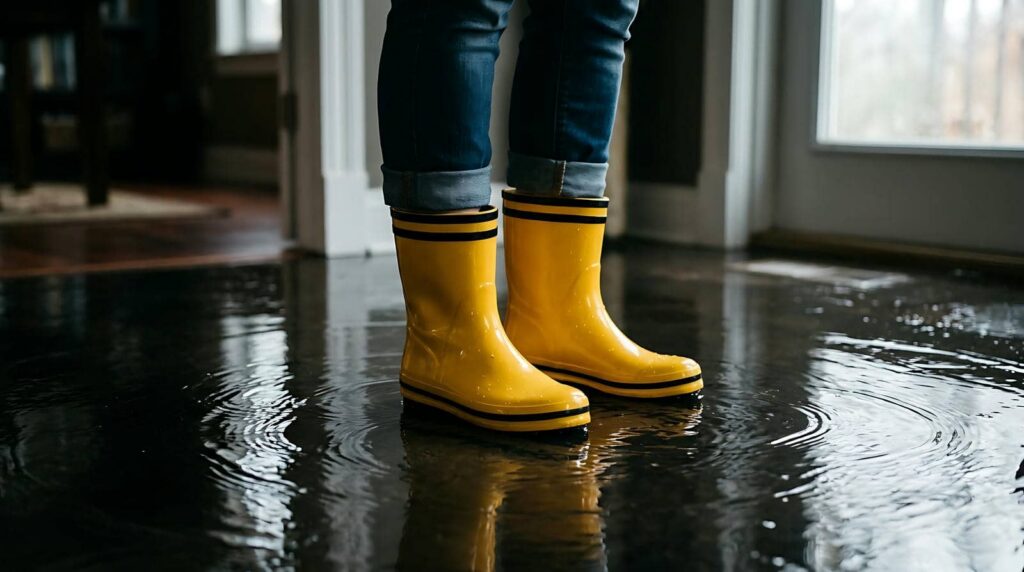
When faced with the aftermath of water damage, you must tread carefully through a maze of crucial steps to restore your property. But what if we told you that the key to successful water damage restoration lies in a systematic approach that can make all the difference? By understanding these essential steps, you can navigate the challenging path of recovery with confidence and precision, ensuring a seamless restoration process for your peace of mind.
Key Takeaways
- Thoroughly assess water damage for an accurate restoration plan.
- Efficiently extract water using specialized equipment.
- Focus on thorough drying and dehumidification process.
- Clean and sanitize the affected area promptly.
- Repair structural damage to ensure restoration completeness.
Initial Assessment
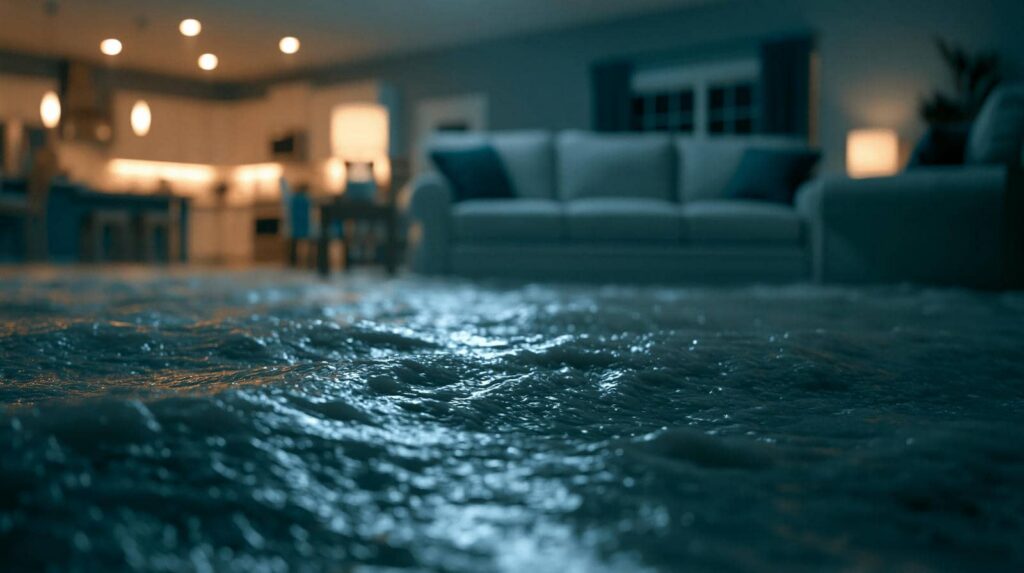
During the initial water damage assessment, you should thoroughly inspect the affected area to determine the extent of the damage and develop a restoration plan. Begin by evaluating the damage caused by the water intrusion. Look for visible signs such as water stains, discoloration, peeling paint, or warping of materials. This evaluation will help you understand the restoration scope needed and effectively guide your next steps.
Next, a moisture assessment will be conducted to identify areas with high humidity levels or excessive dampness. Moisture meters and infrared cameras can be valuable tools in this process as they help pinpoint hidden pockets of moisture that aren’t visible to the naked eye. By accurately assessing the moisture levels, you can prevent mold growth and further structural damage.
Simultaneously, while assessing the damage, determine which items are salvageable. Prioritize the removal and restoration of items that can be saved. Quick action can often save belongings like furniture, electronics, and personal items from permanent damage. Remember, the faster you identify and salvage these items, the better the chances of restoring them to their pre-damaged condition.
Water Extraction
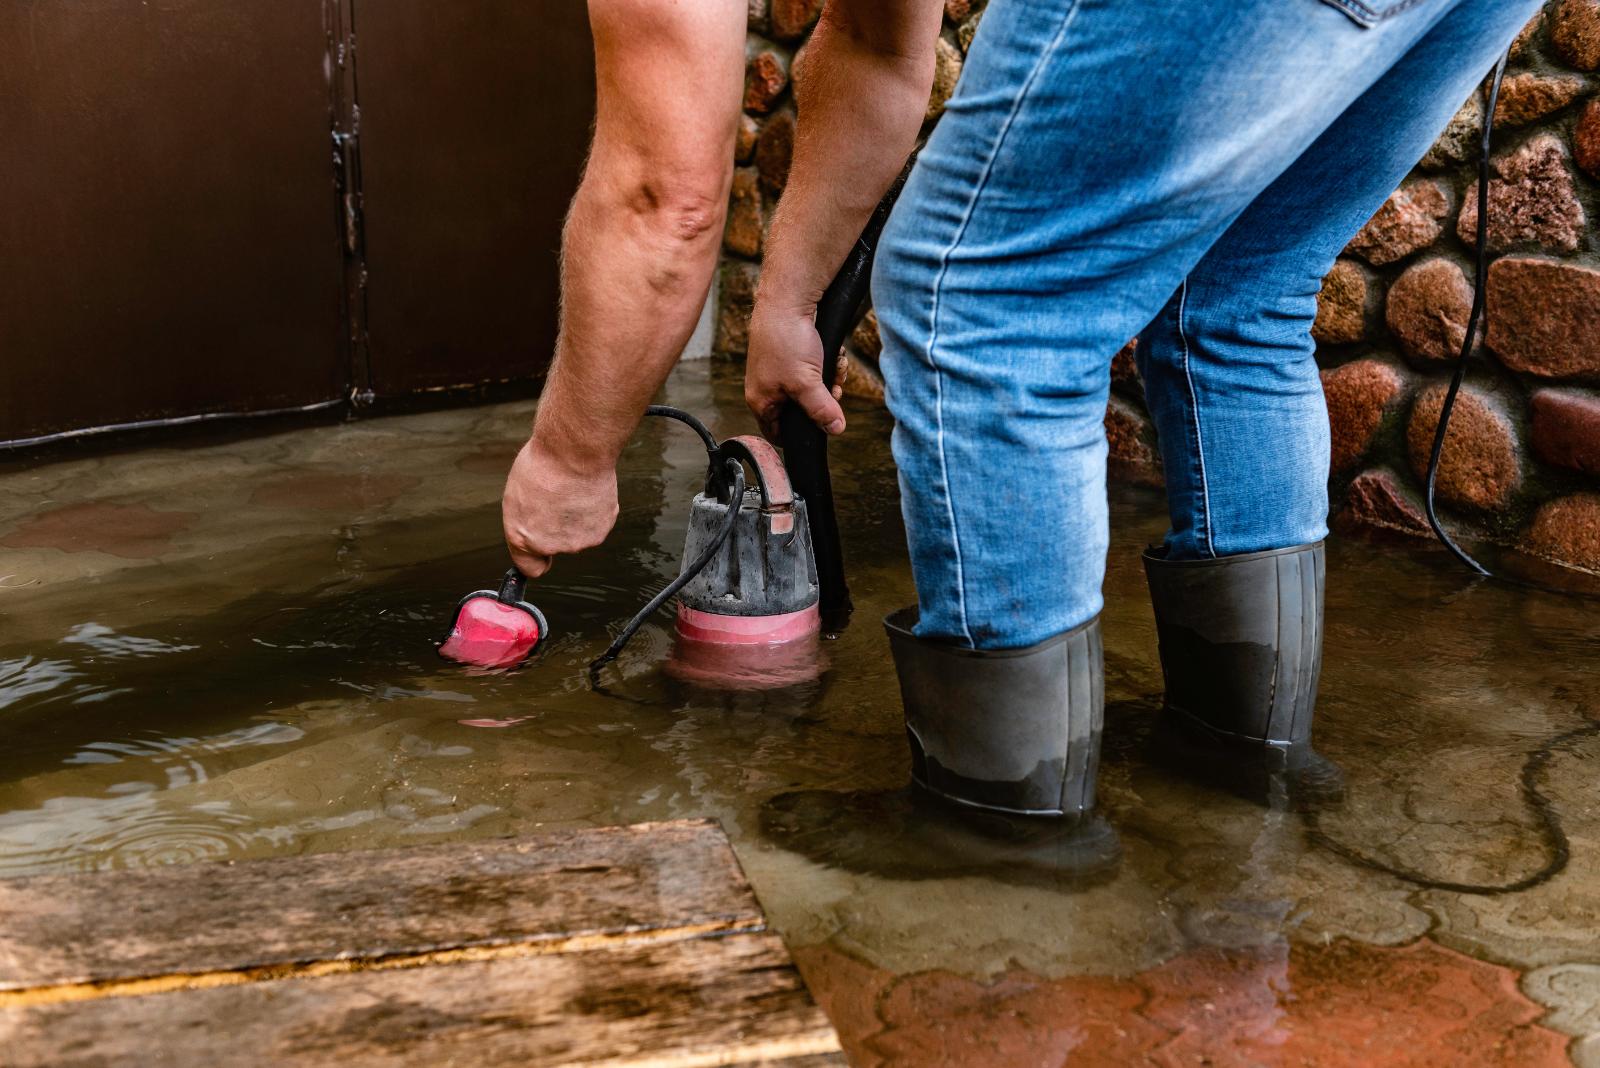
Efficient water extraction is crucial in the restoration process to swiftly remove excess water from the affected area and prevent further damage. The extraction process involves utilizing specialized equipment to eliminate water accumulation effectively.
The first step is to assess the extent of the water damage to determine the most suitable extraction methods. The extraction process typically involves using powerful pumps and industrial-grade wet vacuums to remove standing water efficiently. These tools are essential in extracting water from carpets, flooring, and other affected surfaces.
Additionally, extraction wands are used to access hard-to-reach areas where water may have seeped into. When initiating the extraction process, it’s vital to prioritize safety by ensuring the electricity is turned off in the affected area to avoid any risk of electrocution.
Once safety measures are in place, the extraction equipment can be utilized to start the water removal process promptly. To optimize the extraction process, working in sections is recommended, starting from the highest point of water accumulation and gradually moving downwards.
This method helps prevent water from spreading to unaffected areas and facilitates a more thorough extraction.
Drying and Dehumidification
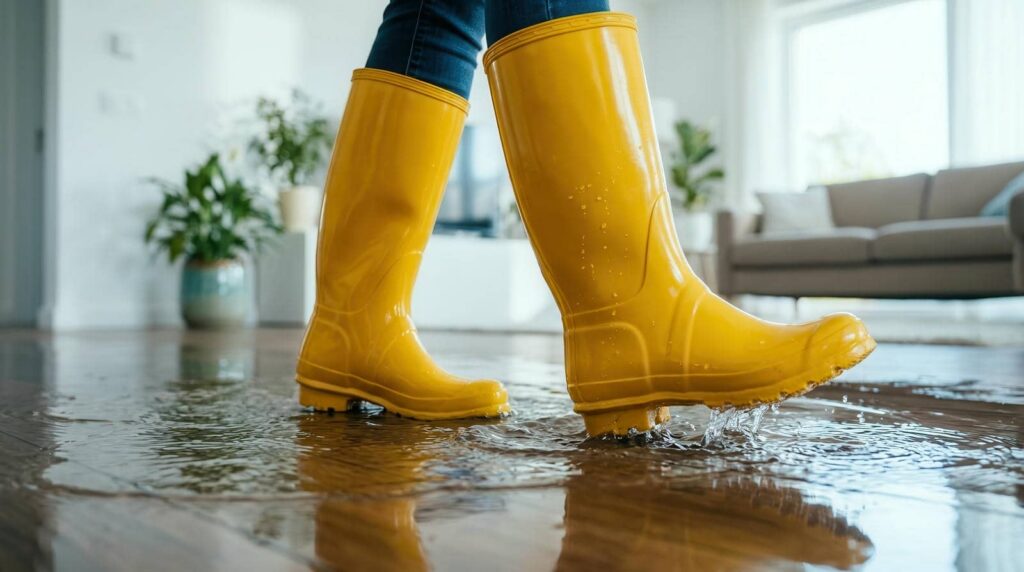
Start by focusing on the drying and dehumidification process to remove residual moisture and prevent mold growth after water extraction. Moisture control is crucial at this stage to ensure the affected area is thoroughly dried. Proper equipment selection plays a significant role in expediting the drying process and maintaining optimal humidity levels.
Consider using dehumidifiers and air movers when addressing moisture control during drying and dehumidification. Dehumidifiers help extract excess moisture from the air, while air movers promote air circulation, aiding in evaporation. Strategically placing these tools accelerates drying, preventing lingering moisture that could lead to mold growth.
Effective equipment selection is key to successful drying and dehumidification. Choose dehumidifiers based on the room size and extent of water damage. Similarly, select air movers with the appropriate power and airflow capacity to enhance drying efficiency. Properly positioning these devices to create airflow patterns that cover the entire affected area ensures uniform drying.
Cleaning and Sanitizing
To effectively mitigate water damage, it’s essential to initiate the cleaning and sanitizing process promptly following the drying and dehumidification stage. Once the affected areas are thoroughly dried out, it’s crucial to clean and sanitize them to prevent mold growth and ensure a safe environment.
Start by gathering the necessary cleaning equipment, such as mops, buckets, sponges, and scrub brushes. Ensure that all equipment is clean and free of any contaminants to avoid introducing further issues.
Next, prepare a sanitizing solution by mixing water with a commercial disinfectant or a mixture of water and bleach. Follow manufacturer guidelines for proper dilution ratios to ensure effectiveness without causing damage.
Begin cleaning by scrubbing all hard surfaces, including walls, floors, and furniture exposed to water. Pay special attention to areas that may have hidden moisture pockets.
Once surfaces are cleaned, use the sanitizing solution to disinfect the area thoroughly. This step is crucial to kill any remaining bacteria or pathogens that could pose health risks.
After cleaning and sanitizing, allow the area to dry completely before beginning any restoration or repairs. Proper cleaning and sanitizing are vital steps in the water damage restoration process to ensure the safety and well-being of you and your loved ones.
Restoration and Repairs
Once the cleaning and sanitizing process is completed, the next step in water damage restoration involves addressing any necessary restoration and repairs to ensure the affected area is fully restored to its pre-damaged condition.
When it comes to restoration and repairs, it’s crucial to assess the extent of the structural damage caused by the water. This evaluation will determine the scope of the repairs needed and guide the restoration process.
Insurance claims play a significant role in covering the costs associated with restoration and repairs. It’s essential to contact your insurance provider to initiate the claims process promptly. Provide them with detailed information about the damage, including photographs if possible, to expedite the assessment and approval of your claim. Working closely with your insurance company will help streamline the restoration process and alleviate financial burdens.
Repairing structural damage is a critical aspect of water damage restoration. This may involve fixing walls, floors, ceilings, and other affected structural elements. Depending on the severity of the damage, professionals may need to replace or reinforce damaged areas to restore the property’s structural integrity.
Final Inspection
Conduct a thorough inspection of the restored area to ensure all restoration and repair work has been completed to the highest standards. This final inspection is crucial for maintaining quality control and ensuring customer satisfaction. By carefully examining every detail of the restoration process, you can guarantee that the affected area is fully restored and safe for use. Here is a checklist to guide your final inspection:
| Final Inspection Checklist | ||
|---|---|---|
| Check for any signs of moisture | Inspect structural integrity | Verify proper functioning of utilities |
| Ensure all surfaces are clean and sanitized | Confirm that all repairs are completed | Check for any odors or mold growth |
| Inspect for any signs of discoloration or damage | Verify the proper drying of materials | Check for proper ventilation |
| Ensure all personal belongings are returned | Verify that all safety measures are in place | Inspect for any potential hazards |
| Confirm with the customer that they are satisfied | Provide information on maintenance and prevention | Offer post-restoration support |
Recap
As you wrap up the final inspection, you notice a faint smell lingering in the air.
Upon closer examination, you discover a small patch of mold starting to form in a corner.
Quickly addressing this issue now will prevent further damage and ensure the success of your water damage restoration project.
Remember, attention to detail is key in ensuring the long-term effectiveness of your restoration efforts.