Contents
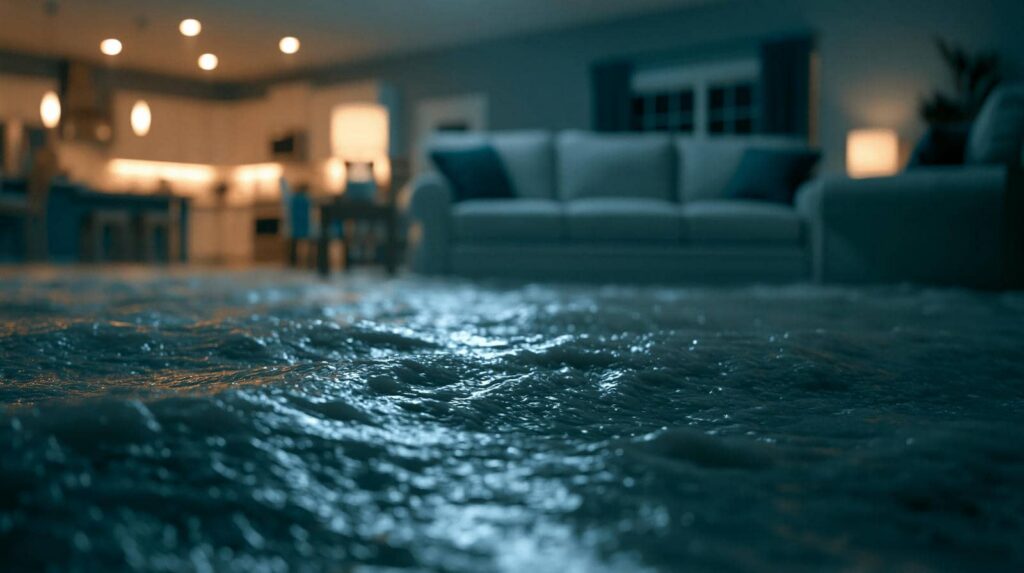
To effectively tackle mold post-water damage, you must act swiftly and decisively. The presence of mold presents not only aesthetic concerns but also potential health risks. As you navigate the process of mold removal, it’s essential to understand the intricacies involved in eradicating it completely. Following a systematic approach and adopting best practices guarantees a thorough cleanup and restoration process. Stay tuned as we reveal the key steps to successfully eliminate mold after water damage and safeguard your indoor environment.
Key Takeaways
- Wear protective gear to avoid mold exposure during removal.
- Address water damage causes to prevent mold regrowth.
- Use a water-detergent mixture or mold cleaner on hard surfaces.
- Discard extensively mold-damaged porous materials.
- Ensure complete drying to inhibit mold regrowth.
Identifying the Mold
To identify mold after water damage, carefully inspect areas that are damp or have experienced moisture exposure. Mold thrives in moist environments and can often be found in basements, bathrooms, kitchens, and areas affected by leaks or flooding. Look for visible signs of mold, such as black or green spots on walls, ceilings, or floors. Mold can also have a musty odor, so be mindful of any unpleasant smells in the affected areas.
When it comes to mold testing, there are DIY kits available that can help determine the presence of mold in your home. These kits typically involve swabbing or air sampling to collect mold spores for analysis. However, for a more thorough assessment, consider hiring a professional mold inspector to conduct testing and provide detailed insights into the extent of the mold infestation.
Once mold has been identified, it’s essential to begin the removal process promptly to prevent further spread and potential health risks. The removal process may involve scrubbing surfaces with mold-killing solutions, using HEPA vacuums, and disposing of contaminated materials properly. If the mold infestation is extensive, seeking assistance from professional mold remediation services is advisable to ensure thorough and safe removal.
Assessing the Damage
Evaluating the damage caused by water and mold is essential in determining the extent of the restoration process required. Begin by examining the moisture levels in the affected area. High moisture levels indicate a conducive environment for mold growth, signaling the need for thorough remediation.
Look for visible signs of mold, such as discoloration, musty odors, or water stains. Additionally, potential health hazards associated with mold exposure should be considered. Mold spores can trigger allergies, respiratory issues, and other health problems, especially in individuals with compromised immune systems.
Understanding the extent of water damage and mold growth is critical for developing an effective remediation plan. Take note of areas with excessive moisture, as these are likely hotspots for mold proliferation. By carefully evaluating the damage, you can address both visible issues and underlying concerns to ensure a thorough restoration process.
Containment Measures
To contain mold effectively after water damage, seal off the affected areas using plastic barriers to prevent spores from spreading.
Guarantee proper ventilation in the space by opening windows and using fans to circulate air.
These containment measures are essential in preventing further mold growth and safeguarding your health.
Seal Affected Areas
Consider applying a high-quality sealant to the affected areas to prevent the spread of mold spores during the remediation process. Start by sealing cracks and waterproofing surfaces to create a barrier that stops mold from spreading further.
Look for sealants specifically designed for mold remediation, ensuring they’re effective in sealing off the affected areas completely. By sealing these areas, you contain the mold spores, preventing them from dispersing and causing new growth in other parts of your home.
This step is essential in limiting the scope of mold damage and creating a controlled environment for the remediation process to be more effective. Choose a sealant that’s durable and long-lasting to provide ongoing protection against mold regrowth.
Use Plastic Barriers
For effective containment measures during mold remediation, utilize plastic barriers to isolate the affected areas and prevent the spread of mold spores. Plastic barriers act as a shield, providing barrier protection against the further dissemination of mold spores into uncontaminated areas. By installing these barriers, you create a physical boundary that helps contain the mold infestation. Additionally, plastic barriers aid in moisture prevention by blocking any potential sources of water from entering or leaving the affected zones, thereby reducing the risk of mold growth. Properly sealing off the contaminated areas with plastic barriers is a crucial step in mold remediation to ensure that the spores are confined, making the cleanup process more manageable and effective.
| Barrier Protection | Moisture Prevention |
|---|---|
| Blocks mold spores from spreading | Prevents water intrusion |
| Creates a containment zone | Reduces risk of mold growth |
Ventilate Properly
When addressing ventilation as part of containment measures during mold remediation, make sure that proper air circulation is established to minimize the concentration of mold spores in the affected area. Essential ventilation is important for mold prevention as it helps in reducing moisture levels and dispersing airborne spores.
To ventilate properly, open windows and doors to create cross-ventilation. Additionally, fans and dehumidifiers should be considered to improve air circulation and reduce humidity levels. It’s also vital to seal off the affected area from the rest of the house to prevent mold spores from spreading.
Mold Removal Techniques
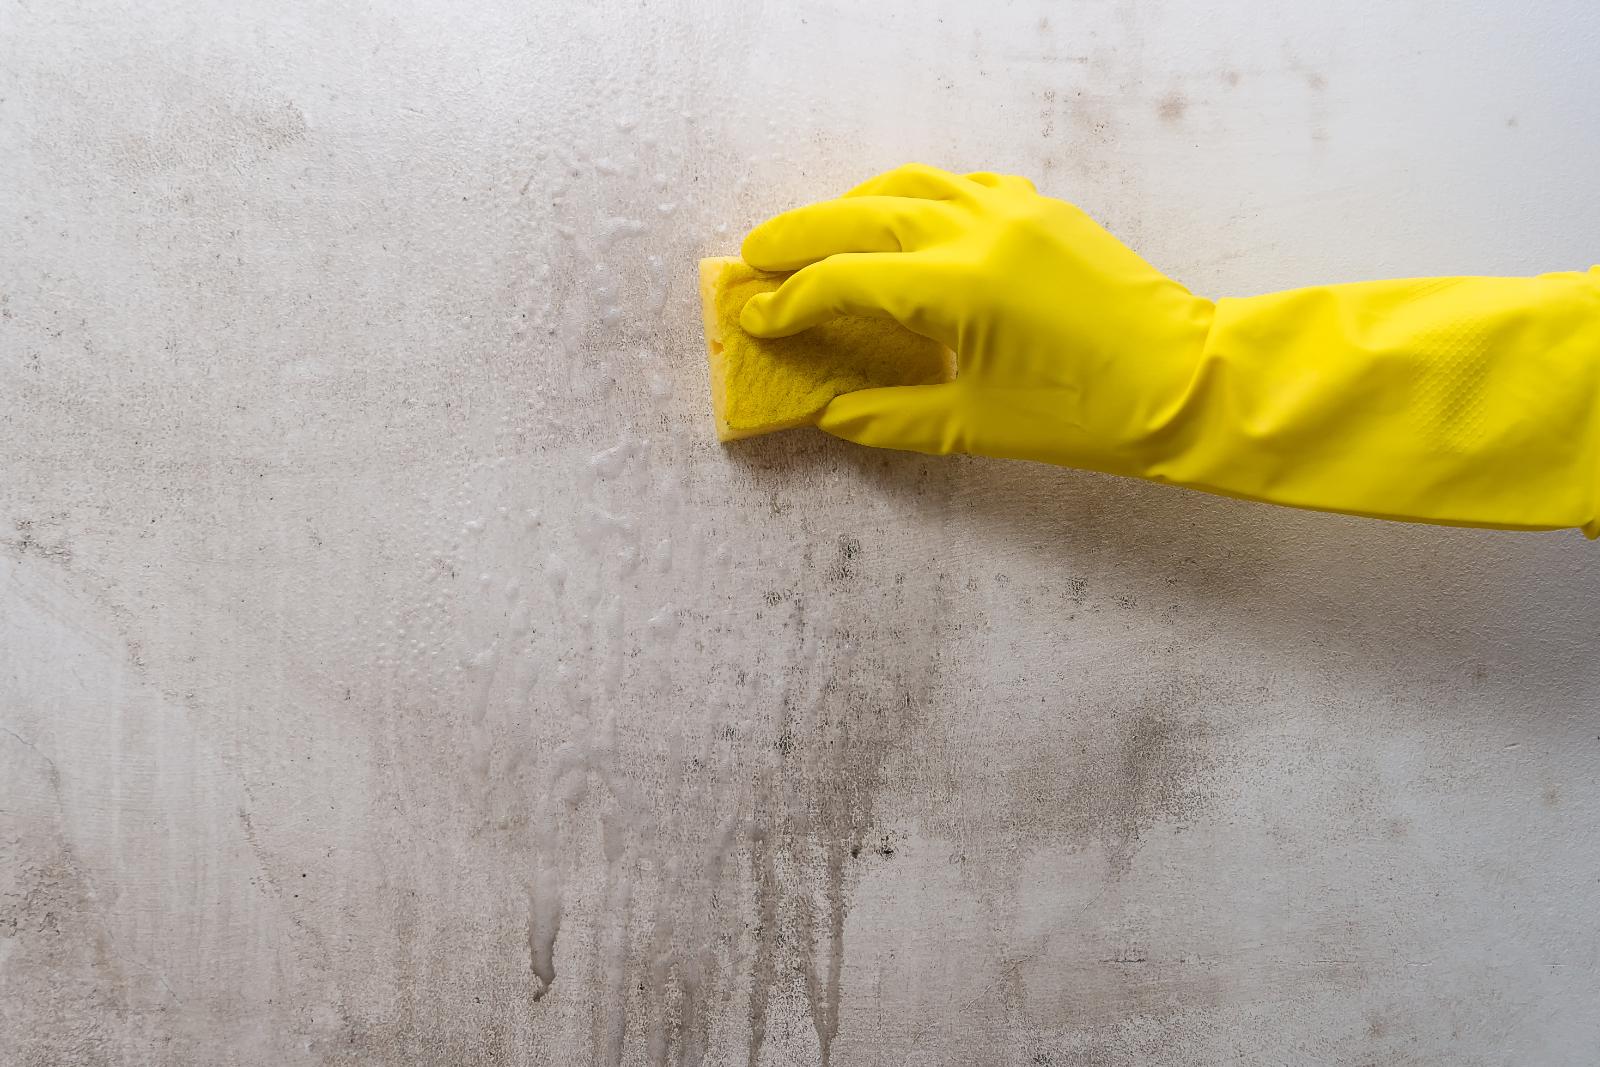
Implementing efficient mold removal techniques is vital in guaranteeing thorough remediation after water damage. When dealing with mold, it’s important to act promptly and effectively. Begin by wearing protective gear such as gloves, goggles, and a mask to prevent exposure to mold spores. Before starting the removal process, make sure to address any underlying issues that caused the water damage, such as fixing leaks and improving ventilation to prevent future mold growth.
To remove mold from hard surfaces, use a mixture of water and detergent or a specialized mold cleaner. Scrub the affected area thoroughly and ensure all visible mold is removed. For porous materials like drywall or carpeting that are extensively damaged by mold, it’s often best to discard and replace them. After cleaning, dry the area completely using fans and dehumidifiers to prevent mold regrowth.
Drying Out the Area
To effectively dry out the water-damaged area, maintain proper air circulation by opening windows and using fans. Additionally, utilizing dehumidifiers can expedite the drying process and prevent mold growth.
These steps are essential in creating an environment that discourages mold development and promotes a quicker recovery from water damage.
Air Circulation Important
Proper air circulation is essential for effectively drying out the water-damaged area. To guarantee thorough drying, open windows and doors allow fresh air to flow through the space. You can also strategically place fans around the affected area to improve air circulation. Here’s a simple guide to enhance air circulation:
| Tips for Air Circulation | Description |
|---|---|
| Open Windows and Doors | Allow fresh air in |
| Use Fans | Enhance airflow within the space |
| Position Fans Correctly | Direct towards damp areas for quicker drying |
| Create Cross-Ventilation | Open windows on opposite sides for optimal airflow |
Dehumidifiers Aid Drying
Enhance the drying process by utilizing dehumidifiers to remove excess moisture from the water-damaged area.
Dehumidifiers are crucial in humidity control and moisture management after water damage occurs. These devices pull moisture from the air, helping expedite the drying-out process.
Dehumidifiers reduce the humidity levels in the affected space, preventing mold and mildew growth, which thrive in damp environments. For best results, place the dehumidifier in the most humid areas of the room.
Keep windows and doors closed to create a more controlled environment for the dehumidifier to operate effectively. Remember, proper use of dehumidifiers can greatly aid in drying out the water-damaged area and prevent future mold issues.
Preventing Future Mold Growth
One effective method for preventing future mold growth is maintaining proper ventilation in moisture-prone areas. Adequate airflow helps to reduce moisture buildup, creating an environment less conducive to mold growth. Additionally, implementing moisture control measures such as fixing leaks promptly and using exhaust fans in bathrooms can help keep humidity levels in check. Proper cleaning practices, like wiping down surfaces prone to moisture and using mold-inhibiting cleaners, are vital in preventing mold from taking hold.
To further assist you in preventing future mold growth, here is a simple guide:
| Preventive Measure | Description | Benefits |
|---|---|---|
| Maintain Good Ventilation | Ensure proper airflow in areas prone to moisture to reduce mold growth. | Reduces moisture buildup and creates an inhospitable environment for mold. |
| Fix Leaks Promptly | Address any leaks in pipes, roofs, or windows immediately to prevent moisture buildup. | Prevents water accumulation that can lead to mold growth. |
| Use Exhaust Fans | Install and utilize exhaust fans in bathrooms and kitchens to reduce humidity levels. | Helps to remove excess moisture from the air, inhibiting mold growth. |
Professional Inspection and Testing
For a thorough evaluation and precise identification of mold presence, professional inspection and testing services are recommended after water damage incidents. Testing procedures employed during these inspections are essential in determining the extent of mold contamination. Professionals use a variety of testing methods, such as air sampling, surface sampling, and moisture mapping, to accurately assess the mold situation. These procedures help in identifying the types of molds present, their concentration levels, and the potential health risks they pose.
In addition to testing procedures, inspection tools play an important role in detecting mold growth in hidden or hard-to-reach areas. Professionals utilize advanced tools like moisture meters, borescopes, and thermal imaging cameras to uncover mold growth behind walls, ceilings, or under flooring. These inspection tools aid in locating moisture sources that contribute to mold development, ensuring a thorough assessment of the affected areas.
Review
Remember that thoroughness is key in the battle against mold after water damage. Just like a skilled detective meticulously uncovers clues to solve a mystery, you must diligently identify and remove every trace of mold to guarantee a safe and healthy environment.
Following the steps outlined in this article, you can effectively combat mold and prevent its return, creating a clean and mold-free space for all to enjoy.