Contents
When faced with the creeping presence of mold on your residential drywall, it’s akin to a shadow lurking in the corner of your home, silently growing. But fear not, for there are effective remediation techniques that can help you reclaim your space. From meticulous inspection to cautious removal procedures, each step is vital in ensuring a mold-free environment for you and your loved ones. Stay tuned to discover the key strategies that will aid you in combating this persistent problem and restoring your home to its former glory.
Understanding Mold Growth
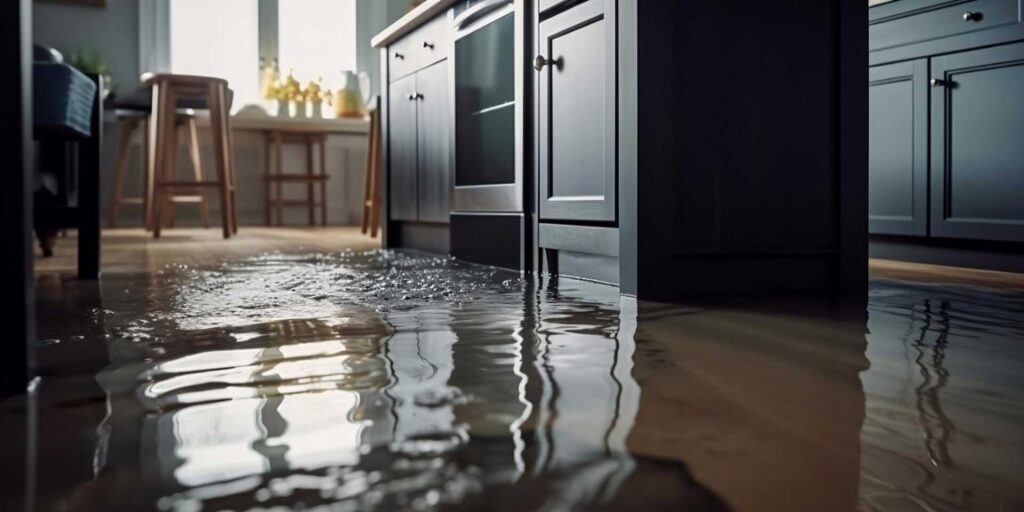
To effectively address the residential drywall mold remediation issue, it’s important first to understand the complexities of mold growth within this environment. Mold thrives in damp, dark, and warm conditions, making residential drywall an ideal breeding ground. The presence of moisture, whether from leaks, humidity, or flooding, provides the necessary foundation for mold spores to settle and grow.
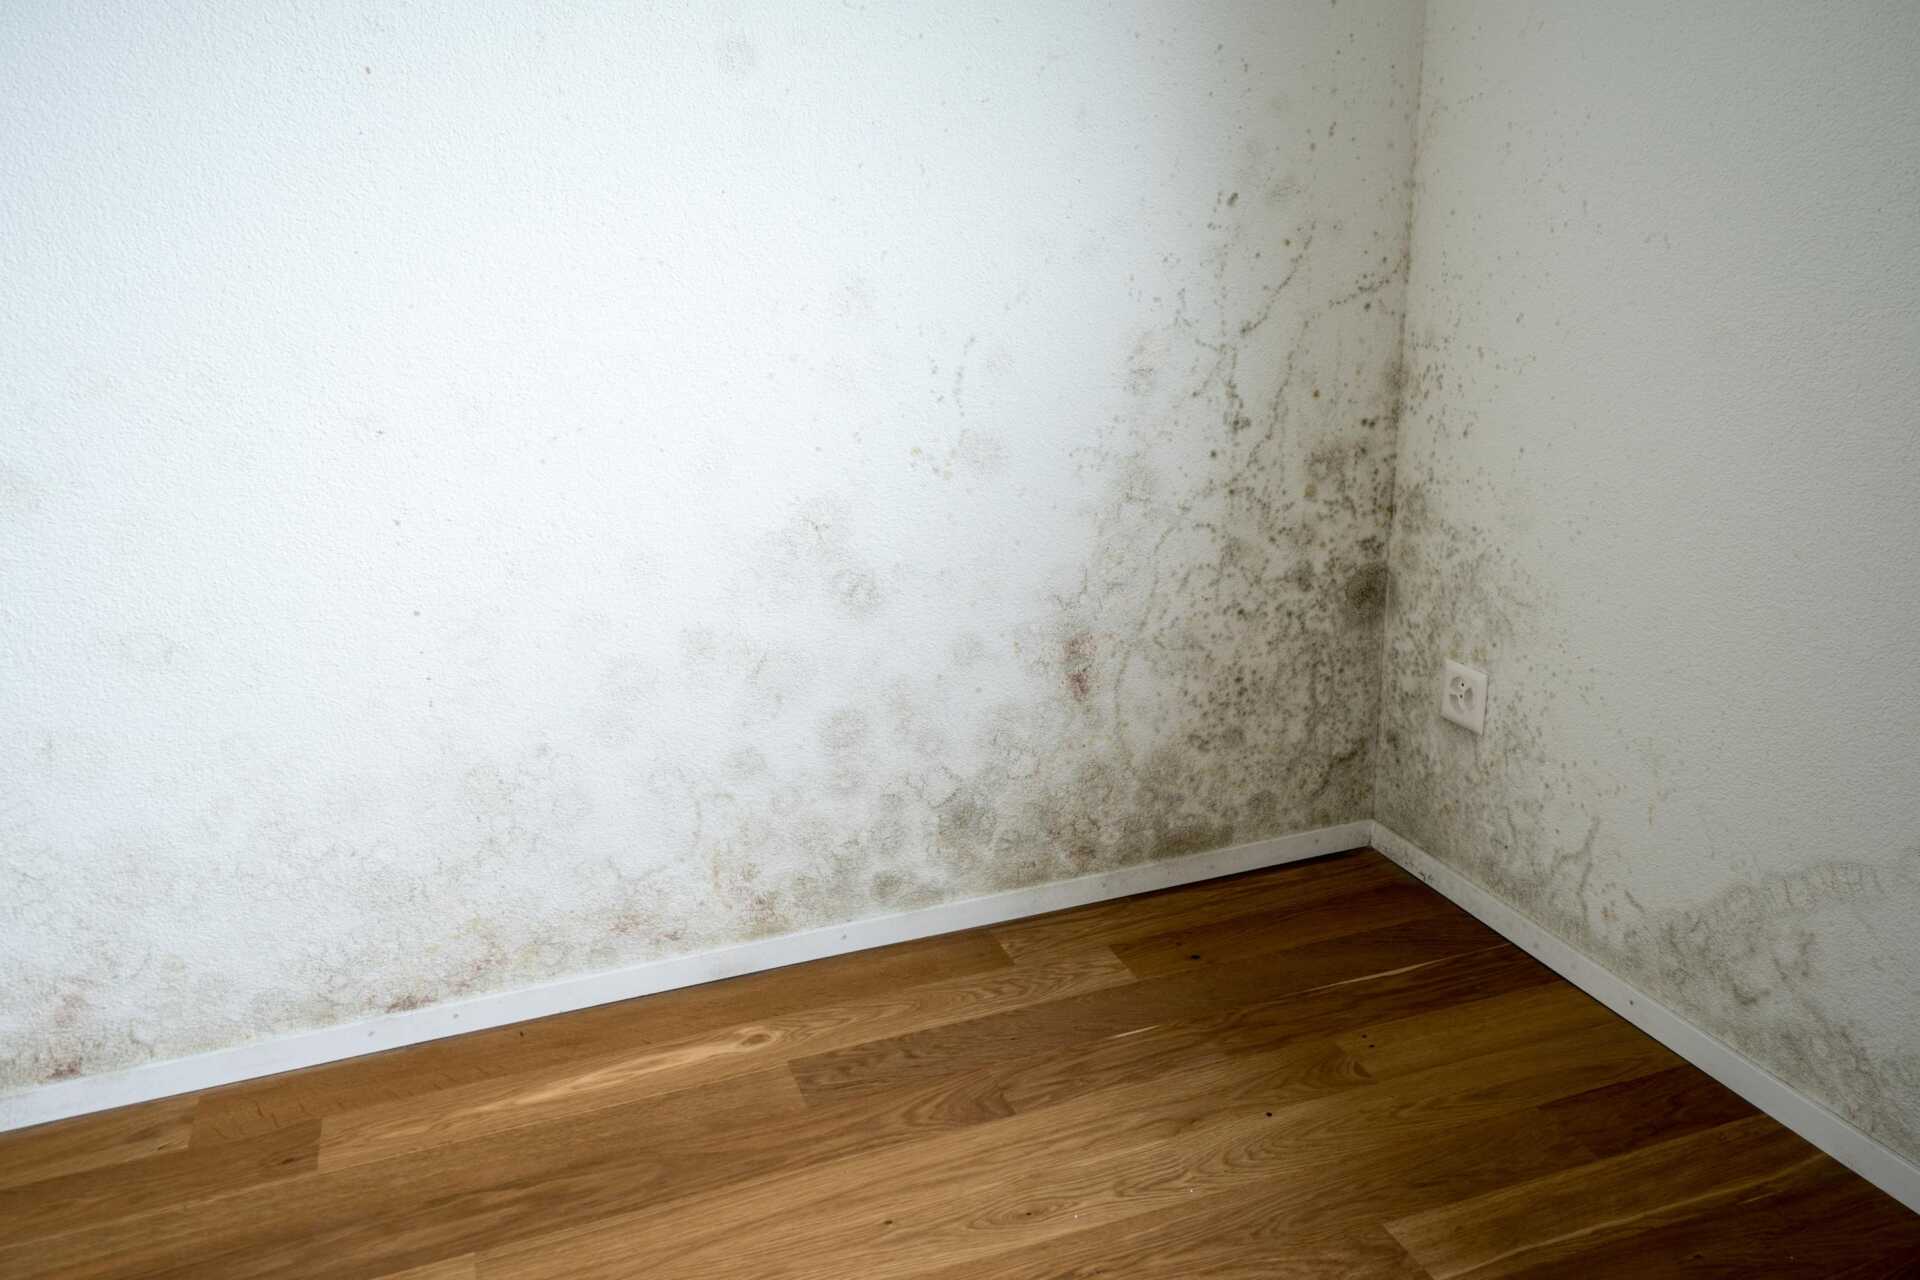
Mold growth on drywall typically starts as small, discolored spots that may appear fuzzy or slimy. As it progresses, the mold can spread rapidly across the surface, causing structural damage and posing health risks to those in the vicinity. It’s important to note that mold growth behind drywall isn’t always visible, so a thorough inspection is necessary for effective remediation.
When addressing mold on drywall, it’s essential to identify and eliminate the source of moisture to prevent regrowth. Proper ventilation, dehumidification, and timely repairs of leaks are key steps in creating an inhospitable environment for mold to thrive. Additionally, removing affected drywall, cleaning or treating the area with mold inhibitors, and ensuring proper drying is vital in the remediation process.
Understanding the conditions conducive to mold growth on drywall enables homeowners to take proactive measures to prevent its recurrence. By addressing moisture issues promptly and employing appropriate remediation techniques, you can create a healthier living environment and protect the integrity of your home.
Identifying Mold on Drywall
When identifying mold on drywall, observe for any discoloration, often appearing as black, green, or brown spots.
The texture of the affected area may feel damp or spongy to the touch.
If unsure, consider having the mold tested by a professional to determine the type and extent of contamination.
Mold Appearance
When identifying mold on drywall, it’s important to understand the various appearances it can take on. Mold on drywall can manifest in different ways, such as black, green, gray, or even white fuzzy patches. These patches may appear raised, slimy, or powdery, depending on the type of mold present.
Black mold, known as Stachybotrys chartarum, is one of the most concerning types due to its toxic properties and typically appears as black or dark green spots.
Furthermore, mold growth on drywall can sometimes be mistaken for dirt or soot. However, unlike dirt or soot, mold won’t easily wipe away and may return even after cleaning.
It’s important to pay attention to any musty odors or moisture issues in conjunction with visible mold, as these can indicate a larger problem.
Testing for Mold
Regularly inspecting your drywall for mold is vital in maintaining a healthy indoor environment. Mold testing can be done through various methods to identify the presence of mold on drywall.
One common technique is air sampling, where air samples are collected and analyzed for mold spores. Surface sampling involves taking swab or tape lift samples from suspected mold growth areas on the drywall. Bulk sampling includes collecting pieces of the drywall itself for analysis.
These methods help determine the type and concentration of mold present, guiding the remediation process. It’s essential to hire professionals for accurate mold testing, as they have the expertise and tools to conduct thorough assessments.
If you notice musty odors or visible mold growth or experience health issues like allergies or respiratory problems, consider testing your drywall for mold promptly. Early detection through proper testing can prevent mold from spreading and causing further damage to your home.
Removing Mold Safely
When removing mold safely from drywall in your home, it’s important to take proper safety precautions to protect yourself from exposure to harmful spores.
Make sure to follow recommended disposal methods to prevent the spread of mold to other areas of your home.
Additionally, implementing preventive measures is vital to avoid the regrowth of mold on your drywall surfaces.
Safety Precautions During Removal
To ensure the safe and effective removal of mold during residential drywall remediation, it’s essential to prioritize safety precautions. When undertaking mold removal, make sure you wear appropriate personal protective equipment (PPE) such as gloves, goggles, and an N95 respirator to shield yourself from exposure to mold spores.
Before starting the removal process, seal off the affected area with plastic sheeting and tape to prevent mold spores from spreading to other parts of the house. Remember to turn off HVAC systems to avoid the circulation of mold spores throughout the home.
When removing mold-infested drywall, mist the area lightly with water to minimize the release of spores into the air. Use plastic bags to dispose of moldy materials promptly.
After completing the removal process, clean the area thoroughly with a HEPA vacuum and damp cloth to eliminate any remaining mold spores. By adhering to these safety precautions, you can ensure a successful and secure mold removal process in your residential space.
Proper Disposal Methods
When disposing of mold-infested materials during residential drywall remediation, it’s crucial to follow proper methods to secure the safe removal of these potentially hazardous substances.
Begin by sealing the contaminated materials in heavy-duty plastic bags to prevent the spread of mold spores. Make sure to double-bag the items if possible. Label the bags clearly as “contaminated” to alert others of the potential danger.
Contact your local waste management facility to inquire about their guidelines for disposing of mold-infested materials. Some areas require special handling or disposal procedures for mold-contaminated items.
Avoid simply throwing the bags in your regular household trash, as this can lead to further contamination. Arrange for the bags to be picked up or dropped off at designated locations to ensure proper disposal.
Preventing Mold Regrowth
To effectively prevent mold regrowth and safely remove existing mold, it’s essential to implement thorough and precise remediation techniques in your residential space. Mold regrowth can be avoided by addressing sources of moisture and ensuring adequate ventilation in your home. Here are three critical steps to prevent mold regrowth:
Addressing Moisture Problems: Identify and fix any leaks or water intrusions promptly to prevent moisture buildup, which can lead to mold growth.
Maintaining Proper Air Circulation: Ensure adequate airflow in areas prone to moisture, such as bathrooms and kitchens, to reduce humidity levels and inhibit mold development.
Regular Check-ups: Conduct routine inspections of your home for any signs of water damage or mold growth, and address any issues immediately to prevent further contamination.
Drywall Repair Techniques
Repairing drywall damaged by mold demands precision and expertise to ensure a thorough remediation process. When dealing with mold-damaged drywall, it’s pivotal to first assess the extent of the damage.
Begin by carefully cutting out the affected drywall using a utility knife. Make sure to cut slightly beyond the visibly damaged areas to ensure the complete removal of all mold-infested portions.
Once the damaged drywall has been removed, thoroughly clean the surrounding areas with a mixture of water and mild detergent to eliminate any remaining mold spores. After cleaning, allow the area to dry completely before proceeding with repairs.
Next, prepare a new piece of drywall to fit the cut-out section. Secure it in place using drywall screws, making sure it sits flush with the existing wall.
Apply joint compound over the seams and screw indentations, smoothing it out with a drywall knife for a flawless finish.
After the joint compound has dried, sand the area to create a smooth surface that is ready for painting. Choose a mold-resistant primer and paint to complete the repair process.
Remember to follow all safety precautions, including wearing protective gear, and ensure adequate ventilation during the repair process for a successful restoration of your drywall.
Preventing Future Mold Growth
To effectively prevent future mold growth in your residential drywall, meticulous attention to moisture control is crucial. Mold thrives in damp environments, so keeping your drywall dry is essential. Here are some expert tips to help you prevent mold from reappearing:
Maintain Proper Ventilation: Ensure good airflow in your home by using exhaust fans in areas prone to moisture, such as bathrooms and kitchens. Proper ventilation helps reduce humidity levels, making it challenging for mold to grow.
Fix Water Leaks Promptly: Any leaks in your plumbing or roof should be addressed promptly. Even minor leaks can create the ideal conditions for mold growth.
Regularly inspect your home for any signs of water damage and address them promptly.
Monitor Indoor Humidity Levels: Invest in a hygrometer to measure the humidity levels in your home. Ideally, indoor humidity should be kept below 60%. If it consistently exceeds this level, consider using a dehumidifier to regulate moisture levels.
Proper Ventilation Practices
Proper airflow practices play a vital role in maintaining a healthy indoor environment and preventing mold growth in your residential drywall. Adequate circulation helps control moisture levels, reducing humidity and expelling stagnant air from your living spaces.
To ensure effective airflow, consider using exhaust fans in areas prone to high moisture, such as bathrooms, kitchens, and basements. These fans assist in removing excess humidity and preventing moisture buildup on your drywall surfaces.
Furthermore, opening windows and doors periodically can encourage air movement and prevent still air from lingering in your home. This straightforward practice can improve airflow and reduce the likelihood of mold growth on your drywall.
Additionally, utilizing a dehumidifier in damp areas can help in maintaining ideal humidity levels, further safeguarding your drywall against mold infestations.
Regularly inspecting and cleaning your ventilation systems is essential for their proper functioning. Dust, dirt, and debris can accumulate in vents, hindering airflow and diminishing air circulation efficiency. By keeping your ventilation systems clean and well-maintained, you can ensure that they continue to support a healthy indoor environment and inhibit mold growth on your residential drywall.
Incorporating these proper airflow practices into your routine maintenance can greatly contribute to mold prevention and the overall well-being of your home. By prioritizing airflow, you proactively protect your residential drywall and create a healthier living environment for you and your family.
Using Mold-Resistant Materials
Incorporating mold-resistant materials is essential to enhance the resilience of your residential drywall against mold growth. When selecting materials for your drywall, opt for those specifically designed to inhibit mold growth. Here are some key considerations to keep in mind:
Choose Mold-Resistant Drywall: Opt for drywall that’s specifically formulated to resist mold. This type of drywall has additives that make it less susceptible to mold growth, providing an extra layer of protection for your walls.
Utilize Mold-Resistant Joint Compound: When finishing your drywall, make sure to use joint compound that’s mold-resistant. This compound helps seal the seams and corners of your drywall, preventing moisture from seeping in and creating an environment conducive to mold growth.
Install Mold-Resistant Insulation: Insulating your walls with mold-resistant materials can help prevent mold growth within the wall cavities. Look for insulation products that are designed to resist mold and moisture, creating a barrier against potential mold development.
Post-Remediation Inspection
Enhancing the mold resistance of your residential drywall through the use of mold-resistant materials sets the foundation for a successful remediation process. Once the mold remediation is completed, a critical step is the post-remediation inspection. This examination is essential to ascertain that the remediation was effective and that your home is now mold-free.
During the post-remediation inspection, a qualified mold remediation specialist will carefully examine the treated areas to evaluate the success of the remediation process. They’ll search for any indications of remaining mold growth, water damage, or moisture issues that could lead to future mold problems.
This thorough examination helps to confirm that the mold has been effectively removed and that the underlying cause of the mold growth has been addressed.
Moreover, air quality testing may be conducted to ensure that the indoor air is free of mold spores and other contaminants. This step is crucial for creating a healthy living environment for you and your family.
Final Thoughts
You have successfully navigated the intricate web of residential drywall mold remediation techniques, emerging as a skilled expert in the field. Like a diligent detective solving a complex puzzle, you have uncovered and eradicated the mold, leaving behind a clean and pristine environment. Your attention to detail and professionalism have transformed a once-contaminated space into a safe and healthy haven for all who inhabit it.


