Contents
When dealing with mold after water damage, it’s essential to understand the growth conditions and effective removal strategies. You can often manage minor infestations with simple, cost-effective DIY methods. However, recognizing when to call in professionals is equally important. By implementing preventative measures, you can greatly reduce the risk of future mold issues. Exploring financial assistance options can further ease the burden of remediation costs. What strategies will you consider to tackle this challenge?
Key Takeaways
- Use a vinegar and water mixture to effectively clean mold spores without expensive chemical solutions.
- Create a baking soda paste to scrub stubborn mold spots on surfaces.
- Apply a 3% hydrogen peroxide solution, letting it sit before wiping clean, for effective mold removal.
- Maintain indoor humidity levels between 30% and 60% to prevent future mold growth and reduce remediation costs.
- Check for financial assistance programs, such as homeowner’s insurance or local grants, to help cover remediation expenses.
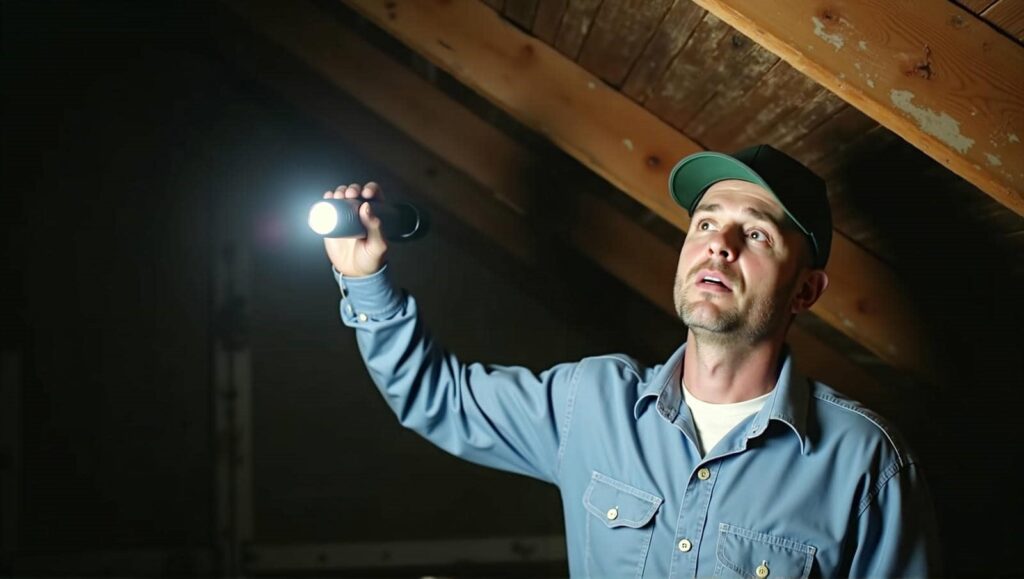
Understanding Mold Growth After Water Damage
When water damage occurs, understanding how mold grows is essential for effective remediation. Mold thrives in damp environments, beginning its lifecycle with spores that require moisture to germinate. Once the humidity levels rise, these spores can quickly develop into mold colonies. This process emphasizes the importance of moisture control; by reducing humidity and promptly addressing leaks or water accumulation, you can greatly hinder mold growth.
To manage the mold lifecycle effectively, you need to monitor areas prone to moisture, such as basements and bathrooms. Regularly inspecting and maintaining these spaces helps you catch potential problems before they escalate.
If you notice any signs of mold, act quickly to mitigate the situation. Knowledge about mold growth empowers you and fosters a sense of belonging in a community that values health and safety. Taking these steps enhances your home’s environment and protects your loved ones from potential health risks.
Cost-Effective DIY Mold Removal Techniques
While tackling mold removal might seem intimidating, employing cost-effective DIY techniques can be both manageable and rewarding.
Start by creating simple home remedies using common household items. A mixture of vinegar and water serves as a powerful cleaning solution, effectively killing mold spores. Spray it on affected areas, let it sit for an hour, and wipe away.
For tougher spots, a paste made from baking soda and water can help scrub away stubborn mold. Just apply it to the area, scrub gently, and rinse with water.
Hydrogen peroxide is another effective option; use a 3% solution, spray it on, and let it sit for about 10 minutes before wiping clean.
Always wear gloves and a mask while cleaning to protect yourself.
When to Consider Professional Mold Remediation
Even after employing effective DIY mold removal techniques, some situations may warrant the expertise of professional mold remediation services.
If you notice persistent mold growth despite your efforts, it’s essential to contemplate a professional mold inspection. These experts can identify hidden mold and assess the extent of the infestation, which mightn’t be visible to the naked eye.
Additionally, if you or your family members experience health risks, such as respiratory issues or allergic reactions, it’s time to call in the professionals. Mold can pose serious risks, especially for vulnerable individuals, including children and the elderly.
Lastly, if the mold covers a large area or is caused by extensive water damage, tackling it alone could be overwhelming and ineffective.
Trusting professionals ensures thorough removal and provides peace of mind, knowing that you’ve addressed the problem safely and effectively.
Preventative Measures to Avoid Future Mold Issues
To effectively prevent future mold issues, it’s essential to maintain a dry and well-ventilated environment in your home.
Start by monitoring indoor humidity levels; ideally, they should stay between 30% and 60%. Use dehumidifiers in damp areas like basements and bathrooms to achieve humidity control.
Next, check for leaks in pipes, roofs, and windows, as these can create moisture pockets that foster mold growth.
Make certain your home is well-ventilated by opening windows when the weather permits and using exhaust fans in kitchens and bathrooms.
Regularly clean and maintain areas prone to mold, such as shower curtains and refrigerator drip pans, to support mold prevention.
Additionally, consider using mold-resistant products in your home, especially in high-moisture areas.
Financial Assistance and Resources for Mold Remediation
Maintaining a mold-free environment is important, but when mold does occur, remediation can strain your finances. Fortunately, there are several resources available to help ease this burden.
First, check if your homeowner’s insurance includes coverage for mold damage; many policies do cover remediation costs under specific circumstances. Understanding your policy can save you significant expenses.
Additionally, consider exploring local grant programs aimed at disaster recovery or home improvement. These programs often provide financial assistance to homeowners facing mold issues, especially after water damage.
Community organizations and government initiatives may also offer low-interest loans or subsidies for remediation efforts.
Engaging with these resources helps you manage costs and connects you with a network of support. By utilizing available financial assistance, you can effectively tackle mold remediation without overwhelming your budget.
Frequently Asked Questions
Can Mold Return After DIY Removal Efforts?
Yes, mold can return after DIY removal efforts if you don’t address underlying moisture issues. DIY techniques may eliminate visible mold, but mold spores can remain, leading to regrowth if conditions aren’t managed properly.
How Long Does It Take for Mold to Grow After Water Damage?
Mold growth timeline varies, but you can expect mold to start developing within 24 to 48 hours after water damage. Factors like humidity, temperature, and material type greatly influence how quickly mold appears.
What Are the Health Risks Associated With Mold Exposure?
Mold exposure can lead to various health effects, including respiratory issues, allergies, and skin irritations. You might experience mold symptoms like coughing, sneezing, or fatigue, which can greatly impact your overall well-being and daily life.
Are There Specific Materials That Promote Mold Growth?
Think of mold as an unwelcome guest thriving in damp corners. You’ll find materials like wood, drywall, and fabric can promote mold growth without proper moisture control. Maintaining dry environments is essential for a healthy home atmosphere.
Is Bleach Effective for Mold Removal?
Bleach can kill mold spores on non-porous surfaces, but it doesn’t penetrate porous materials effectively. For long-lasting results, you’ll need to contemplate alternatives that address the root cause of mold growth.
Summary
Tackling mold after water damage doesn’t have to drain your wallet. By employing budget-friendly DIY techniques and staying vigilant about moisture levels, you can keep mold at bay like a knight guarding a castle. Don’t forget to explore financial assistance options if professional help becomes necessary. With these strategies, you’ll reclaim your home and breathe easier, knowing you’ve effectively shielded your living space from the lurking threat of mold.