Contents
Many homeowners who delay roof water-damage repairs face secondary structural issues, and you can avoid that spiral by acting fast. When you spot leaks, stains, or sagging, you need a certified roofer to assess the damage before moisture reaches insulation, framing, or mold-prone areas. The real question is how far the water has already traveled.
Key Takeaways
- Document leaks, move valuables, contain water, and call a certified roofer and insurer immediately.
- Look for active leaks, sagging sections, missing shingles, stains, mold, odors, and damp attic insulation.
- Water can spread into decking, framing, insulation, and fasteners, causing hidden structural damage.
- A certified inspector traces leak sources, measures moisture, and repairs the roof before testing for leaks.
- Certified repairs use proper materials and warranties, reducing mold risk, safety hazards, and long-term costs.
What to Do After Roof Water Damage
After roof water damage, you should act quickly to limit structural deterioration and prevent mold growth.
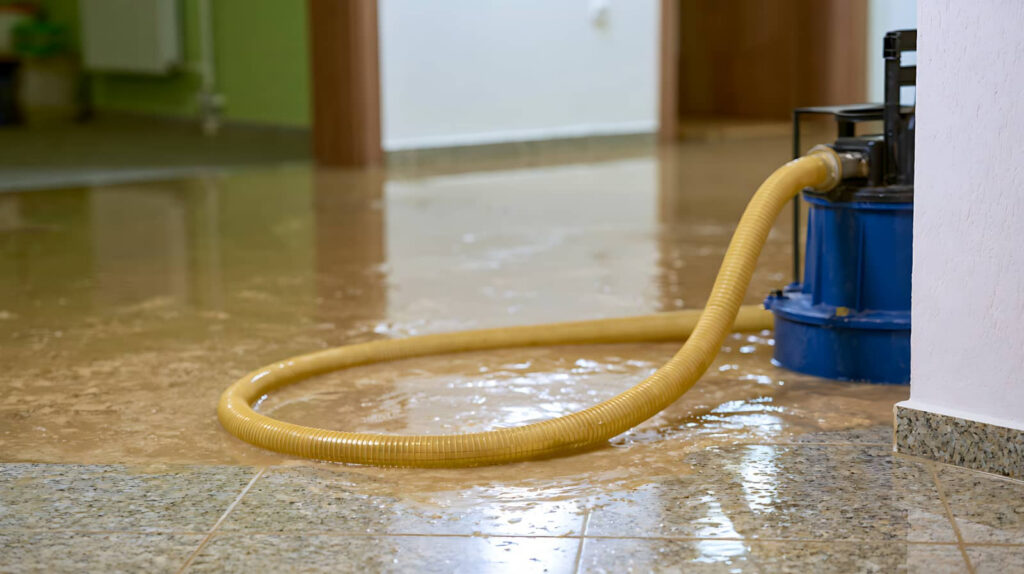
First, document the affected areas with photos and notes, then contact a certified roofer for an emergency response assessment. You should move valuables away from leaks, contain water with buckets, and shut off power to compromised zones if moisture reaches fixtures.
Next, notify your insurer and begin insurance claims promptly, using clear records to support coverage review. You’ll protect your home and stay aligned with a reliable recovery process when you coordinate with professionals who understand roof systems, moisture intrusion, and repair sequencing.
Dry accessible surfaces, ventilate the space, and avoid disturbing saturated materials until your roofing team evaluates the extent of damage and recommends the safest corrective action.
Signs Your Roof Needs Immediate Repair
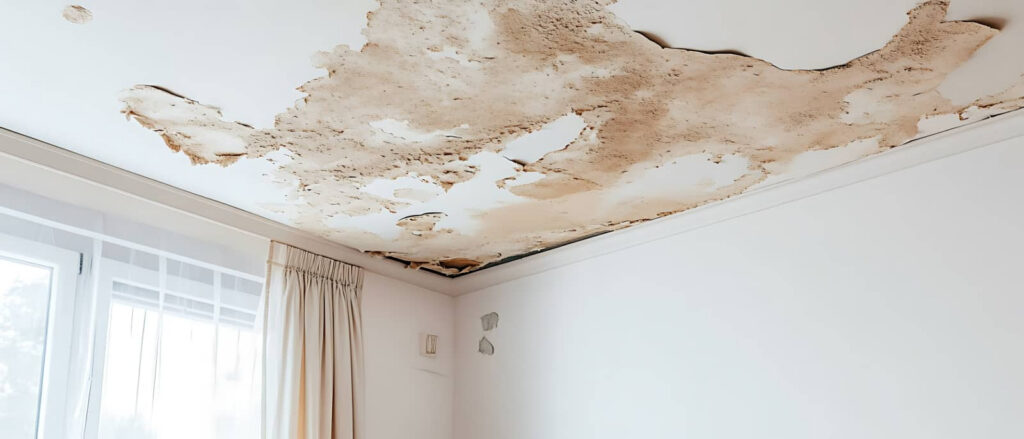
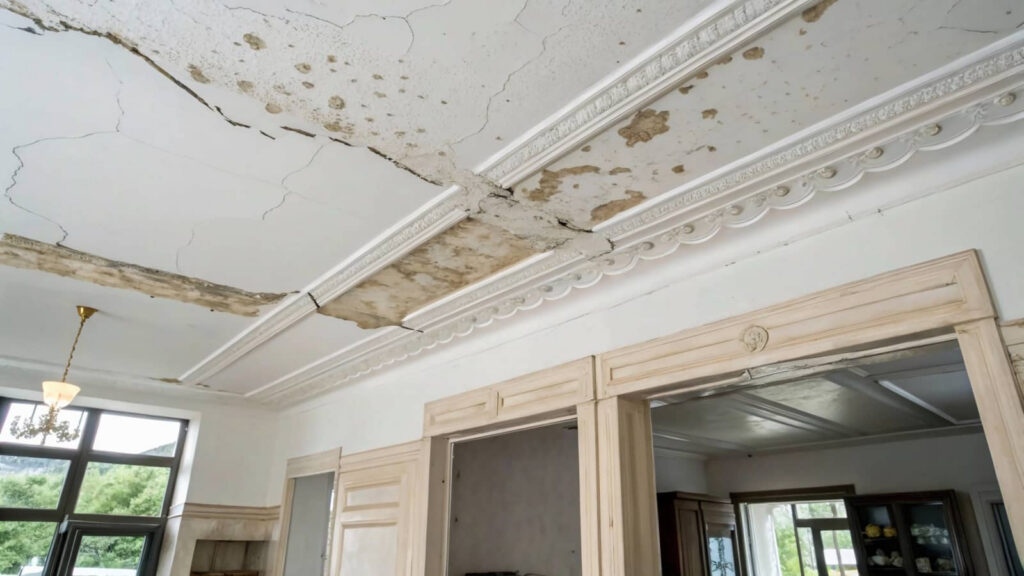
If you notice active leaks, sagging roof sections, missing or curled shingles, exposed underlayment, or water stains spreading across ceilings and walls, your roof needs immediate repair. You should treat these indicators as structural warnings, not cosmetic issues.
Check flashing, valleys, and penetrations for separation, corrosion, or punctures that can compromise leak prevention. Inside, monitor attic insulation for dampness, mold odor, and localized discoloration, which signal failed protection above.
During routine roof maintenance, document changes after storms and compare them against prior inspections so you can act before damage escalates. You belong to a homeowner group that values timely response, and quick intervention helps preserve safety, efficiency, and repair costs.
If you’re unsure, schedule a certified inspection promptly; precise diagnosis protects your home and keeps your roofing system performing as designed.
How Roof Water Damage Spreads
Once water breaches your roofing system, it rarely stays localized. You may see water intrusion at one point, but it can wick along decking seams, travel under shingles, and migrate into insulation, fasteners, and framing.
Capillary action and gravity move moisture into hidden cavities, where it spreads beyond the visible stain. Temperature changes can force trapped water to expand and contract, widening pathways and accelerating deterioration.
If you delay damage assessment, saturation can compromise structural members and reduce thermal performance. You also increase the chance that materials will remain damp long enough for decay to advance.
For homeowners who want a safe, reliable roof, quick action matters. The sooner you address the source, the less likely the problem will spread through your system and your home.
What Roof Inspectors Check After Water Damage
You’ll see roof inspectors trace visible leak paths to identify where water entered and how it moved through the assembly.
They’ll also check for structural moisture damage in decking, framing, insulation, and fasteners to determine the extent of deterioration.
These findings help you prioritize repairs and prevent hidden damage from progressing.
Visible Leak Paths
Roof inspectors trace visible leak paths by following the water’s most recent travel route, from the interior stain or drip point back to the roof assembly.
You’ll see them map the entry line across shingles, flashing, penetrations, valleys, and fasteners, because each clue sharpens leak detection. They check whether seams opened, sealants failed, or debris redirected runoff under moisture barriers.
You should expect a careful review of adjacent surfaces, since water often tracks along edges before showing inside. Inspectors document each visible route, compare it with the roof slope, and confirm where the source sits relative to the damage pattern.
That process helps your team align repairs with the true entry point, so you can restore performance with confidence and belong to a well-informed, proactive maintenance plan.
Structural Moisture Damage
Structural moisture damage shows up when water has reached framing, sheathing, insulation, or decking and started to weaken the roof assembly.
You need an inspector to trace moisture sources, measure saturation, and verify whether hidden leaks have compromised structural integrity. They’ll probe for soft spots, delamination, staining, mold growth, rusted fasteners, and warped members, because these signs show the roof can’t shed load as designed.
You should expect close review of attic bays, trusses, fascia, and roof edges where water often migrates.
When damage is isolated, targeted drying and replacement may restore performance; when it’s widespread, you may need certified repairs to protect the full system.
That approach helps you stay confident your roof belongs to a safe, durable home.
How to Repair Roof Water Damage
You should first assess the full extent of the water damage by checking decking, underlayment, flashing, shingles, and any visible structural deterioration.
Once you’ve identified the affected areas, you can repair leaks by replacing damaged materials, resealing penetrations, and restoring proper flashing details.
You should verify that each repair stops active moisture intrusion and maintains the roof’s weatherproofing performance.
Assess Damage
Before any repairs begin, inspect the roof carefully to locate the full extent of the water damage and determine what materials need replacement.
You should document stained decking, warped shingles, saturated insulation, and soft sheathing with photos and notes.
Check the attic, underlayment, flashing, and fasteners for hidden moisture or corrosion. Use a moisture meter to confirm affected areas, and compare findings with recent weather events to identify the source pattern.
If you’re filing insurance claims, keep your records organized and timestamped.
Expert assessments can verify structural impact, support claim accuracy, and help you feel confident in the repair plan.
You’re not just spotting damage; you’re building a clear, shared baseline for safe, code-compliant restoration with your roofing team.
Repair Leaks
Seal the leak source first, because any repair will fail if water can still enter the roof assembly.
You should trace staining, damp insulation, and fastener corrosion to pinpoint the breach with careful leak detection. Once you locate it, clean the area, remove failed sealant, and dry all substrates fully.
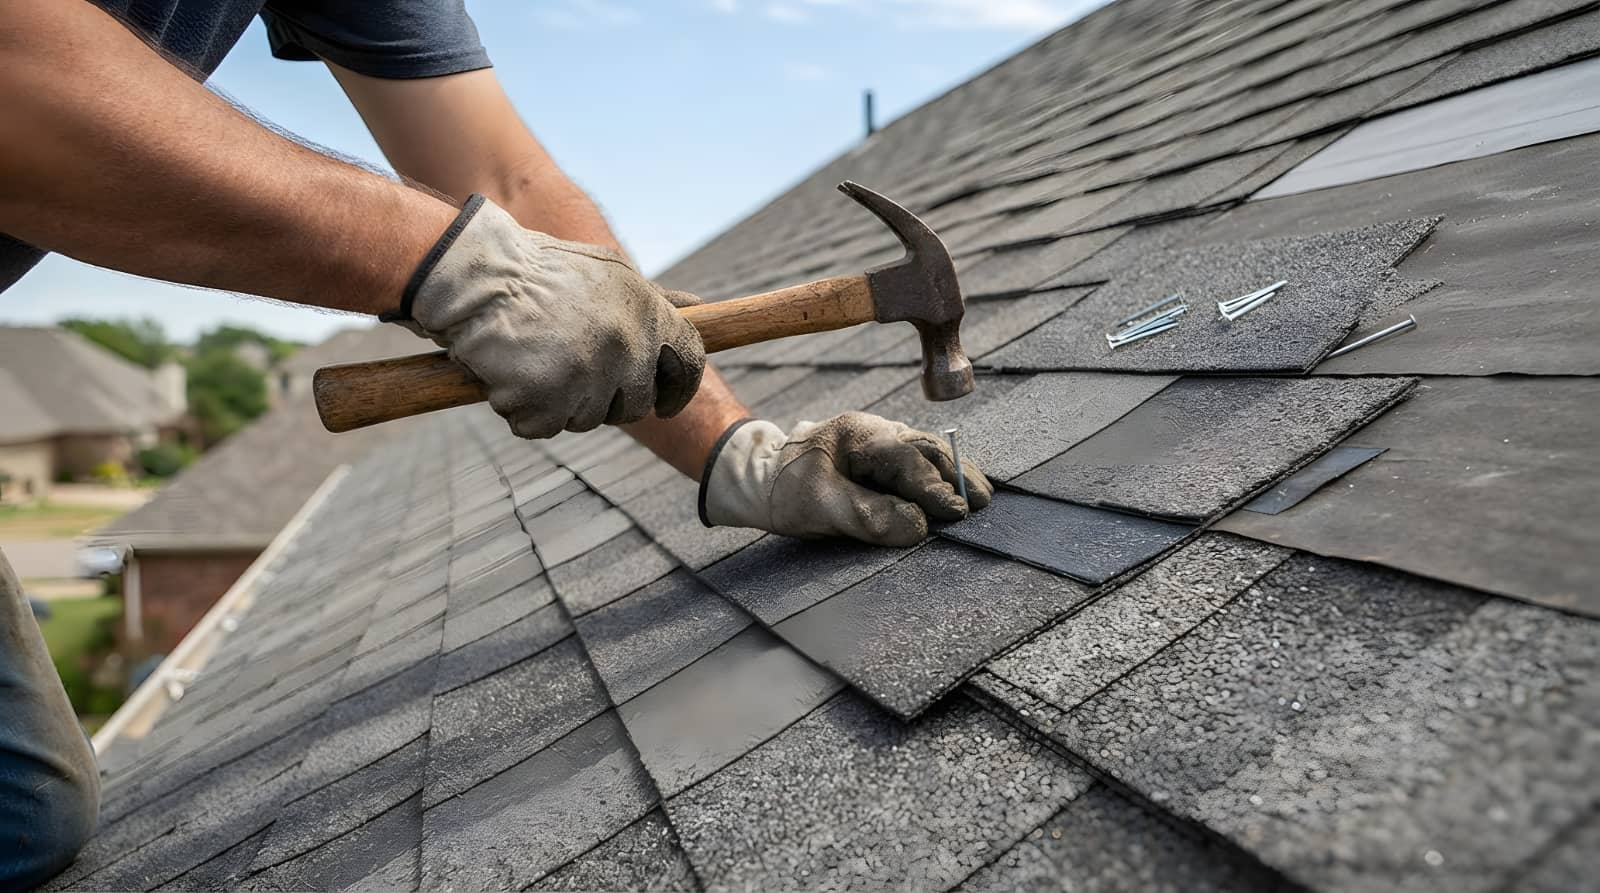
Then apply the right repair techniques for your roof type: replace damaged shingles or membrane sections, reseal flashing, tighten or swap fasteners, and reinforce seams with compatible patch material.
If decking has softened, cut it out and install new sheathing before closing the opening.
You’re not just fixing a defect; you’re restoring a dependable barrier that keeps your home’s structure and your crew’s confidence intact.
Verify the repair with a hose test and monitor the area after the next storm.
How to Prevent Future Leaks and Mold
To prevent future leaks and mold, inspect the roof regularly for damaged shingles, failed flashing, clogged gutters, and ponding water, then correct issues as soon as they appear.
You should keep drainage systems clear so water moves off the roof quickly and never backs up under materials. Schedule routine roof maintenance after storms and before seasonal weather changes, and document every repair so your team stays aligned.
Check attic insulation, ventilation, and soffits for moisture, staining, or musty odors, because trapped humidity can spread mold fast. Seal penetrations around vents, skylights, and chimneys with compatible products.
When you act early, you protect your home, support the crew’s work, and stay part of a safer, healthier property.
Frequently Asked Questions
Does Homeowners Insurance Cover Certified Roof Repair After Water Damage?
Usually, yes, if your policy covers sudden water damage. You’ll need to file insurance claims quickly, document the roof damage, and confirm your insurer approves certified repairs; gradual leaks often aren’t covered.
How Long Does Certified Roof Repair Usually Take After a Leak?
Usually, you’ll spend one to three days on the repair process after a leak, depending on leak assessment results, roof size, and damage extent. You’ll stay informed, coordinate well, and restore your property efficiently.
Can Certified Roof Repair Be Done During Rainy Weather?
Yes, you can sometimes get certified roof repair during rainy weather, but only for emergency repairs. You’ll need favorable weather conditions for lasting work, and you’re not left out—your contractor should keep you informed.
Do I Need a Permit for Certified Roof Repair After Water Damage?
You’ll often need a permit for roof repair after water damage, depending on roofing regulations and permit requirements. You should check with your local building department, because rules vary and you’ll stay compliant within your community.
How Do I Choose a Certified Roof Repair Contractor?
You’ll choose a certified roof repair contractor by verifying contractor qualifications, licensing, insurance, and references. Compare estimates, inspect past work, and confirm a clear repair warranty, so you feel confident, informed, and included in the process.
Wrap-Up
So, after water damage, you should definitely admire the roof’s dramatic performance from the safety of dry flooring. Then document the leak, call a certified roofer, and let a proper inspection uncover the hidden chaos before mold and rot send in their encore. Timely repairs, quality materials, and routine maintenance keep your roof doing its one job: protecting your home instead of auditioning for failure.