Contents
When facing the aftermath of water damage on your drywall, the journey to restoration begins with a thorough examination of the affected areas. However, before you start the repair process, there are essential expert tips that can make a significant difference in the outcome. These tips range from evaluating the extent of the damage to carrying out meticulous repairs with precision and care. Stay tuned to discover the insider secrets that can help you navigate the intricacies of water-damaged drywall repair effectively.
Assessing the Water Damage
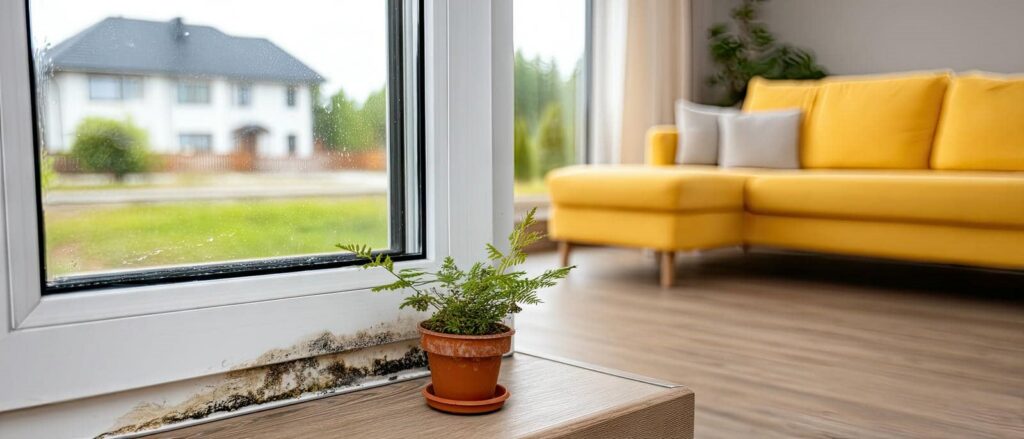
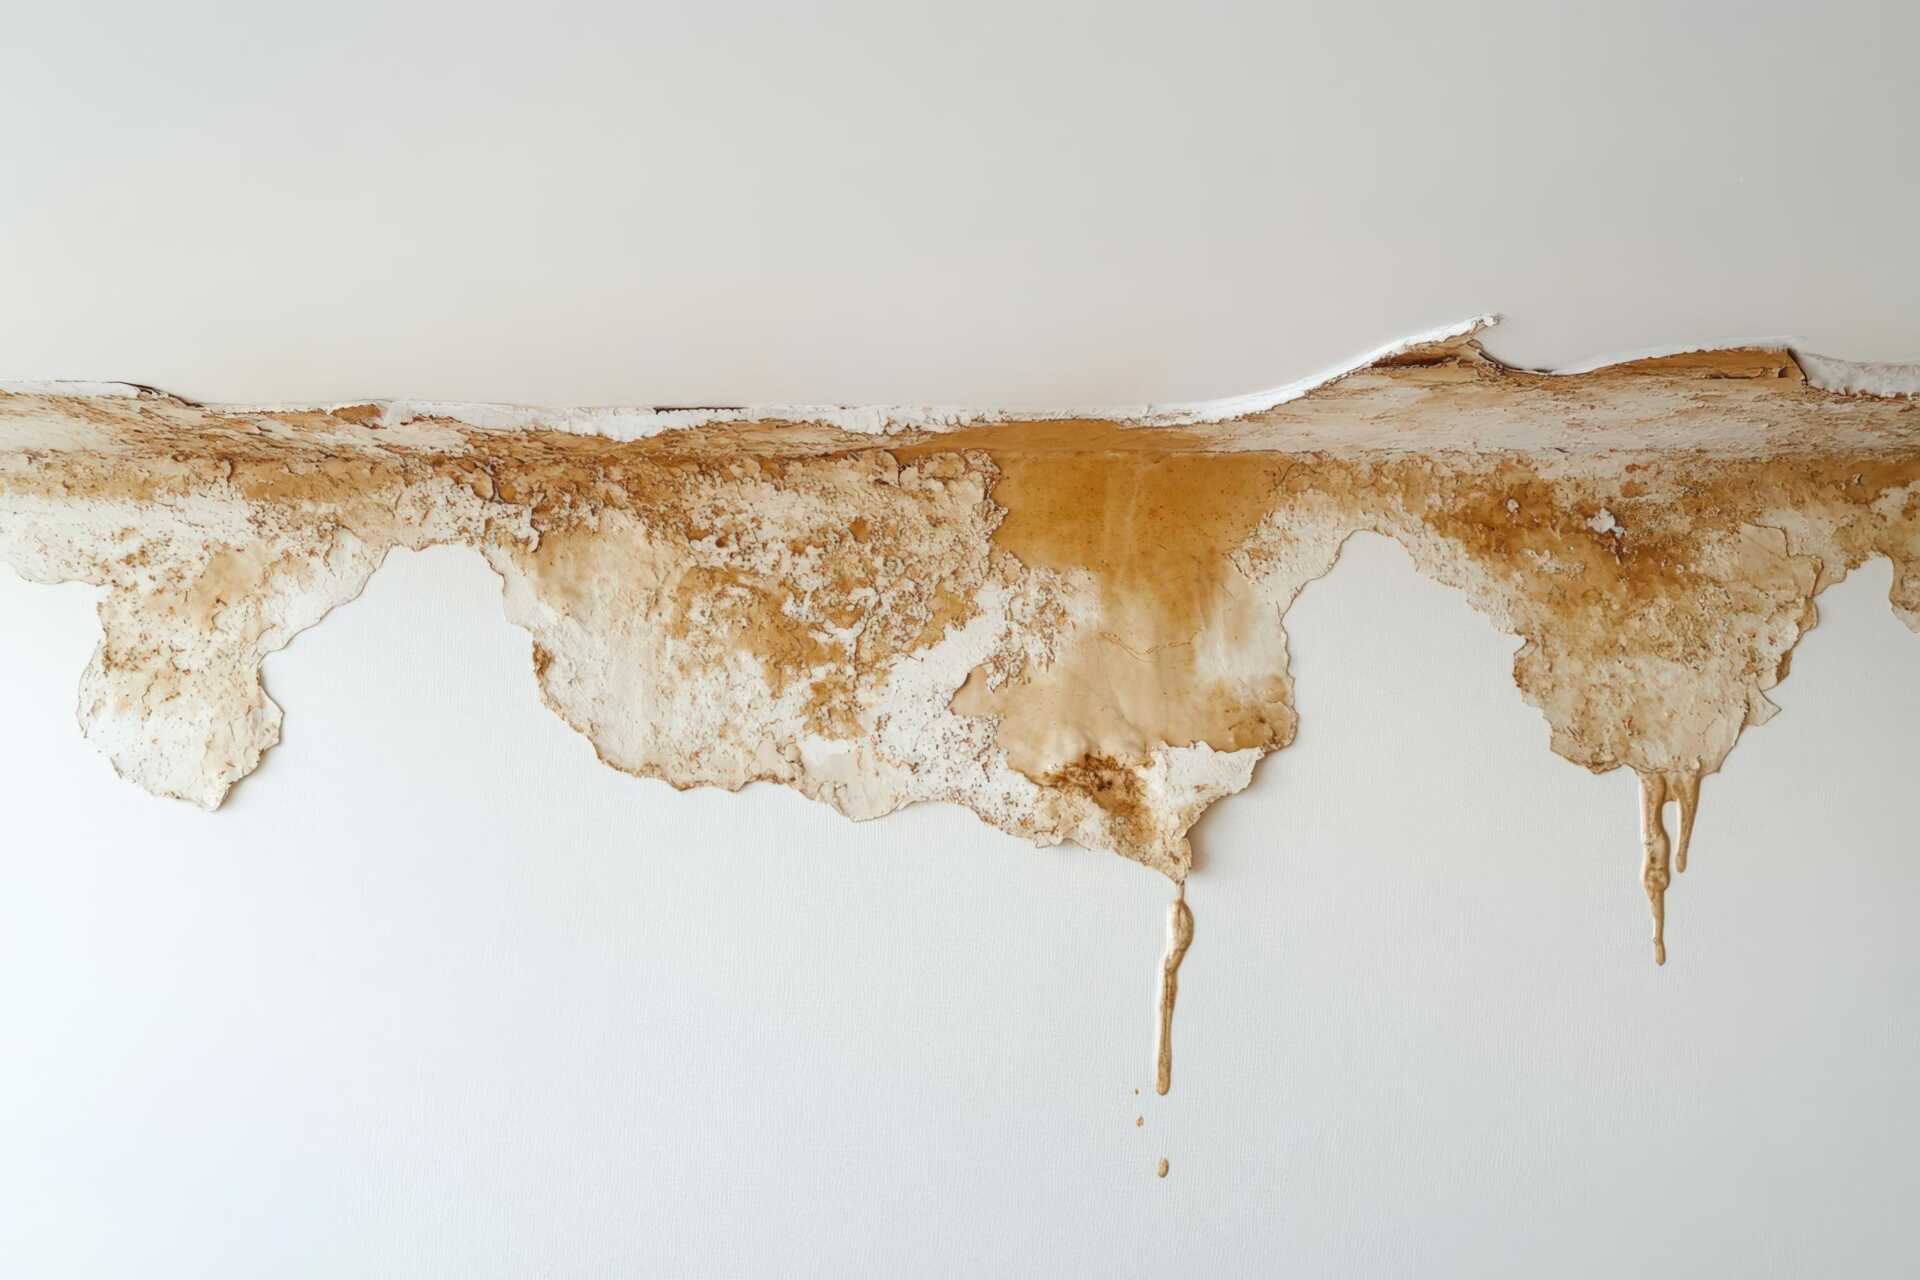
When evaluating water damage on drywall, the first step is to thoroughly inspect the affected area for any signs of moisture. Begin by visually examining the walls or ceilings for discoloration, bubbling, or peeling paint, as these are common indicators of water infiltration. Use a moisture meter to detect any hidden moisture levels within the drywall. Pay close attention to areas near plumbing fixtures, windows, or roofs, as these are more prone to leaks.
Next, gently press on the drywall to check for soft spots or sagging, which could be a sign of water damage weakening the structure. If the drywall feels soft or crumbles upon touch, it may need to be replaced to ensure the integrity of the wall.
Additionally, look for any musty odors, which can indicate the presence of mold due to prolonged moisture exposure.
Take note of the extent of the damage, whether it’s localized or widespread. Assess if the water damage has affected the insulation behind the drywall, as this may necessitate additional repairs. Document the damage thoroughly with photographs for insurance claims and future reference.
Determining the Scope
To determine the scope of repairing water-damaged drywall, start by thoroughly evaluating the extent of the water damage. This involves understanding the repair needs, such as identifying areas that require patching or replacement. By examining the damage thoroughly, you can develop a clear plan of action to restore the drywall effectively.
Assessing Water Damage
Examining water-damaged drywall demands a meticulous eye and understanding of the potential seriousness of the situation. When evaluating water damage, start by checking the extent of moisture absorption. Look for visible signs such as discoloration, peeling paint, or a musty odor.
Use a moisture meter to detect hidden moisture levels within the drywall. Pay attention to the texture – bubbling, warping, or soft spots indicate significant water saturation. Evaluate the affected area’s size and location; damage near electrical outlets or in large sections may require professional intervention.
Additionally, consider the duration of exposure to water; prolonged exposure increases the likelihood of mold growth and structural weakening. Document your findings through photographs and detailed notes to aid in the repair process. Understanding the full scope of the water damage is critical for determining the necessary repairs and ensuring the restoration of your drywall to its pre-damaged state.
Understanding Repair Needs
Evaluating the repair requirements of water-damaged drywall involves a thorough inspection to determine the extent of the damage and the necessary steps to restore it. Understanding the scope of the repair is important to make sure a successful restoration process. Here is a breakdown to help you assess the repair needs effectively:
| Damage Type | Extent | Repair Action |
|---|---|---|
| Water Stains | Limited to surface | Spot priming and painting may suffice |
| Softened Areas | Spongy to touch | Cut out damaged section, replace with new drywall |
| Swelling | Visible swelling | Cut out the affected area, dry thoroughly, and replace |
Removing Damaged Drywall
When dealing with water-damaged drywall, the first essential step is to carefully remove the affected sections. Begin by examining the extent of the damage. Look for any signs of water absorption, such as discoloration, warping, or soft spots. Use a utility knife to cut along the edges of the damaged area, ensuring clean lines for easier removal.
Next, gently pry off the damaged drywall using a pry bar or a hammer and a flathead screwdriver. Work slowly to avoid creating additional damage to the surrounding areas. Once the damaged section is removed, inspect the underlying structure for any signs of moisture or mold growth. Address any issues promptly to prevent further damage.
Be mindful of safety precautions during this process. Wear protective gear such as gloves, goggles, and a mask to shield yourself from potential hazards like mold spores or dust particles. Keep the work area well-ventilated to minimize exposure to airborne contaminants.
Dispose of the damaged drywall responsibly, following local regulations for waste disposal. Consider renting a dumpster for larger renovation projects or contact your local waste management facility for guidance on proper disposal methods.
Drying Out the Area
To effectively dry out the water-damaged area, utilize quick drying techniques such as using fans and dehumidifiers.
Adequate ventilation is vital in speeding up the drying process and preventing mold growth.
Ensure that the area is well-aerated to facilitate the evaporation of moisture and restore the drywall effectively.
Quick Drying Techniques
Utilizing effective quick-drying techniques is essential when addressing water-damaged drywall to prevent further structural issues and mold growth. To expedite the drying process, follow these expert tips:
Quick Drying Techniques
Table: Quick Drying Techniques
| Technique | Description |
|---|---|
| Air Circulation | Increase airflow by opening windows, using fans, and turning on dehumidifiers. |
| Dehumidification | Use dehumidifiers to remove excess moisture from the air, aiding in faster drying of the drywall. |
| Heat Application | Safely apply gentle heat with heaters to speed up evaporation of water trapped in the drywall. |
| Moisture Absorption | Place desiccant materials like silica gel or activated charcoal near the affected drywall area. |
| Monitoring Progress | Regularly check the drywall for signs of moisture and adjust drying techniques accordingly. |
Importance of Ventilation
Maximizing airflow is essential when addressing water-damaged drywall to expedite the drying process effectively. Proper air circulation helps remove excess moisture from the affected area, preventing the growth of mold and mildew. To enhance airflow, open windows and doors to allow fresh air to circulate.
Additionally, using fans and dehumidifiers can aid in speeding up the drying process.
Ensuring sufficient ventilation is vital in preventing further damage to the drywall and maintaining a healthy indoor environment. By creating a well-aerated space, you promote the evaporation of moisture trapped within the walls, reducing the risk of structural issues and potential health hazards.
Remember to check hidden spaces behind walls or in ceilings for trapped moisture, as these areas are prone to mold growth if not properly ventilated. By actively promoting airflow and ventilation in the water-damaged area, you contribute to a faster and more thorough drying process, ultimately aiding in the successful restoration of your drywall.
Prioritize ventilation to effectively dry out water-damaged drywall and prevent future complications.
Preventing Mold Growth
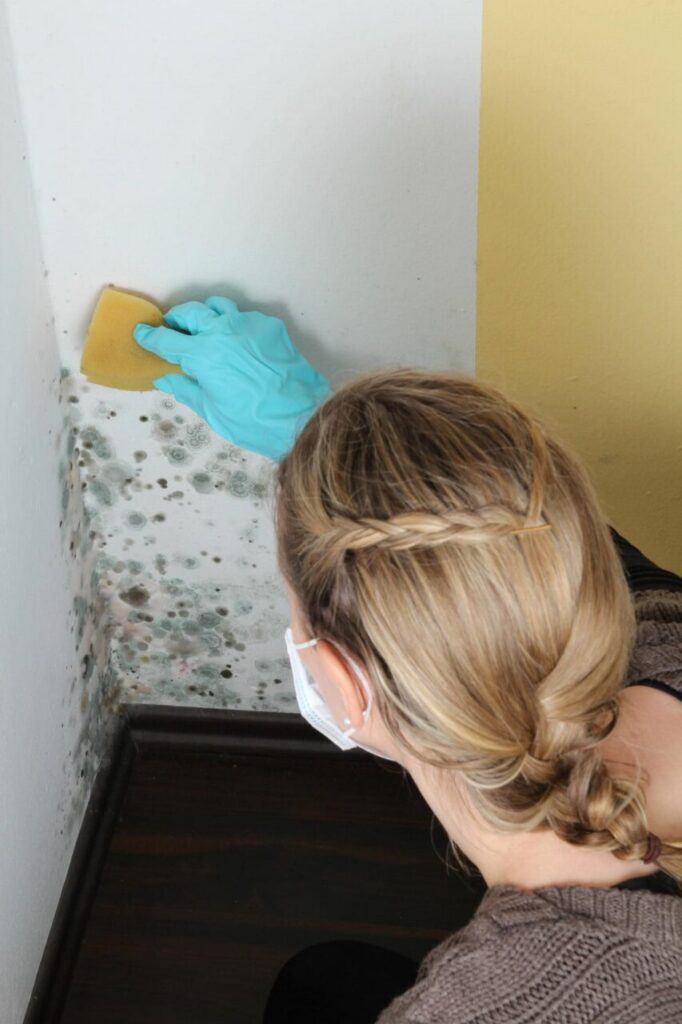
Preventing mold growth on water-damaged drywall is essential to maintaining a healthy indoor environment and avoiding costly repairs down the line. Mold thrives in damp environments, making it vital to address water damage promptly.
To prevent mold from taking hold on your drywall, follow these expert tips:
Dry Thoroughly: After water damage occurs, the first step is to dry the affected area thoroughly. Use fans, dehumidifiers, and open windows to promote air circulation and expedite the drying process.
Disinfect: Once the area is dry, disinfect it to kill any mold spores that may be present. Use a mixture of water and detergent or a commercial mold-killing solution to clean the affected area.
Monitor Humidity Levels: Keep an eye on indoor humidity levels, aiming to maintain levels below 60%. High humidity can create the perfect environment for mold growth.
Repair Leaks Promptly: Address any leaks in your plumbing or roof immediately. Even small leaks can lead to water damage and mold growth if left unresolved.
Repairing or Replacing Drywall
Repairing or replacing drywall that has been damaged by water is a crucial step in restoring the structural strength and aesthetics of your space. When addressing water-damaged drywall, the extent of the damage will determine whether repair or replacement is necessary.
Small areas of damage, like minor leaks, can often be repaired by cutting out the affected section and patching it with new drywall. This method is cost-effective and can blend seamlessly with the existing wall when done correctly.
However, if the drywall has been extensively soaked or shows signs of mold growth, it’s best to replace the entire sheet. This ensures that hidden moisture and mold are completely removed, preventing future issues.
When replacing drywall, be sure to match the thickness and type of the existing drywall to maintain consistency in your space.
Sanding and Smoothing
How do you ensure a smooth and professional finish when dealing with water-damaged drywall? Sanding and smoothing are essential steps in the repair process that can make a significant difference in the final appearance of your walls.
Start by using medium-grit sandpaper to smooth out any rough patches or uneven areas on the drywall surface. Be sure to wear a dust mask and protective goggles to keep yourself safe during this process.
After the initial sanding, apply a thin layer of joint compound over the repaired areas using a putty knife. Smooth out the compound with long, even strokes to create a flawless shift between the patch and the existing drywall. Allow the compound to dry completely before lightly sanding the area again to blend it with the surrounding wall.
For a professional finish, consider using a sanding sponge or sanding block to achieve a smoother surface. These tools can help you reach tight corners and uneven spots more effectively than traditional sandpaper. Remember to wipe down the sanded areas with a damp cloth to remove any dust particles before proceeding to the next step in the repair process.
Priming and Painting
To achieve a professional and long-lasting finish when dealing with water-damaged drywall, priming and painting are essential steps that shouldn’t be ignored. After sanding and smoothing the affected areas, priming becomes vital. Choose a primer specifically formulated for water-damaged surfaces to prevent any residual stains from seeping through the paint. This initial coat also secures better adhesion for the paint to follow.
When selecting paint, opt for high-quality latex paint with a satin or semi-gloss finish for better moisture resistance in areas prone to water exposure. Before painting, make sure the primed surface is completely dry to avoid any adhesion issues. Use a paint roller for large areas and a brush for corners and edges for a more even application.
Apply at least two coats of paint, allowing each coat to dry completely before applying the next. This enhances the color depth and provides an additional layer of protection against future water damage.
Once the final coat is dry, inspect the painted surface for any touch-ups needed to ensure a flawless finish. A well-primed and painted surface restores the aesthetic appeal of your walls and shields them from potential water damage in the future.
Final Inspections and Touch-Ups
Wondering if your water-damaged drywall repair job is truly complete? Final inspections and touch-ups are essential steps to ensure a smooth finish and long-lasting results. Here are some vital tips to guide you through this phase:
Thorough Examination: Take a close look at the repaired areas under different lighting conditions to spot any imperfections that might’ve been overlooked initially.
Even Surfaces: Run your hand over the repaired sections to feel for any rough patches or uneven areas that may require additional sanding or filling.
Paint Matching: Check the color consistency of the newly painted areas with the existing walls to ensure a seamless blend. Make adjustments if any noticeable differences are present.
Polished Finish: Wipe down the repaired and painted areas to remove any dust, debris, or smudges, giving your walls a refined look.
Wrap-Up
Now that you have expertly navigated the waters of water-damaged drywall repair, your project is nearing its completion. Like a skilled artisan shaping a masterpiece, you have carefully evaluated, removed, and restored with precision. The final touches of sanding, priming, and painting will bring your walls back to life, transforming them into a canvas of perfection. Your attention to detail and commitment to the process will ensure a smooth finish that shines like a beacon of expertise.