Contents
You may not know that flood cleanup starts before you touch any wet material, because hidden electrical and structural hazards can make the damage worse. You need to shut off utilities, document everything for claims, and remove standing water quickly. Then you can dry walls, check for mold, and decide what must be repaired or replaced—while a few hidden problems may still be waiting underneath.
Key Takeaways
- Act quickly: document damage, notify your insurer, and start pumping out standing water to limit mold and structural damage.
- Before reentry, shut off utilities if safe, wear protective gear, and check for hazards like live wires, gas leaks, and unstable debris.
- Remove debris, then dry the home thoroughly with fans, dehumidifiers, and ventilation once conditions are safe.
- Inspect for mold and hidden moisture, using moisture meters if needed, and discard materials that are saturated or contaminated.
- Replace damaged drywall, insulation, and framing only after everything is dry, sound, and verified safe for rebuilding.
Act Fast After Flood Damage
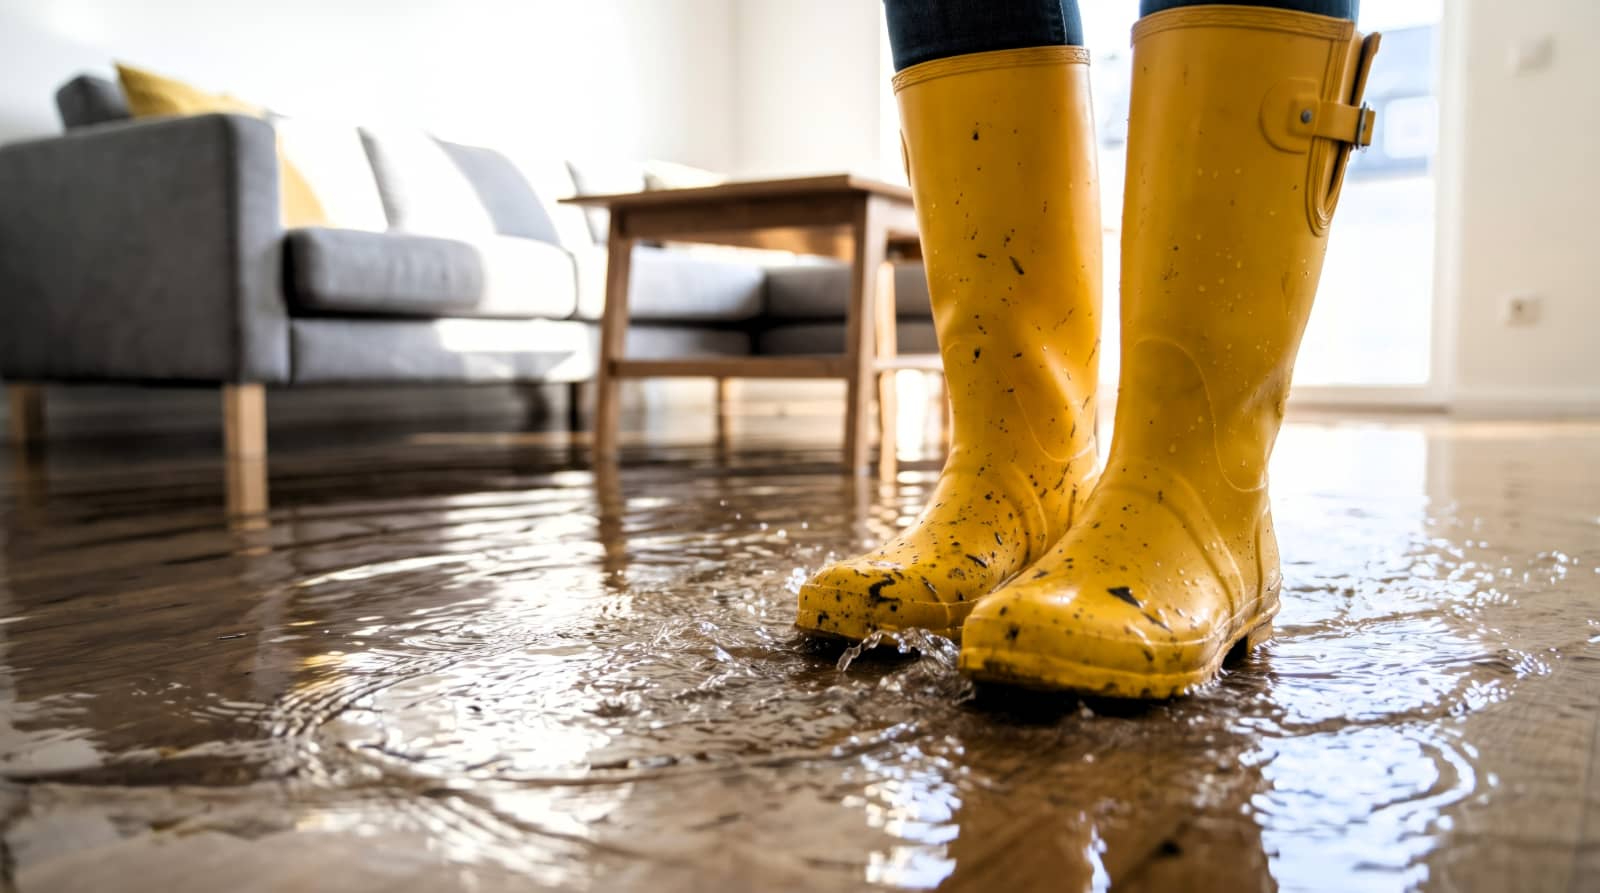
Act quickly after flood damage because every hour increases the risk of mold, structural deterioration, and contaminated materials spreading through the property.
You should document conditions, notify your insurer, and contact qualified restoration professionals right away. Remove standing water with pumps or wet vacuums, then start controlled drying with fans and dehumidifiers.
Separate salvageable items from porous materials that may need disposal, and label everything to keep your recovery organized.
Check your emergency contacts, review flood prevention strategies, and update emergency preparedness tips so your household can respond faster next time.
Stay connected with your team, follow their guidance, and keep records of all work, costs, and losses.
Fast action limits damage, protects health, and helps you restore your space with confidence.
Make the Area Safe to Enter
Before you reenter a flooded property, make sure the structure, utilities, and air are safe enough to work in. You’re part of a team that values smart safety precautions, so check for sagging ceilings, warped floors, and cracked walls before you step farther inside.
Use hazard identification to spot live wires, gas odors, and unstable debris. Shut off power and gas only if you can do it from a dry, secure location. Wear boots, gloves, and a respirator if mold or silt is present. Open windows and doors to improve ventilation, but avoid fans until electrical systems are cleared.
- Inspect entry points and load-bearing areas first
- Keep children and pets out
- Call professionals if you smell gas
Document Flood Damage for Claims
Once the space is safe to enter, document every sign of flood damage before you move or discard anything. Use your phone or camera to capture wide shots of each room, then close-ups of warped flooring, stained walls, soaked insulation, and damaged belongings. Include date and time stamps if your device allows them.
Keep a written log that notes the room, visible condition, and any odors or discoloration you notice. Save receipts, policy pages, and contractor notes in one folder so your insurance documentation stays organized.
For a clear damage assessment, sketch the layout and mark affected areas. Back up files to cloud storage and a drive. You’re not doing this alone; careful records help your claim speak clearly and support your next steps together.
Remove Standing Water and Debris
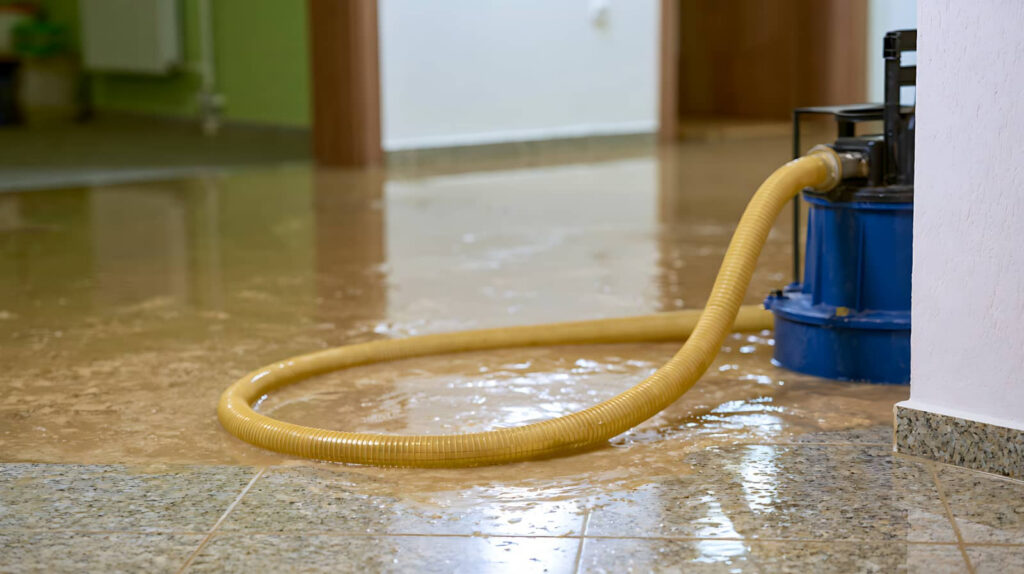
Start by removing standing water as quickly and safely as possible, using a wet/dry vacuum, pump, mops, or buckets as appropriate for the depth and volume. You’ll protect your home and your team by keeping the work area clear and controlled.
If water keeps returning, check drainage solutions like clogged gutters, blocked drains, or low spots outside and redirect flow away from the structure. As you work, sort debris into piles so you can lift and bag it efficiently.
- Wear gloves, boots, and eye protection.
- Shut off power to wet circuits before moving debris.
- Use sturdy bags or bins for contaminated material.
Keep water removal moving in a steady sequence: clear access, extract water, then haul away debris. That simple rhythm helps everyone stay organized and ready for the next step.
Dry Out Flood-Damaged Walls and Floors
Air circulation matters now: open windows and doors if weather allows, run fans and dehumidifiers, and keep them focused on walls, floors, and hidden cavities to pull moisture out fast.
For effective wall drying, lift baseboards, expose wet insulation, and check behind trim so trapped water can escape.
Use dehumidifier usage strategically: place units in the most humid rooms, empty reservoirs often, and monitor relative humidity until it drops near normal indoor levels.
Move air across surfaces, not at random, and keep furniture away from damp materials to improve airflow.
You’re not doing this alone; steady drying protects your home and helps your crew avoid warping, swelling, and mold-friendly conditions.
Inspect daily for cool, damp spots, then adjust equipment placement as needed.
Clean and Disinfect Flooded Surfaces
After floodwater recedes, you need to clean all affected surfaces before disinfecting them. Wear gloves, boots, and eye protection, then scrub hard surfaces with detergent and warm water to remove silt, grease, and debris.
Rinse well, because residue can weaken sanitation techniques and reduce disinfectant contact. Mix the disinfectant exactly as labeled, apply it to counters, walls, and fixtures, and keep surfaces wet for the full contact time.
Use these preventative measures to protect your team and keep your space safe.
- Clean from the least dirty area to the most contaminated area
- Use separate cloths for each room to avoid cross-contamination
- Dispose of single-use materials in sealed bags
Check for Mold and Hidden Moisture
After you clean and disinfect, inspect walls, baseboards, insulation, and subflooring for mold growth signs like musty odors, discoloration, and fuzzy or slimy patches.
You should also check hidden moisture with a moisture meter or infrared camera, especially behind cabinets, inside wall cavities, and under flooring.
If you find damp materials, dry them quickly or remove them so mold can’t spread.
Mold Growth Signs
Even when floodwater has receded, mold can start growing within 24 to 48 hours, so you should inspect all damp areas as soon as it’s safe to enter.
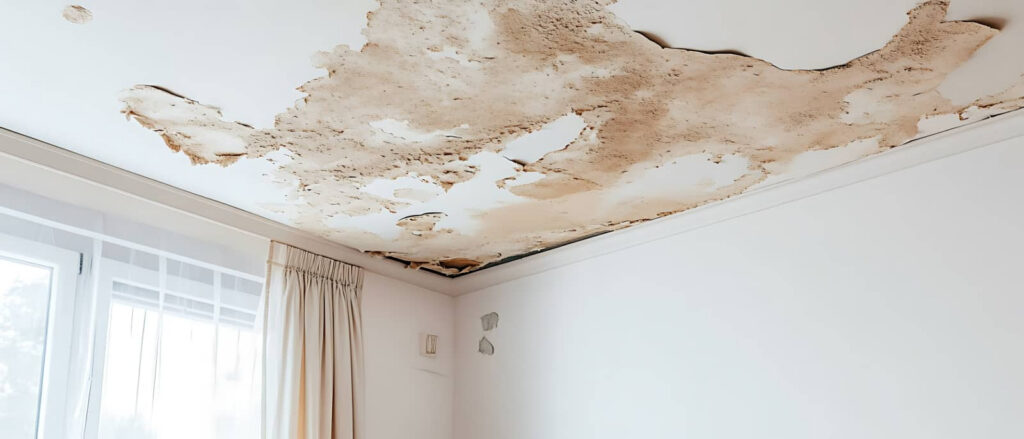
Look for fuzzy, slimy, or powdery patches on walls, trim, insulation, and stored items. Watch for musty odors, discoloration, and warped materials; these often signal active growth before you see spots.
Use mold prevention tips by drying affected surfaces quickly and keeping indoor humidity control below 60% with fans or dehumidifiers.
- Dark staining on drywall
- White, green, or black growth
- Persistent damp smell and peeling paint
If you notice these signs, isolate the area, wear protection, and document the damage so your cleanup team can act fast with you.
Hidden Moisture Checks
Visible mold is only part of the problem, so you’ll also need to check for hidden moisture in cavities, under flooring, and behind finishes.
Use a calibrated meter for moisture detection on drywall, baseboards, trim, and framing, then compare readings across the room to spot wet zones. If you can, remove a small section of damaged material to inspect insulation and subfloors.
Pay attention to cool surfaces, musty odors, and peeling paint, which often signal trapped water.
Create moisture mapping by marking test points on a simple floor plan so you can track drying progress and confirm that each area returns to normal.
When readings stay elevated, keep drying equipment running and recheck daily. This helps you protect your space and stay with your repair team.
Repair Damaged Framing and Support
Inspect the framing, joists, studs, and support members for warping, splitting, rot, and loss of structural integrity before you start any repairs.
You’ll want to brace compromised areas, then realign members so loads transfer safely through the structure. Use framing materials that match the existing size and grade, and fasten them with approved connectors and corrosion-resistant hardware.
Check for movement, soft spots, and gaps at joints as you work.
- Add temporary shoring to stabilize walls and floors.
- Sister damaged studs or joists where strength is reduced.
- Refasten loose connections to restore structural integrity.
Work methodically, and don’t overcut sound wood.
If you’re unsure a member still carries load, stop and get a qualified structural assessment so your team stays safe and your repair plan stays solid.
Replace Flood-Damaged Building Materials
You’ll need to remove any building materials that stayed saturated, broke down, or show mold growth, since they can’t be reliably dried or restored.
Replace wet insulation with new material only after the cavity is clean and dry, because trapped moisture lowers thermal performance and can support microbial growth.
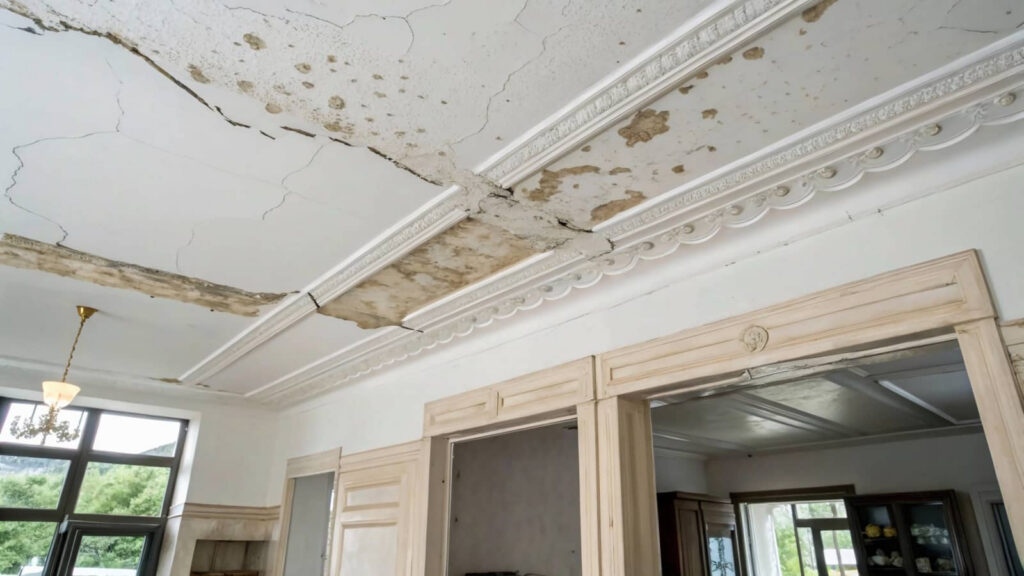
Then reinstall drywall where panels swelled, crumbled, or lost structural integrity, using properly sized replacement board and fasteners.
Remove Unsalvageable Materials
Cut out and discard any building materials that floodwater has soaked or contaminated, because they can trap moisture, grow mold, and weaken the structure.
During your salvage assessment, identify drywall, baseboards, carpet, and damaged trim that can’t be cleaned or dried safely. Mark each section, remove it with proper PPE, and keep pathways clear so your team stays coordinated. Use controlled demolition to avoid spreading debris or damaging framing.
- Bag small debris for material disposal immediately
- Separate salvageable pieces from contaminated waste
- Document removals for insurance and repair planning
If you’re unsure, treat the material as unsalvageable and remove it. Work methodically, and you’ll protect the rest of the home, support a smoother rebuild, and help your crew move forward together with confidence.
Replace Wet Insulation
Once you’ve removed soaked drywall and other contaminated finishes, check the insulation behind them and replace anything that got wet.
Fiberglass batts, cellulose, and spray foam all react differently, but any insulation that stayed saturated or held debris can lose performance and trap odors or microbes.
Wear gloves and a respirator, then pull the material from the cavity without tearing adjacent framing. Bag it immediately and keep the work area dry.
Inspect moisture barriers for punctures, gaps, or wicking; if they’re compromised, replace them before new insulation goes in.
Match the new insulation types to the cavity depth and local code, and install them snugly without compression.
When you do this carefully, you’re protecting your home and helping your crew move forward together with confidence.
Rebuild Damaged Drywall
Before you hang new drywall, verify that the framing is dry, sound, and free of mold. Then repair any warped studs, loose fasteners, or damaged nailers so the panels sit flat.
Choose moisture-resistant drywall materials for lower walls if the area still feels humid, and cut each sheet to leave small clearance gaps at the floor. Use corrosion-resistant screws, stagger joints, and tape only after the seams stay stable.
If you’re part of a cleanup crew, work methodically so everyone can trust the finish.
- Measure twice before cutting
- Apply proven repair techniques at joints
- Prime and paint after full drying
Hire Certified Flood Cleanup Help
When floodwater has soaked structural materials, you should hire certified flood cleanup professionals who can assess contamination, remove damaged components, and dry the building with industrial equipment.
They’ll test moisture levels, map hidden intrusion, and set up containment so spores and debris don’t spread. You get a safer workspace when certified professionals follow flood restoration protocols, document losses, and coordinate with insurers.
Ask for IICRC-trained crews, commercial dehumidifiers, HEPA filtration, and antimicrobial treatment matched to your materials.
They’ll also verify that framing, insulation, and subfloors reach acceptable dryness before you rebuild. That expert process helps you return to a healthier, code-ready space faster, and it lets you work with people who understand what your home and family need right now.
Frequently Asked Questions
How Soon Should Insurance Be Contacted After Flooding?
Contact your insurer immediately after flooding, ideally within 24 hours, so you can start insurance claims and document flood damage fast. You’ll protect coverage, speed assessment, and join others handling repairs confidently.
Can I Stay in My Home During Minor Flood Repairs?
Yes, you can stay home if repairs’re minor, like a bandage on a scrape, but only if you’ve taken safety precautions, kept utilities safe, and arranged temporary accommodations if mold, wiring, or structural damage appears.
What Items Are Too Damaged to Save After Flooding?
You’ll usually toss flood damaged electronics, soaked insulation, mattresses, and food. If wood furniture swells or warps, it’s often unsalvageable; salvageable furniture dries fast, cleans well, and shows no mold, odor, or structural weakness.
How Do I Protect Valuables Before Floodwater Rises?
Like a knight guarding a castle, you should move valuables to higher shelves, seal documents in waterproof bags, and elevate electronics. Follow flood preparedness tips and your emergency supplies checklist; you’ll protect what matters most.
Are Flood Cleanup Costs Tax-Deductible?
Sometimes, yes—your flood cleanup costs may qualify for flood deductions, depending on tax implications, insurance reimbursements, and whether the loss meets IRS rules. You’ll need records, itemized estimates, and timely filings to claim them.
Final Thoughts
Act quickly, because flood damage gets worse by the hour. In one day, mold can begin growing on wet materials, turning a cleanup into a health risk. You should make the site safe, document every loss, remove water, and dry structural components fast. Inspect hidden cavities, replace unsalvageable materials, and don’t hesitate to hire certified flood restoration pros. The faster you respond, the more you’ll reduce repair costs, structural damage, and long-term contamination.