How to Repair Garage Door Cable: A Comprehensive Guide
What to Expect from This Article on How To Repair a Garage Door Cable
- Garage doors are subject to wear and tear, and one of the most common problems they face is a broken cable.
- Safety precautions must be taken before attempting to repair a garage door cable, such as disconnecting the garage door opener, wearing safety gear, and using the right tools.
- To repair a garage door cable, the steps include opening the garage door, releasing the tension on the springs, removing the broken cable, installing the new cable, winding the springs, and testing the garage door.
- If you are not confident in your ability to repair the garage door cable, it’s advisable to seek the services of a professional garage door repair technician.
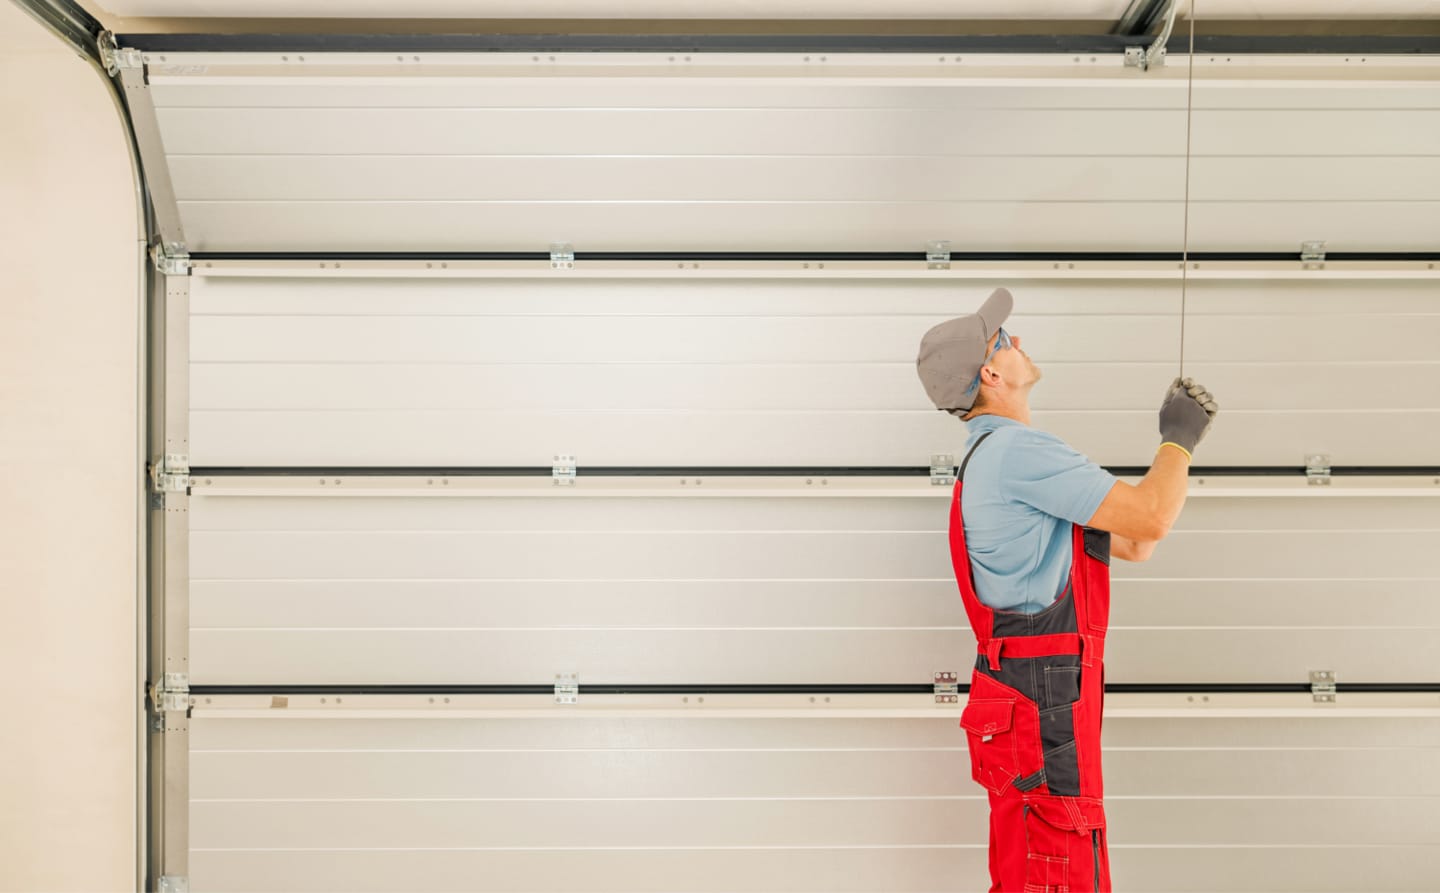
Garage doors are an essential component of most homes. They provide security, protect your vehicles and property, and add value to your property. However, garage doors are subject to wear and tear, which can result in malfunctioning. A broken cable is one of the most common problems that garage doors face. In this guide, we’ll take a look at how to repair garage door cables, including safety precautions that should be taken.
Safety First: Precautions to Take Before Repairing a Garage Door Cable
Before attempting to repair a garage door cable, it’s essential to take safety precautions to prevent injury or damage to your property. Here are some precautions to take:
- Disconnect the garage door opener: Before attempting any repair, ensure that the garage door opener is disconnected from the power source. This will prevent the door from opening or closing while you are working on it.
- Wear safety gear: It’s important to wear safety gear such as safety glasses, gloves, and sturdy shoes to prevent injuries from flying debris or falling objects.
- Use the right tools: You will need the right tools to repair the garage door cable. These may include pliers, cable cutters, a winding bar, and a ladder.
- Seek professional help: If you are not confident in your ability to repair the garage door cable, it’s advisable to seek the services of a professional garage door repair technician.
Tools You Will Need to Repair a Garage Door Cable
Having the right tools for the job is an essential part of repairing a garage door cable. Here are the tools you will need:
- Safety gear: Before attempting any repair, make sure you have safety gear such as safety glasses, gloves, and sturdy shoes to protect yourself from any possible injury.
- Pliers: You will need pliers to remove the cable from the bottom bracket and the drum.
- Cable cutters: To cut the new cable to the correct length, you will need cable cutters.
- Winding bar: The winding bar winds and releases the tension on the garage door springs.
- Ladder: You will need a ladder to access the garage door springs and cable drum.
- New cable: You will need a new cable to replace the broken one.
- Cable clips: Cable clips are used to secure the new cable in place.
Make sure that you have all the necessary tools before starting the repair. If you are missing any of these tools, you can purchase them at your local hardware store or online. Remember to wear your safety gear and take all the necessary precautions to prevent injury while working on the garage door cable.
Steps to Repair a Garage Door Cable
Once you have taken the necessary safety precautions, you can proceed to repair the garage door cable. Here are the steps to follow:
Step 1: Open the garage door
To repair the garage door cable, you will need to open the door. Use the garage door opener to open the door and ensure that it is fully open.
Step 2: Release the tension on the springs
The garage door springs hold the tension that lifts and lowers the door. Before attempting to repair the cable, you will need to release the tension on the springs. This will prevent the door from suddenly slamming shut while you are working on it. To release the tension, insert a winding bar into the winding cone and loosen the screws on the cone. Turn the winding bar counterclockwise until the tension on the spring is released.
Step 3: Remove the broken cable
Once the tension on the springs is released, you can proceed to remove the broken cable. Use pliers to remove the cable from the bottom bracket and the drum.
Step 4: Install the new cable
After removing the broken cable, you can install the new cable. Begin by inserting the cable into the drum, making sure that it is properly seated. Then, feed the cable through the cable bracket and secure it in place using cable clips.
Step 5: Wind the springs
Once the new cable is installed, you can wind the springs to restore the tension. Insert the winding bar into the winding cone and turn it clockwise until the spring reaches the desired tension.
Step 6: Test the garage door
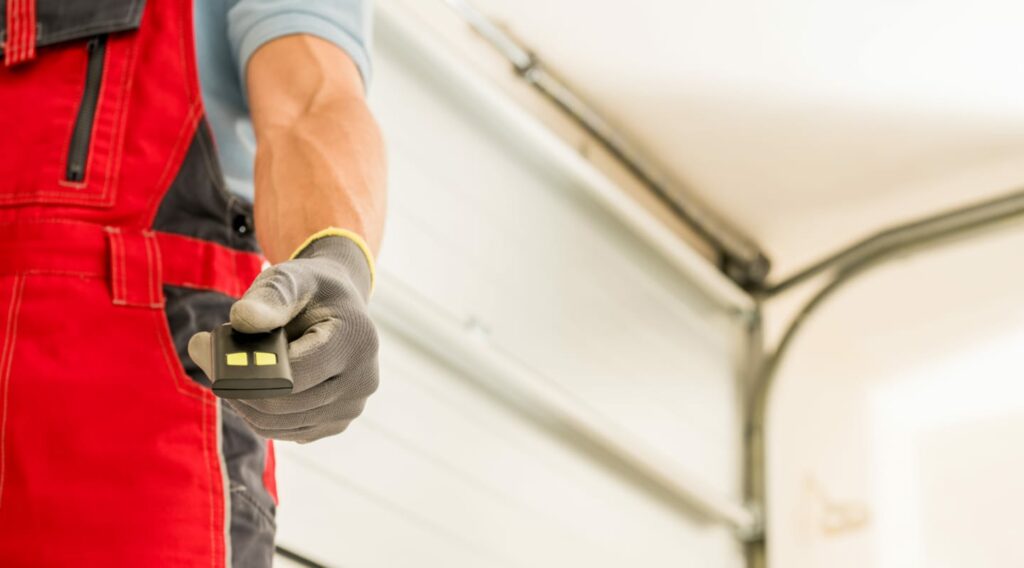
After completing the repair, it’s important to test the garage door to ensure it works correctly. Reconnect the garage door opener and test it by opening and closing it a few times.
Finishing the Job
Repairing a garage door cable is not easy, and taking the necessary safety precautions is essential. The steps outlined in this guide should help you repair your garage door cable successfully. However, if you are not confident in your ability to do it, it’s advisable to seek the services of a professional garage door repair technician. Remember to test the door after the repair to ensure it works correctly.