Contents
After a washing machine hose bursts at 2 a.m., you’re left with soaked flooring, rising humidity, and a problem that can spread fast. You need to shut off the water, document the damage, and judge whether the moisture has reached walls, insulation, or subflooring. The right restoration expert will act quickly, extract water, dry hidden areas, and help you avoid mold, but choosing poorly can cost you more than the damage itself.
Key Takeaways
- Shut off water and power immediately, then document damage and move valuables to a dry area.
- Look for bubbling paint, warped flooring, ceiling stains, musty odors, and hidden moisture.
- Restoration should include water extraction, drying, dehumidifying, and moisture verification.
- Prevent mold by removing soaked materials within 24-48 hours and keeping humidity below 50%.
- Choose licensed, insured experts with fast response times, clear estimates, and strong insurance claim support.
What to Do After Water Damage
Act quickly after water damage to limit structural deterioration, mold growth, and electrical hazards.
First, shut off the main water supply if you can do so safely, then cut power to affected areas.
Put on safety precautions like gloves, boots, and eye protection before you enter standing water.
Move valuables, furniture, and electronics to a dry zone.
Start emergency response by documenting the damage with photos and noting what got wet.
Open windows and run fans only if conditions allow, helping you and your team improve airflow.
Remove soaked rugs and linens immediately.
Contact your restoration crew fast so you can coordinate extraction, drying, and sanitation.
When you act together, you protect your home, reduce loss, and stay in control.
Signs You Need Water Damage Restoration
Even after you’ve shut off the water and started cleanup, certain warning signs mean you need professional water damage restoration right away.
If you spot bubbling paint, warped flooring, ceiling stains, or a persistent musty odor, act fast. These flood indicators often mean water’s trapped behind surfaces, feeding hidden deterioration.
When you feel damp drywall, see dark patches, or notice rising humidity, you’re likely missing moisture that’s already spreading. Use moisture detection tools if you have them, but don’t rely on guesswork.
Visible mold, peeling baseboards, and recurring leaks also demand expert help. You belong in a dry, healthy space, and waiting can turn a small problem into a structural risk.
If your home shows any of these signs, call restoration pros now.
How Water Damage Restoration Works
You start with a damage assessment to locate moisture, map the affected materials, and identify any hidden structural risks.
Next, you remove standing water fast with pumps, vacuums, and extraction tools to stop further spread.
Then you dry, dehumidify, and repair the damaged areas so you can restore the space before mold and rot set in.
Damage Assessment
Damage assessment starts with a fast, systematic inspection of every affected area to map the full extent of the water intrusion and stop further deterioration.
You’ll check visible damage, hidden saturation, and contamination risks so you can act with confidence. Using moisture detection tools, you identify wet walls, floors, insulation, and cavities that eye-level checks miss.
You also verify structural integrity by looking for warped framing, weakened subfloors, sagging ceilings, and compromised materials that could fail later. This step helps you understand what’s salvageable, what needs immediate attention, and where your team should focus next.
When you assess quickly and thoroughly, you protect the property, reduce surprises, and move forward with the kind of coordinated response that keeps everyone on the same page.
Water Removal Process
Once you’ve mapped the affected areas and confirmed what’s wet, the water removal process starts immediately to limit migration, swelling, and microbial growth.
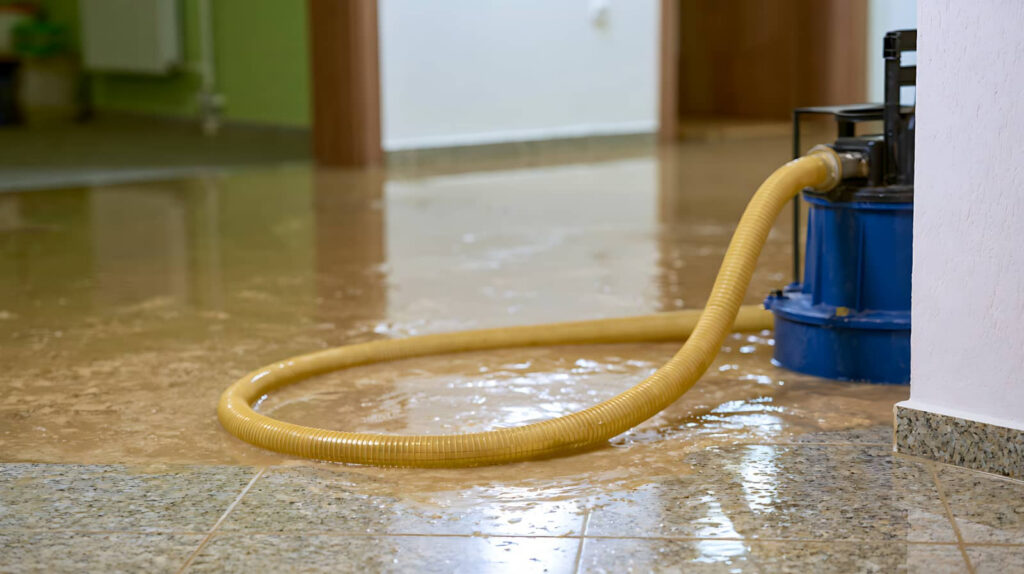
You’ll use water removal techniques matched to the source and volume: submersible pumps for standing water, wet vacuums for tight spaces, and extractors for carpets and padding.
You should isolate safe access, protect unaffected rooms, and move fast so water doesn’t spread under baseboards or into cavities.
The right equipment types let you remove water efficiently without overhandling materials.
Watch for hidden pockets in corners, seams, and low spots, and keep collecting until the visible water is gone.
This step sets your team up for the next phase and helps you stay in control when the damage feels overwhelming.
Drying And Repairs
After the last pool of water is removed, you need to start drying immediately to stop moisture from lingering in walls, floors, and structural cavities.
You should place high-velocity air movers and dehumidifiers to pull hidden water from framing, insulation, and subfloors. Check moisture levels daily, and keep drying until readings return to normal. This fast action supports mold prevention and protects structural integrity before damage spreads.
Once materials are dry, you can begin repairs. Replace warped drywall, swollen trim, and compromised insulation.
Patch, sand, and seal surfaces, then restore flooring, paint, and fixtures. If you stay disciplined and document each step, you’ll keep your home safe, sound, and ready to feel like yours again.
How Experts Assess the Damage
Before any cleanup begins, experts inspect the water source, measure the spread, and identify which materials have absorbed moisture. You’ll see them use moisture mapping to chart hidden dampness and protect structural integrity before damage worsens.
They test walls, floors, and insulation, then compare readings against normal baselines so you know exactly what’s affected. In a tight restoration crew, this step keeps everyone aligned and cuts guesswork.
- They trace the intrusion path.
- They check for swelling, staining, and soft spots.
- They rate materials for salvage or replacement.
You need this rapid assessment because it guides urgent decisions, limits secondary damage, and helps your property join the recovery path fast.
When the evaluation is precise, your team can act with confidence and restore safety sooner.
Water Extraction and Drying Steps
With the damage mapped, crews move fast to remove standing water and start controlled drying so moisture doesn’t keep spreading through the structure.
You’ll see truck-mounted or portable extractors pull water from carpets, subfloors, and seams, while weighted tools press out hidden saturation.
During flood cleanup, technicians isolate wet zones, open affected cavities, and position air movers to create strong surface evaporation.
Dehumidifiers then capture vapor, helping you regain moisture control before materials swell, delaminate, or weaken further.
You stay informed as readings track progress across walls, floors, and framing.
Fast extraction matters because every hour raises repair costs and disrupts your routine.
When the team works methodically, you get a drier, safer space and a clear path back to normal.
How to Prevent Mold After Water Damage
To prevent mold after water damage, you need to dry the structure completely and remove contaminated materials fast. You’re not just protecting surfaces; you’re protecting your team’s shared environment. Act now with disciplined mold prevention tips and strict humidity control.
Pull out soaked drywall, insulation, and carpet padding within 24-48 hours.
Run dehumidifiers and air movers nonstop until moisture readings return to safe levels.
Clean hard surfaces with approved antimicrobial products, then verify dryness with meters.
Check hidden cavities, baseboards, and under flooring daily. Keep indoor humidity below 50% to stop spores from taking hold.
If odors, staining, or dampness linger, escalate immediately. When you respond quickly and methodically, you help your space recover safely and keep your crew aligned.
Common Causes of Water Damage
Water damage usually starts with a few predictable failures: burst pipes, leaking roofs, overflowing appliances, sewer backups, and poor drainage around the building.
You need to spot pipe bursts early, because pressure changes can flood walls fast. Appliance leaks from washers, dishwashers, and water heaters often begin as small drips, then soak subfloors and cabinets.
Roof leaks spread through insulation and framing after storms or worn flashing. Groundwater intrusion can enter basements when grading, gutters, or drains fail.
Poor drainage pushes water toward foundations, where it pools and seeps inside. Stay alert, inspect regularly, and act fast when you notice damp spots, musty odors, or staining.
If you’re part of a community that values readiness, these checks help protect everyone’s space.
Water Damage Restoration Costs and Insurance
Once you’ve stopped the source of the damage, the next question is what it will cost to clean up and who pays for it. Your bill depends on square footage, saturation depth, materials, and how fast you act.
Expect emergency extraction, drying, demolition, antimicrobial treatment, and repairs to add up quickly. Use insurance coverage basics to check whether the loss came from a sudden event, not neglect. Document everything with photos and receipts.
- Call your insurer and file immediately.
- Ask for written scope and estimate.
- Review restoration financing options if coverage falls short.
You don’t have to handle this alone; you’re part of a community that knows speed protects property and budget.
Fast claims support faster recovery, fewer surprises, and less secondary damage.
How to Choose the Right Restoration Company
Choose a restoration company that can prove current licensing and insurance before any work starts.
You should also confirm their response time immediately, because fast containment can reduce secondary damage and lower repair scope.
If they can’t document credentials or arrive quickly, keep looking.
Verify Licensing and Insurance
Before you hire a restoration company, verify that it holds the proper state and local licenses and carries current liability and workers’ compensation insurance. You need proof, not promises, because compliance protects your home and your crew.
Ask for documentation that matches local licensing requirements and confirms insurance coverage for water damage work. Review it carefully, then keep copies for your records.
- Confirm the license number with the issuing agency.
- Request a certificate of insurance and check dates.
- Make sure the policy names the company you’ll use.
When you choose a properly licensed, insured team, you join a network of homeowners who act fast and avoid costly gaps in protection.
If the paperwork’s vague, walk away. Confidence starts with verified credentials.
Assess Response Time
After you’ve verified licensing and insurance, the next test is speed. Call the company after hours and note how fast they answer, how clearly they triage your loss, and whether they assign a crew immediately.
You need a team that treats your home like part of their own network, not a ticket number. Ask for emergency contacts, on-call coverage, and a real arrival window, not a vague promise.
The best firms explain their restoration timeline, from extraction to drying to final verification, so you can plan quickly and reduce secondary damage. If they hesitate, miss details, or can’t commit resources, keep looking.
In water damage, minutes matter, and the right response time means you’re not facing the crisis alone.
Frequently Asked Questions
How Long Does Water Damage Restoration Typically Take?
You’ll usually need 3–7 days for water damage restoration, but severe cases can take weeks. Crews handle water extraction fast, then dry structures, inspect hidden moisture, and prioritize mold prevention to protect your home and community.
Can I Stay in My Home During Restoration?
You can stay if crews isolate damage, maintain ventilation, and you follow safety precautions, but contaminated water, structural hazards, or heavy drying often require temporary housing. Act fast; protect your household and belongings.
What Equipment Do Restoration Experts Use?
You’ll see a small army of drying equipment, moisture meters, air movers, dehumidifiers, and extraction pumps—tools that can feel almost magical when your home’s soaked. You’ll belong in the recovery fast.
Do I Need to Replace All Damaged Drywall?
No, you don’t need to replace all damaged drywall. You should perform a drywall assessment, then choose repair options based on saturation, mold risk, and structural integrity. Act fast so you protect your home and your people.
How Soon Should I Call a Restoration Company?
Call them immediately—within minutes. You’ll get faster emergency response, quicker water extraction, and less structural damage. Acting now helps you protect your space, stay with your crew, and avoid costly mold growth.
Summary
When water hits your home, you don’t get much time. You shut it off, document the damage, and watch closely for swelling, odors, and hidden moisture. If you wait, mold can move in fast. That’s why you need a restoration team that responds quickly, finds the source, and dries every layer. The right experts don’t just repair damage—they stop the next problem before it starts, and that’s where the real risk ends.