Contents
Are you tired of calling a plumber every time you have a plumbing issue? Well, you’re in luck!
In this article, we will guide you through a DIY process for plumbing that will help you tackle common issues like leaky faucets, clogged drains, and running toilets. What does DIY even mean in plumbing?
With just a few essential tools and some know-how, you’ll be able to fix these problems yourself and save both time and money.
So, let’s get started!
Key Takeaways
- Essential tools for DIY plumbing include adjustable pliers, pipe wrench, hacksaw, and basin wrench.
- Common plumbing issues that can be fixed through DIY solutions include clogged drains, leaky faucets, and running toilets.
- The step-by-step guide for fixing a leaky faucet involves gathering necessary tools, turning off the water supply, inspecting and replacing damaged parts, and testing for leaks.
- DIY methods for unclogging drains include using a plunger, baking soda and vinegar, and a drain snake, but caution should be exercised, and a professional plumber should be called if unsure or if the clog persists.
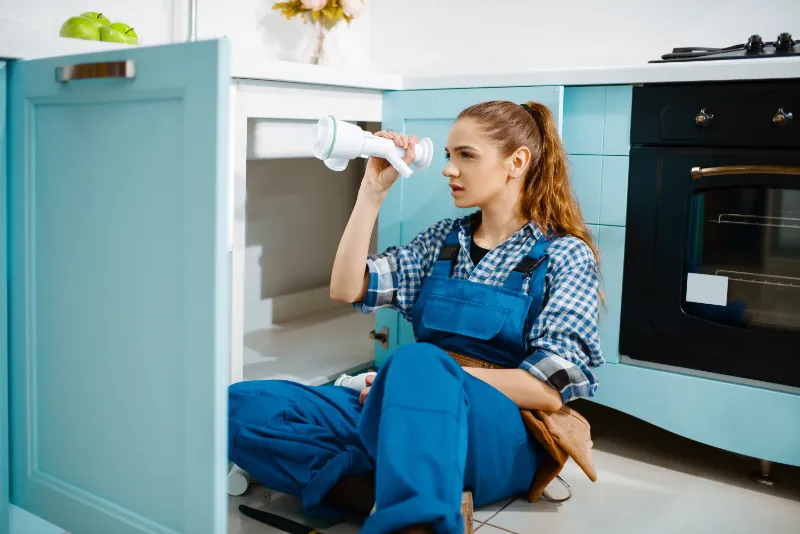
Essential Tools for DIY Plumbing
To successfully tackle DIY plumbing projects, you’ll need a set of essential tools. These tools are crucial for you to efficiently and effectively complete your plumbing tasks. Here are some of the must-have tools that will make your DIY plumbing experience a breeze.
First and foremost, you’ll need a good pair of adjustable pliers. These versatile tools are used for gripping, twisting, and turning pipes and fittings. They come in handy when tightening or loosening various plumbing connections.
Next, you’ll need a pipe wrench. This tool is specifically designed to help you grip and turn pipes and fittings with ease. It provides a strong grip that allows you to apply the necessary torque to tighten or loosen stubborn plumbing connections.
Additionally, a hacksaw is essential for cutting through pipes and other materials. It’s a versatile tool that can be used to make precise cuts and remove damaged sections of pipe.
A basin wrench is another important tool to have in your DIY plumbing arsenal. It’s specifically designed to help you reach and tighten or loosen nuts and bolts in tight spaces, such as underneath sinks.
Lastly, a plunger is a must-have tool for any DIY plumber. It’s used to unclog drains and toilets by creating a strong suction force that dislodges blockages.
Understanding Common Plumbing Issues
Now let’s delve into the understanding of some common plumbing issues that you may encounter during your DIY projects. As you embark on your plumbing journey, it’s important to be aware of these common problems so that you can address them effectively and efficiently.
One common plumbing issue that you may come across is a clogged drain. Whether it’s a kitchen sink, bathroom sink, or shower drain, blockages can occur due to a buildup of food particles, hair, or other debris. To tackle this issue, you can try using a plunger or a drain snake to unclog the drain. If the clog persists, you may need to remove the trap and clean it out manually.
Another common plumbing problem is a leaky faucet. A dripping faucet not only wastes water but can also be annoying. The most likely culprit for a leaky faucet is a worn-out washer or O-ring. By replacing these components, you can usually resolve the issue. It’s important to turn off the water supply before attempting any repairs to prevent further damage.
A running toilet is another common plumbing issue that you may encounter. This can be caused by a faulty flapper valve or a malfunctioning fill valve. To fix this problem, you can try adjusting the flapper or replacing the fill valve. If you’re unsure how to proceed, it’s best to consult a professional plumber for assistance.
Step-by-Step Guide for Fixing a Leaky Faucet
As you continue your plumbing journey, let’s now dive into a step-by-step guide for fixing a leaky faucet. A leaky faucet can’t only be annoying but also waste water and increase your utility bill. By following these simple steps, you can save money and serve others by conserving this valuable resource.
First, gather the necessary tools: an adjustable wrench, a screwdriver, and replacement parts such as O-rings and washers. Turn off the water supply to the faucet by closing the shut-off valve under the sink. This will prevent any water from flowing while you work.
Next, locate the screw that holds the faucet handle in place and use the screwdriver to remove it. Once the screw is removed, carefully take off the handle. Inspect the handle and the stem for any signs of damage or wear. If you notice any, replace them with new parts.
Now, use the adjustable wrench to unscrew the packing nut that holds the stem in place. Once the nut is removed, take out the stem and inspect it for any signs of damage or corrosion. Replace any worn or damaged parts.
With the stem removed, locate the O-ring at the bottom and replace it with a new one. Additionally, check the washer at the top of the stem and replace it if necessary. Reassemble the faucet by following these steps in reverse order.
Once everything is back in place, turn on the water supply and test the faucet for any leaks. If there are no leaks, congratulations! You have successfully fixed your leaky faucet. If there are still leaks, consider calling a professional plumber for further assistance.
Unclogging Drains: DIY Methods That Work
How can you effectively unclog drains using DIY methods?
Dealing with a clogged drain can be frustrating, but there are simple and effective DIY methods that can help you resolve the issue. By following these steps, you can unclog your drain and get back to a smooth-running plumbing system in no time.
One method you can try is using a plunger. Start by filling the sink or tub with enough water to cover the rubber part of the plunger. Place the plunger over the drain and push down firmly, then pull up quickly. Repeat this motion several times until the water starts to drain. If the plunger doesn’t work, you can move on to the next method.
Another DIY method is to use a mixture of baking soda and vinegar. Start by pouring half a cup of baking soda down the drain, followed by half a cup of vinegar. Cover the drain with a cloth or plug and let the mixture sit for about 30 minutes. After the time has passed, pour hot water down the drain to flush away the clog.
If these methods don’t work, you can try using a drain snake. Insert the snake into the drain and rotate it clockwise to break up the clog. Pull out the snake and dispose of any debris that may have come loose. Finally, run hot water down the drain to clear any remaining residue.
Remember to always use caution when attempting DIY methods for unclogging drains. If you’re unsure or the clog persists, it’s best to call a professional plumber to avoid causing further damage.
With these simple and effective DIY methods, you can take care of most clogged drains and keep your plumbing system running smoothly.
Troubleshooting and Repairing a Running Toilet
To troubleshoot and repair a running toilet, you can start by checking the flapper valve. This valve is located at the bottom of the tank and is responsible for allowing water to flow into the bowl when you flush. Sometimes, the flapper valve may not be sealing properly, causing water to continuously leak into the bowl. Here are a few steps you can take to troubleshoot and repair a running toilet:
- Inspect the flapper valve: Check if the flapper valve is worn out or damaged. If it is, you’ll need to replace it with a new one. You can find replacement flapper valves at your local hardware store.
- Adjust the water level: The water level in the toilet tank should be set at the appropriate height. If it’s too high, it can cause the water to continuously run. To adjust the water level, you can either lower the float valve or adjust the water level adjustment screw on the fill valve.
- Check the fill valve: The fill valve controls the flow of water into the tank. If the fill valve isn’t functioning properly, it can cause the toilet to continuously run. Inspect the fill valve for any signs of damage or wear. If necessary, replace the fill valve with a new one.
Conclusion
In conclusion, with the right tools and knowledge, DIY plumbing can be a cost-effective solution for common issues like leaky faucets, clogged drains, and running toilets.
By following a step-by-step guide and using DIY methods, you can save money and time by fixing these problems yourself.
Remember to always prioritize safety and consult a professional plumber if you encounter more complex plumbing issues.
Happy DIY plumbing!