Contents
When you’re facing local flood cleanup repairs, your first moves matter most. You need to check for electrical, structural, and contamination hazards before you enter, then stop more water from coming in and remove standing water fast. From there, you’ll dry hidden spaces, document damage, and decide which repairs can wait. The real challenge is knowing what to handle yourself—and what could cost you more if you miss it.
Key Takeaways
- Check for structural, electrical, and gas hazards before entering, and wear protective gear.
- Shut off water, block entry points, and remove standing water as quickly as possible.
- Dry affected areas with fans and dehumidifiers, then inspect hidden moisture and damage.
- Document all damage with photos and receipts before filing an insurance claim.
- Hire flood cleanup professionals when water reached walls, wiring, insulation, or remained longer than 24 hours.
Check Safety Before Entering the Property
Before you enter the property, check for immediate hazards so you can avoid injury and prevent further damage. You’ll want to pause at the threshold and assess structural instability, visible electrical issues, and any sharp debris.
Put on safety gear that fits securely, including gloves, boots, and eye protection, so you can move with confidence. Keep your emergency contacts handy in case you need utility support, medical help, or local guidance.
If you smell gas, hear unusual noises, or see sagging surfaces, step back and wait for qualified responders. Document what you observe from a safe distance, then enter only when conditions look stable.
Your careful approach helps protect you and your crew, and it keeps everyone aligned on the next safe step.
Stop Water Entry and Protect the Site
Shut off the water source first so no additional flow enters the property.
Then seal obvious entry points, such as broken windows, gaps, and damaged doors, to limit further intrusion.
Cover exposed areas with tarps or plastic sheeting to protect materials until repairs can begin.
Shut Off Water Source
Find the source of the water and stop it as quickly as you can to prevent further damage. You’ll usually start with the main water shutoff valve, then move to any fixture valves that keep feeding the flood.
If you’re dealing with a burst pipe or appliance leak, turn off the supply immediately and confirm the flow has stopped. Keep your family or crew informed so everyone knows the site is under control.
This step belongs in your emergency preparation plan, because fast action limits cleanup and reduces repair costs. If the source is from outside the home, shut off pumps or connected systems as needed.
Work carefully, stay alert for electrical hazards, and document what you’ve done so your team can follow the same process.
Seal Entry Points
Once you’ve stopped the active water source, seal any openings that let more water enter the structure and protect the site from additional damage.
You should inspect doors, windows, vents, foundation cracks, and utility penetrations for active leaks and gaps. Match the entry point materials to the opening: use foam backer rod, weatherstripping, plastic sheeting, or temporary patch compounds as needed.
Apply sealing techniques that create a tight, continuous barrier, and press each material firmly into place. Work methodically from the highest-risk areas downward, checking for drips after each repair.
If you’re unsure which sealant fits the surface, choose a compatible product and follow the label. By sealing entry points quickly, you help your crew stay safe, keep cleanup on track, and reduce the chance of further loss.
Cover Exposed Areas
After you seal the obvious openings, cover exposed areas to block wind-driven rain, splashing, and runoff from reaching damaged materials.
Use temporary coverings sized to overlap seams and extend past the damage zone, then secure them so wind can’t lift them. Choose water resistant materials such as tarps, plastic sheeting, or membrane barriers that shed moisture without trapping it against the structure.
Fasten edges with battens, tape, or weights, and keep drainage paths clear so water moves away from the work area. Check the coverage after each storm, tightening loose sections and replacing torn panels right away.
When you protect the site this way, you reduce secondary damage, keep cleanup moving, and give your crew a safer, more controlled space to work together.
Remove Standing Water and Wet Debris
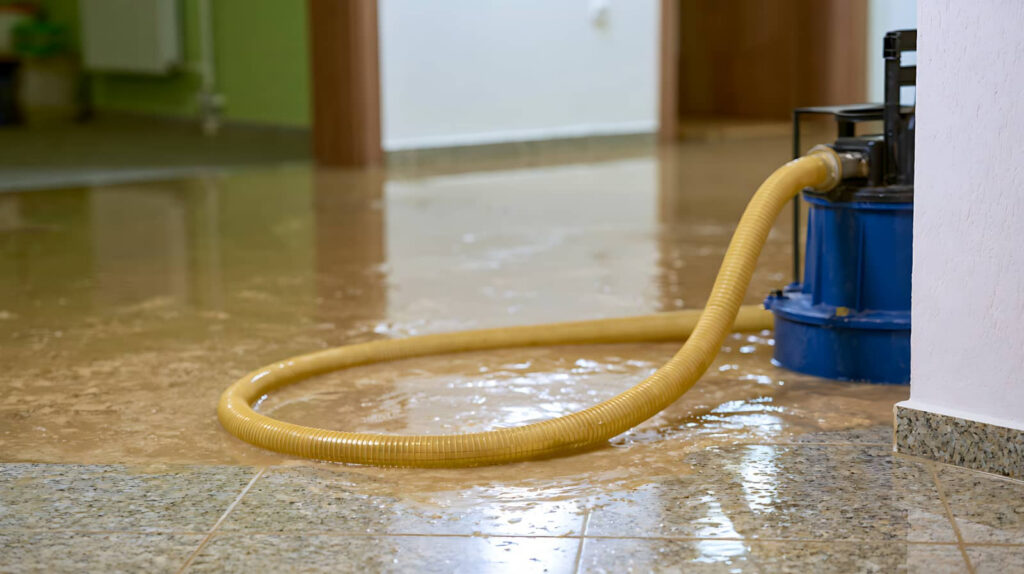
Begin by pumping or mopping out all standing water, then scoop up wet debris, mud, and damaged materials so moisture can’t keep spreading into floors and walls.
Use water extraction tools first on the deepest puddles, then finish with buckets, towels, and a wet vacuum for tighter areas.
During debris removal, sort out soaked insulation, carpet padding, cardboard, and anything with visible contamination, and place it in sturdy bags or bins right away.
Work methodically from one room to the next so you stay organized and your crew can track progress together.
Keep pathways clear, wear gloves and boots, and check for hidden puddles under furniture.
Dry Walls, Floors, and Hidden Spaces
With the standing water and wet debris cleared, you can focus on drying every affected surface and cavity before mold has a chance to take hold. Open windows if weather allows, run fans, and place dehumidifiers to move air across walls and floors.
Lift carpets, remove baseboards, and expose subfloors so trapped moisture can escape. Check wall cavities, cabinet backs, and under-stair voids with a moisture meter; these hidden spaces often stay damp longer than you expect.
Use drying techniques that match the material, and keep records of readings so you know when levels drop. For insulation considerations, remove wet fiberglass or cellulose that can’t dry evenly.
Work steadily, and you’ll protect your home and help your household feel secure again.
Clean, Disinfect, and Prevent Mold
Once surfaces are dry, you can clean them with soap and water, then disinfect hard, nonporous materials to reduce bacteria and other contaminants left by floodwater.
Work methodically: wash one area at a time, rinse, and apply a labeled disinfectant at the recommended contact time. Keep windows open and wear gloves and eye protection.
For mold prevention, remove damp porous items that stay wet, and keep cleaned spaces dry with fans or dehumidifiers.
Don’t mix chemicals, and never skip disinfecting surfaces that touched floodwater. If you smell mildew, clean again and dry the area thoroughly.
You’re not handling this alone; steady, careful cleanup helps your home feel safe, familiar, and ready for the next step.
Inspect Plumbing, Roofing, and Foundation Damage
Next, you’ll inspect pipes and fixtures for leaks, corrosion, and loose connections that floodwater may have stressed.
Then check roof shingles for uplift, cracks, or missing sections, since even minor damage can let water back in.
Finally, assess foundation cracks for widening, shifting, or seepage so you can address structural issues before they worsen.
Check Pipes And Fixtures
Floodwater can hide damage inside walls, under floors, and around the foundation, so you’ll want to inspect pipes, fixtures, roofing, and structural joints before you start major repairs.
Turn off water, then test each line for drips, stains, or soft spots. Check for warped fittings, corroded connectors, and loose valves that need pipe maintenance.
In bathrooms and kitchens, confirm sinks, toilets, and supply lines still seat firmly; fixture replacement may be the safest fix if seals crack or leaks return.
Look for:
- damp drywall near plumbing chases
- mineral trails on metal lines
- bowed floors around drains
- musty odors under cabinets
- hairline cracks at slab edges
If you spot movement or seepage, document it, then call a licensed pro. You’re not alone in this.
Examine Roof Shingles
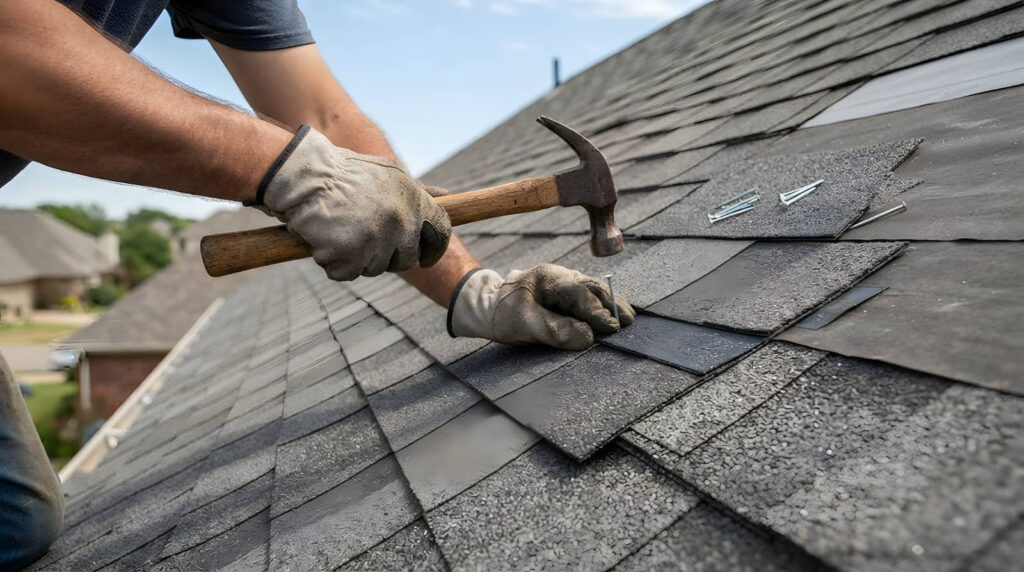
After the water recedes, give the roof a careful visual inspection from the ground or a safe ladder access point, since missing, curled, cracked, or displaced shingles can let moisture keep entering the structure.
You should note damaged areas, compare them with the surrounding shingle types, and look for granule loss, exposed nail heads, or lifted edges.
If you find limited damage, you can choose targeted repair options, such as replacing individual shingles or resealing loose tabs.
If damage appears widespread, you may need a contractor to evaluate the full roof section.
Keep your inspection systematic: photograph each issue, record locations, and work with your cleanup team so everyone stays informed.
That shared approach helps you protect your home and move forward with confidence.
Assess Foundation Cracks
Once the home is safe to enter, inspect the foundation for new cracks, widening joints, or shifted sections, because these can signal structural movement and ongoing water intrusion. Use a flashlight and camera, then mark each crack for crack assessment and compare it over time.
You’re looking for signs that affect foundation stability, like stair-step masonry splits, bowed walls, or damp lines at the slab edge.
- Hairline fractures tracing the mortar
- Gaps opening near window corners
- Efflorescence like white dust on concrete
- Uneven floors underfoot
- Wet soil pressed against the wall
If you notice widening or movement, contact a licensed inspector promptly.
You’re not handling this alone; careful documentation helps your repair team protect your home and your peace of mind.
File Insurance Claims and Get Estimates
Before you start major repairs, contact your insurance company to file the claim and document every loss with photos, videos, and a detailed inventory.
Keep all insurance documentation together, including dates, policy numbers, receipts, and adjuster notes, so you can answer questions quickly and stay organized through the claim process.
Then request written estimates from licensed contractors who understand flood damage, and compare labor, materials, and drying requirements line by line.
Share the same damage records with each estimator to keep bids consistent and fair.
If your community has been through flooding, you’re not alone; clear records and timely follow-up help you move forward with confidence.
Save every email and call log, because precise communication supports faster approval and fewer delays.
Tackle Repairs in the Right Order
Start with the work that prevents further damage, then move in a logical sequence so you don’t trap moisture inside finished spaces. Use your damage assessment to drive repair prioritization: stabilize structure first, then dry, then clean, then rebuild.
You’re not doing this alone; homeowners in your situation follow the same order to keep recovery steady.
- Remove soaked baseboards and trim
- Open wall cavities for airflow
- Replace damaged insulation after drying
- Repair subfloor before new flooring
- Refinish surfaces last
Check each area before advancing, and don’t cover damp materials with paint, carpet, or drywall.
If you keep the sequence disciplined, you’ll reduce hidden decay and make every later repair fit better, look cleaner, and last longer for your home.
When to Hire a Flood Cleanup Pro
When should you bring in a flood cleanup professional? You should call one if flood damage reaches walls, insulation, wiring, or HVAC, or if water sat longer than 24 hours.
You’ll also want a professional assessment when you smell mold, see warped framing, or can’t verify the moisture level behind finishes. A pro uses meters, thermal imaging, and drying logs to confirm hidden damage and set a safe repair plan.
If sewage, chemicals, or structural movement are involved, don’t stay hands-on; you need specialized containment and disposal.
Hiring early can reduce secondary damage, protect your household, and keep your team on the same page. When you work with trained local experts, you’re not facing cleanup alone—you’re making a sound, informed recovery move.
Frequently Asked Questions
What Documents Should I Photograph Before Cleanup Starts?
Photograph every room, damaged belongings, utility meters, structural issues, water lines, receipts, and serial numbers before cleanup. These damage assessments support insurance claims, help you prove losses, and keep your repair process organized and calm.
How Soon Should Damaged Electronics Be Tested?
You shouldn’t test damaged electronics right away; wait until a qualified technician clears them, ideally after 24-48 hours of drying. Follow your testing timeline carefully, because electronic safety protects you and keeps your household included.
Can Floodwater Affect My Yard and Landscaping?
Yes—floodwater can damage your yard, like an unwelcome tide. You’ll need to check yard drainage, remove debris, and plan landscaping restoration. With prompt care, you can rebuild healthy soil and feel at home again.
What Temporary Power Options Are Safe After Flooding?
You can use portable generators and solar power after flooding, if you place them outdoors, keep them dry, use transfer switches, and avoid backfeeding. You’ll protect your crew, neighbors, and home.
Should I Replace Contaminated Food From Sealed Packages?
Yes, you should replace contaminated food from sealed packages if floodwater touched them. You can’t trust food safety after exposure. Even sealed packages may leak or harbor contamination, so discard them and choose fresh supplies.
Wrap-Up
By following these steps, you’ll turn a chaotic flood scene into a manageable recovery plan. Check for hazards, stop more water from entering, dry and disinfect thoroughly, and document every detail before you repair. Handle the most urgent fixes first, and bring in a pro when the damage goes beyond your tools or time. In this work, as in Odysseus’ journey, patience and preparation guide you safely home.