Contents
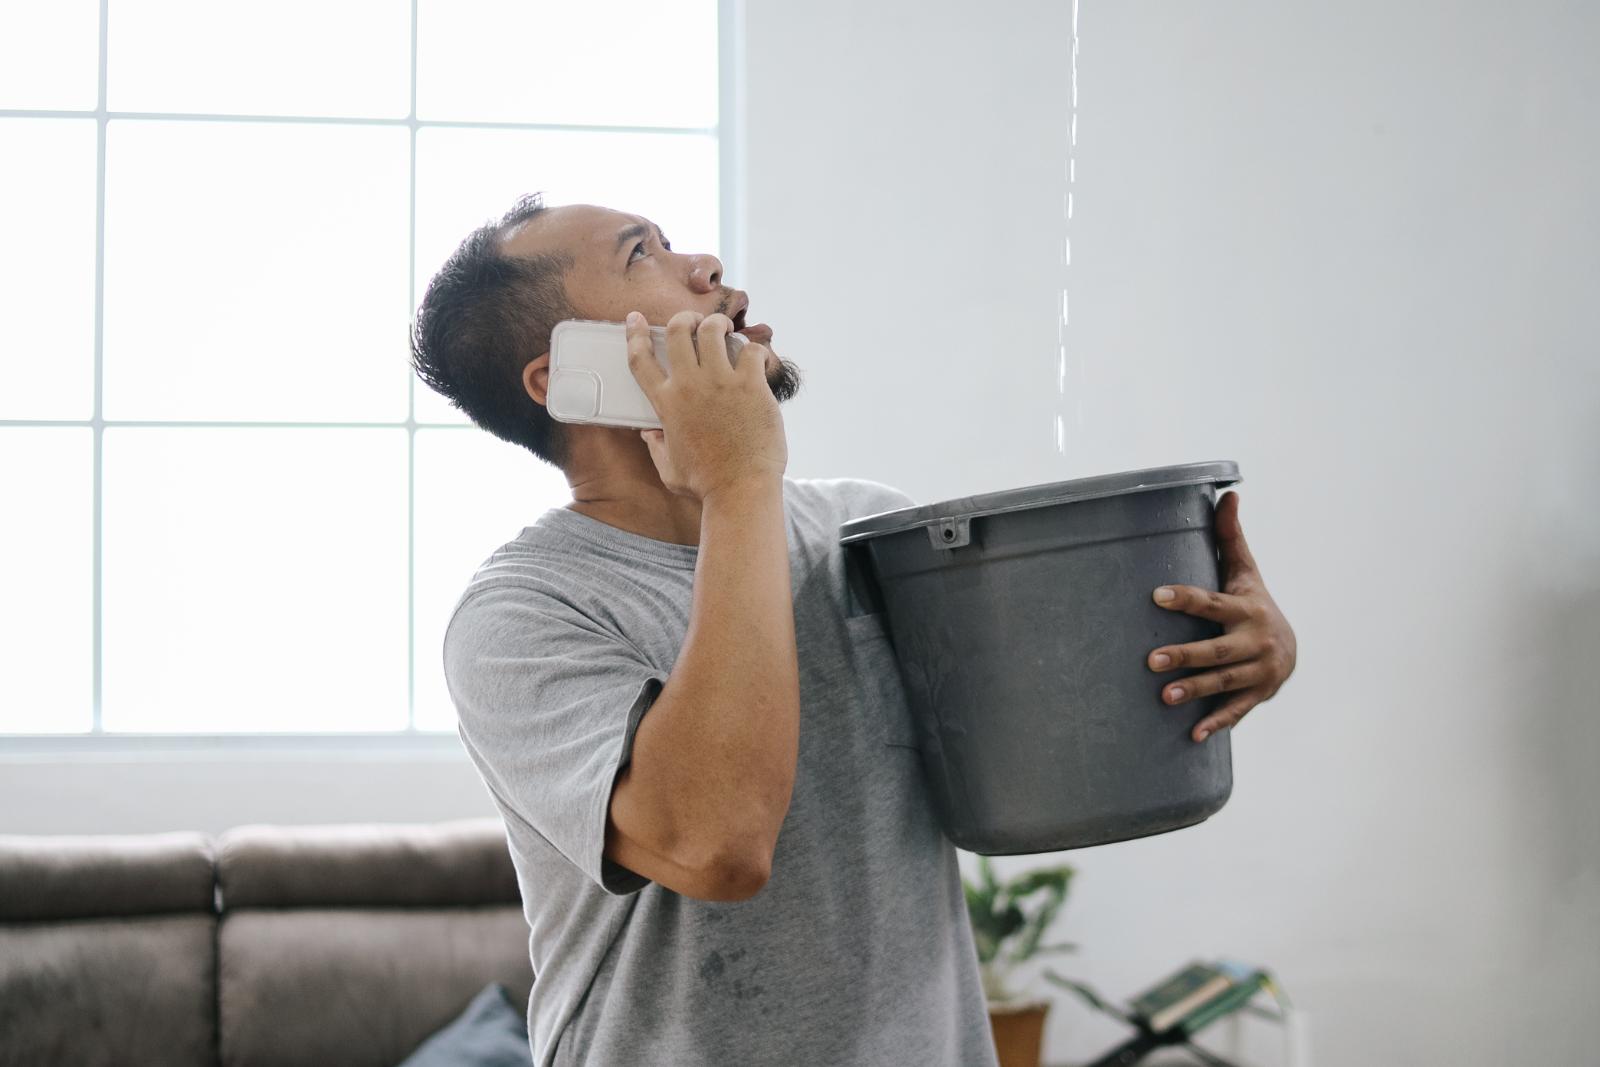
You’ve just experienced water damage in your home, and now you’re left wondering what steps to take next. Well, fear not, as we have three essential DIY restoration tips that can help you navigate this challenging situation. From assessing the extent of the damage to effectively removing water and initiating the drying process, these strategies are key in salvaging your space. Stay tuned to uncover these practical techniques that could save you time, money, and unnecessary stress.
Key Takeaways
- Remove standing water promptly to prevent further damage.
- Use fans and dehumidifiers for efficient drying.
- Inspect and address moisture to prevent mold growth.
- Prioritize structural repairs for safety and integrity.
- Act fast, clean thoroughly, and ensure proper ventilation.
Assessing the Damage
When assessing the water damage in your home, start by carefully inspecting all affected areas for signs of moisture and potential hazards. Begin by evaluating the extent of the damage. Check for discolored patches on walls or ceilings, bubbling paint, or peeling wallpaper, as these are indicators of water infiltration.
Watch out for musty odors that suggest mold growth resulting from prolonged moisture exposure. It’s crucial to identify the source of the water damage to prevent further issues.
Moisture detection is key in this process. Utilize tools like moisture meters to measure the level of moisture in different materials such as drywall, wood, or insulation. Pay close attention to areas prone to water damage, like basements, bathrooms, and kitchens. Check for warped or buckled flooring, as this could signal water seepage. Inspect plumbing fixtures, water heaters, and appliances for leaks or malfunctioning connections.
Document all the damage you find with photographs or videos for insurance purposes. Make a list of the affected areas and note down the extent of the damage in each location. This detailed inventory will help you keep track of the restoration process and ensure nothing is overlooked.
Removing Water and Drying
Begin by extracting standing water using a wet/dry vacuum or a pump to facilitate the drying process and prevent further damage. Removing water promptly is crucial in preventing mold growth and salvaging your belongings. To aid you in this process, here are some essential equipment and effective drying techniques:
| Equipment Needed | Drying Techniques |
|---|---|
| Wet/Dry Vacuum | Utilize fans to increase air circulation and speed up drying. |
| Pump | Dehumidifiers help reduce moisture levels in the air, aiding in drying. |
| Squeegee | Remove wet carpets and rugs to dry separately. Hang them outside if possible. |
| Buckets | Use towels or cloths to soak up excess water from floors and surfaces. |
| Protective Gear | Open windows and doors to facilitate ventilation and enhance drying. |
Ensuring thorough drying is essential for preventing mold growth. Mold can start to develop within 24-48 hours in a moist environment, so it is crucial to act quickly. By using the right equipment and employing proper drying techniques, you can effectively remove water, salvage your belongings, and prevent mold infestations. Remember, the key to successful water damage restoration lies in a meticulous drying process.
Repairing and Restoring
To effectively repair and restore areas affected by water damage, assess the extent of the damage and prioritize tasks based on urgency and impact. Start by preventing mold growth, as it can pose serious health risks.
Remove any wet materials such as carpets, insulation, and damaged drywall to prevent mold spores from spreading. Use a mixture of water and detergent to clean mold off hard surfaces, and ensure the area is well-ventilated during this process.
Next, focus on fixing structural damage to ensure the safety and integrity of your home. Inspect for any weakened supports, sagging ceilings, or warped floors. Replace any compromised structural elements promptly to prevent further deterioration and hazards. Consider hiring a professional if the damage is extensive or if you are unsure about the repairs needed.
Once the structural issues are addressed, work on restoring the aesthetics of the affected areas. Repaint walls, replace flooring, and install new fixtures as needed. Remember to choose materials that are resistant to water damage in case of future incidents.
Wrap-Up
By following these three key DIY water damage restoration tips -assessing the damage, removing water and drying, and repairing and restoring – you can effectively mitigate the effects of water damage and restore your property to its pre-damaged state.
Remember, time is of the essence when dealing with water damage, so act quickly to prevent further issues.
Don’t let water damage rain on your parade; take control and restore your space to its former glory!